F5 Public Cloud Solutions > 2. Class - PC201 - Deploying F5 Solutions to AWS with Terraform and iControl LX Extensions > 2.7. F5 Cloud-Failover Source | Edit on
2.7.1. Check F5 Cloud Failover is Ready
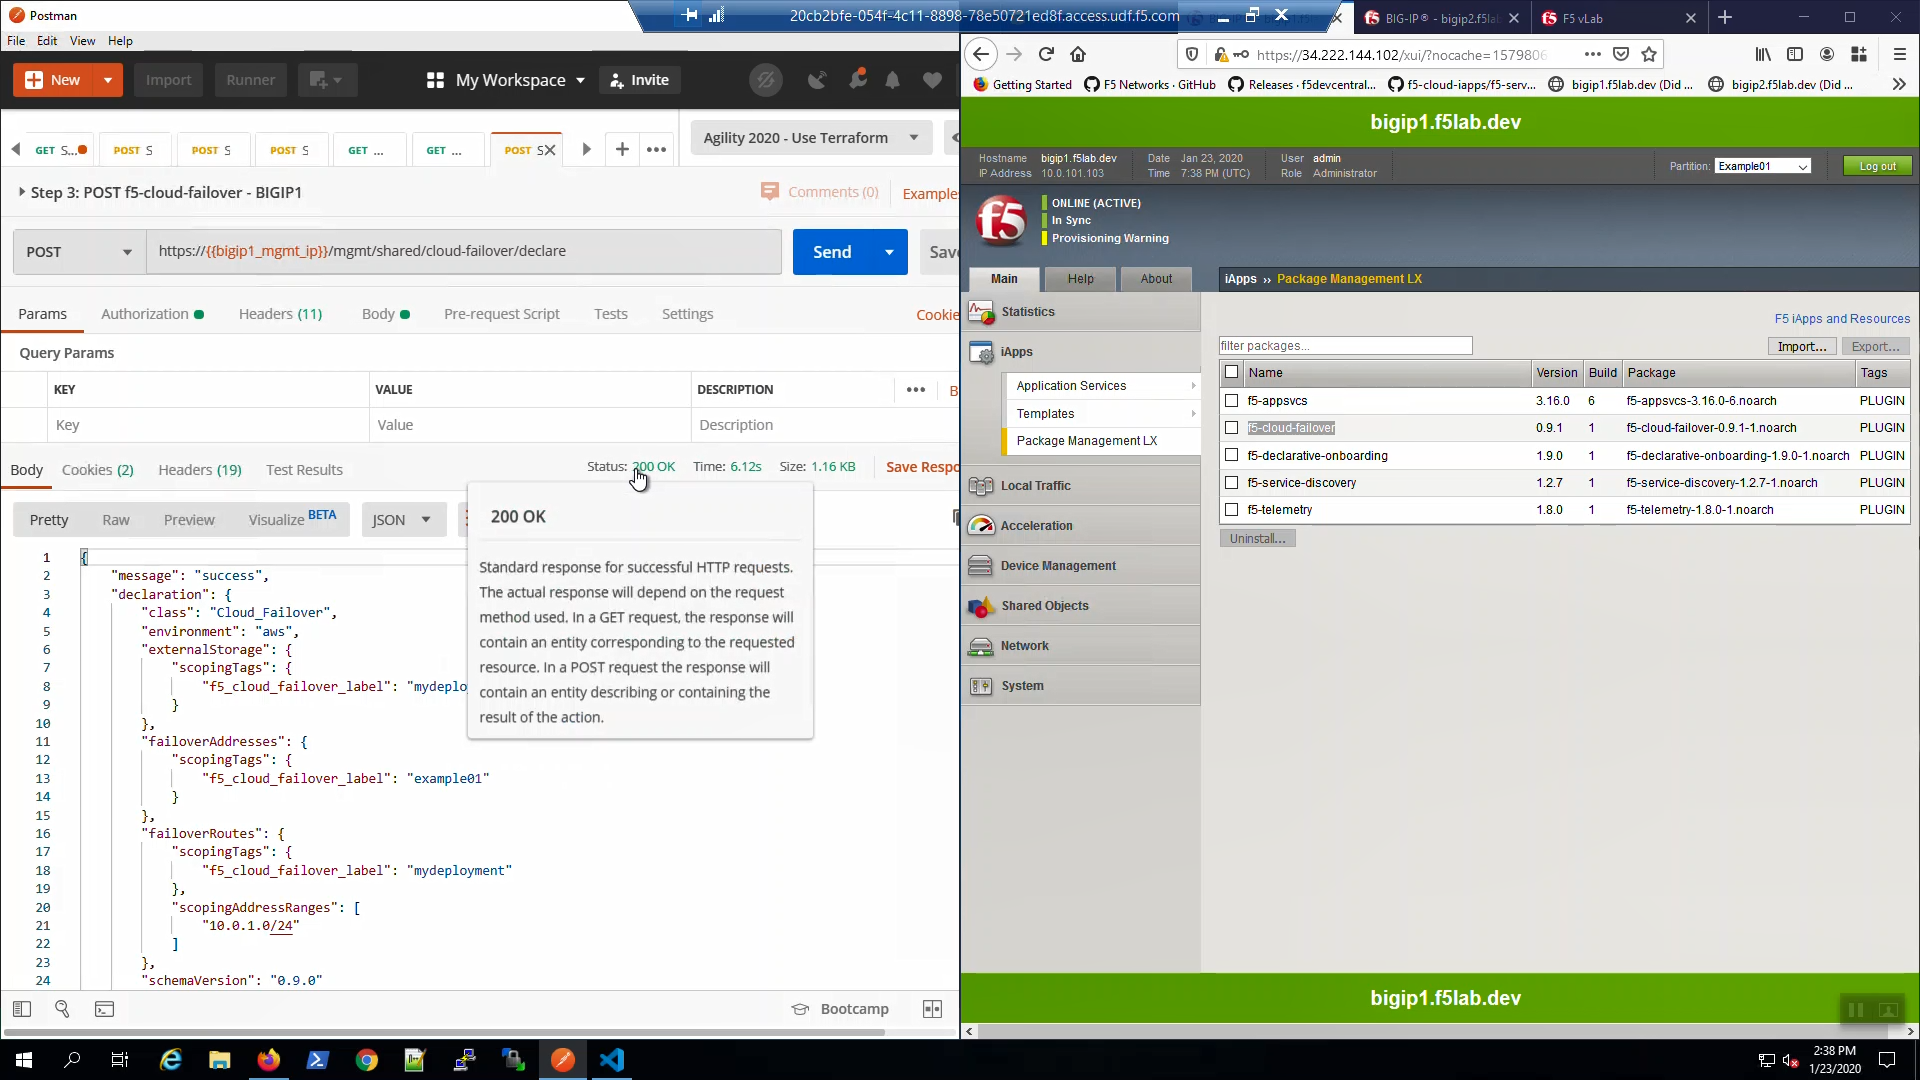
Big-IP1 => iApps => Package Management LX => note “f5-cloud_failover” package has been installed.
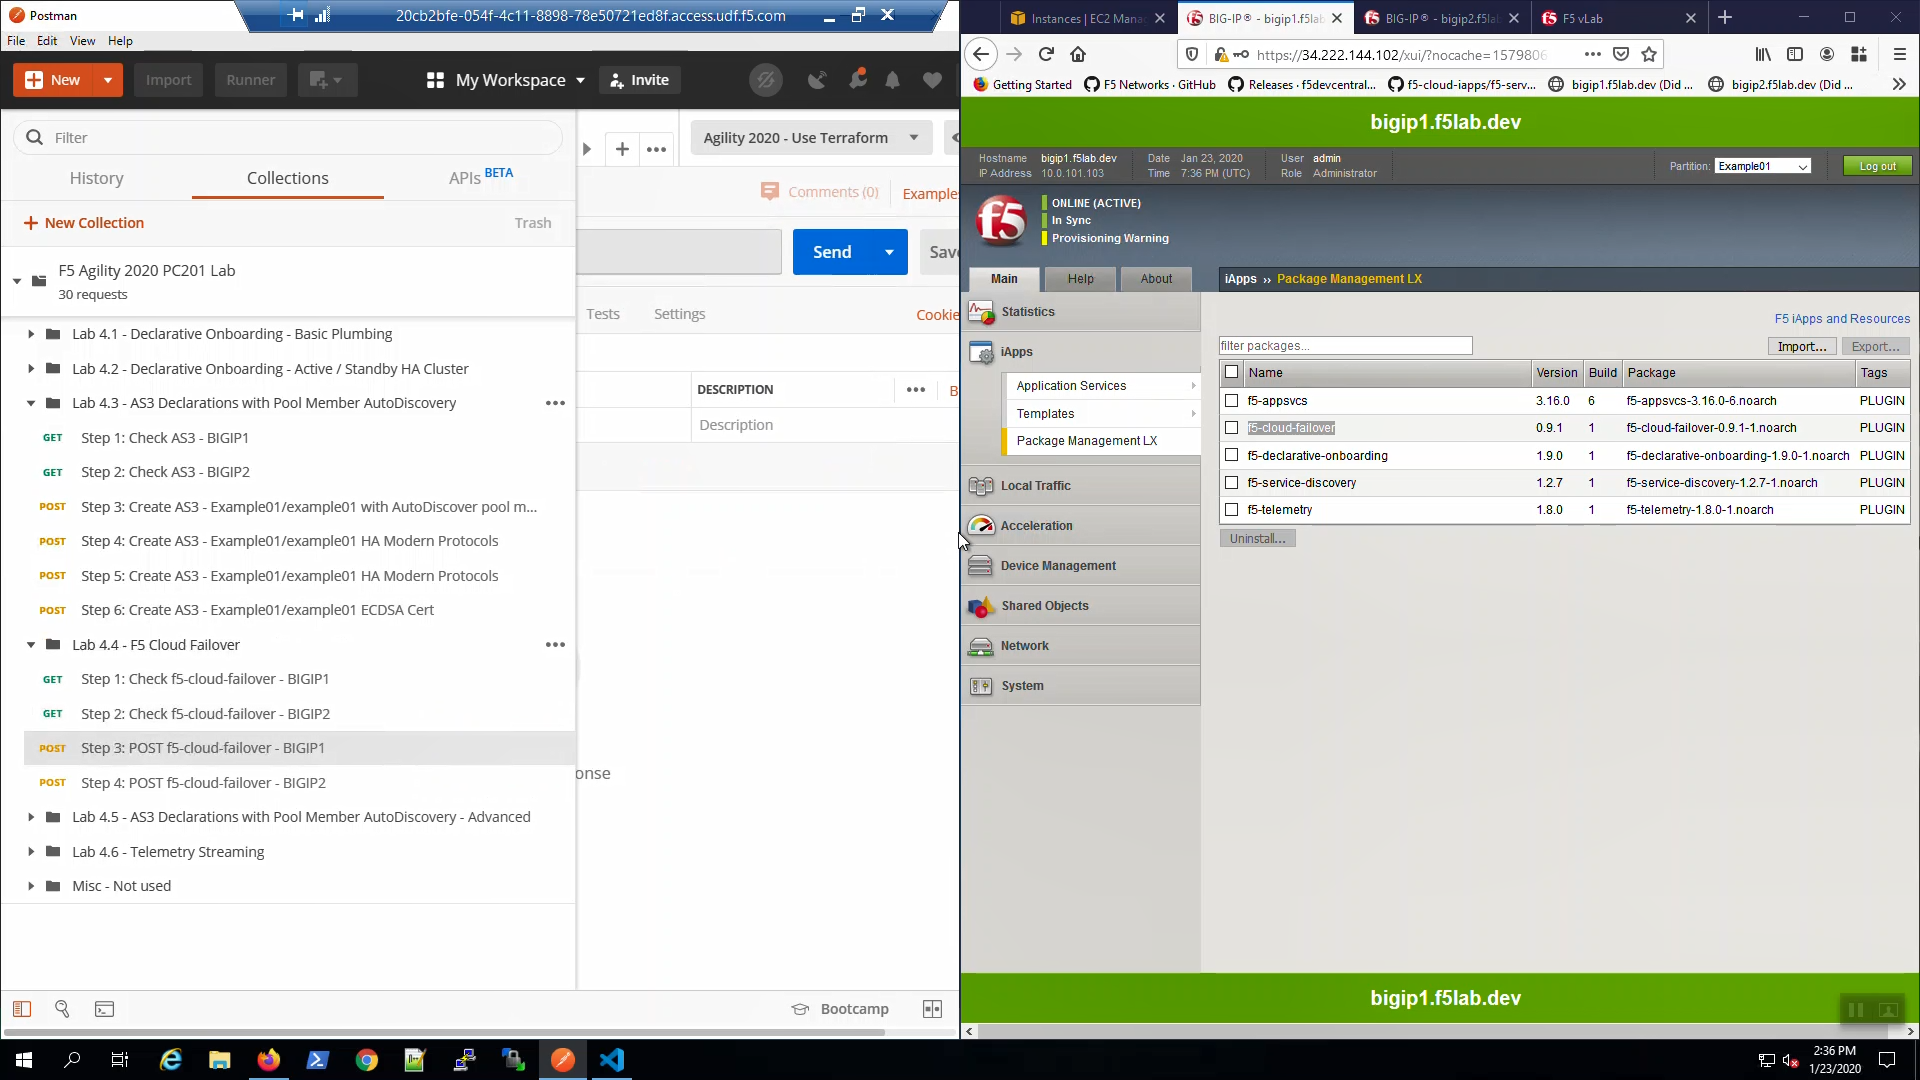
Do the same for Big-IP2.
From Postman, “Lab - F5 Cloud Failover” => “Step 1: Check f5-cloud-failover - BIGIP1”. => [Send].
A “200 OK” response indicates the f5-cloud-failover extension is ready.

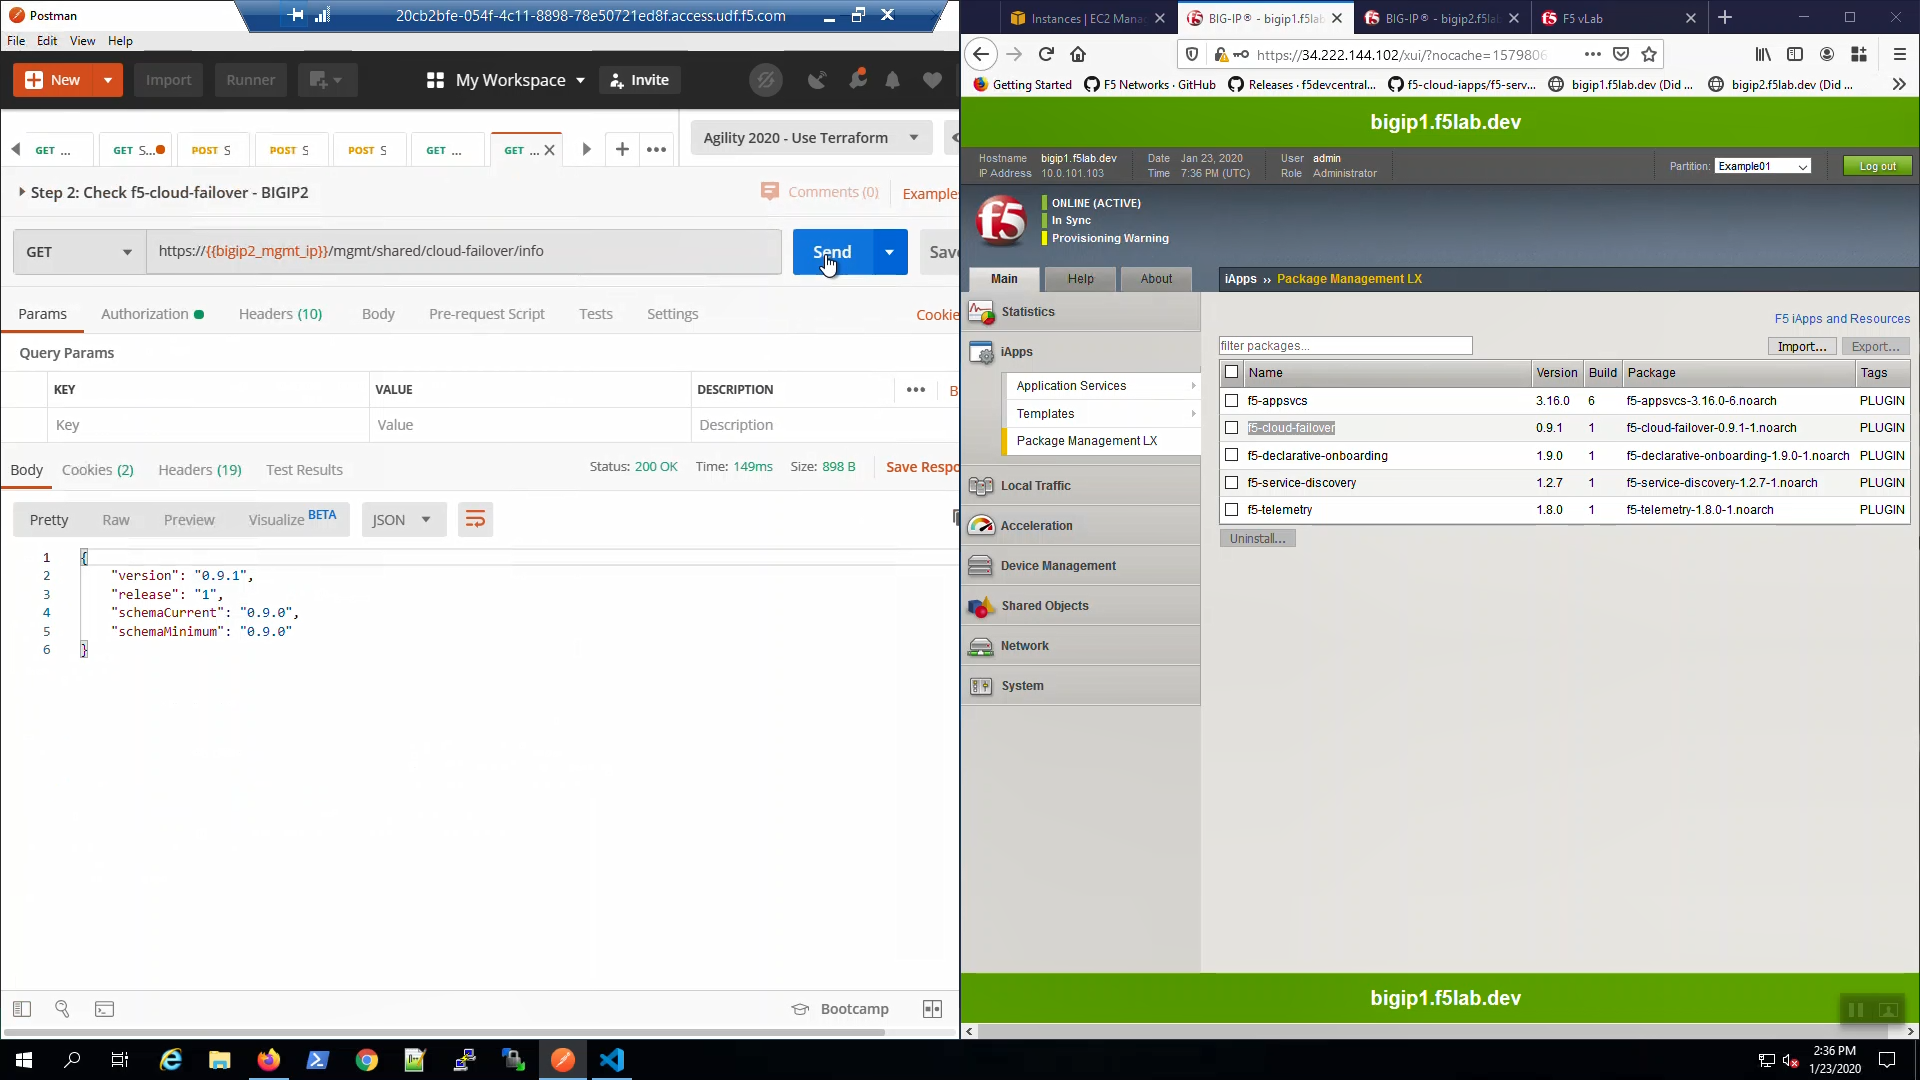
From Postman, “Lab - F5 Cloud Failover” => “Step 2: Check f5-cloud-failover - BIGIP2”. => [Send].
A “200 OK” response indicates the f5-cloud-failover extension is ready.
2.7.2. AWS Tags to Track Cloud Failover Objects
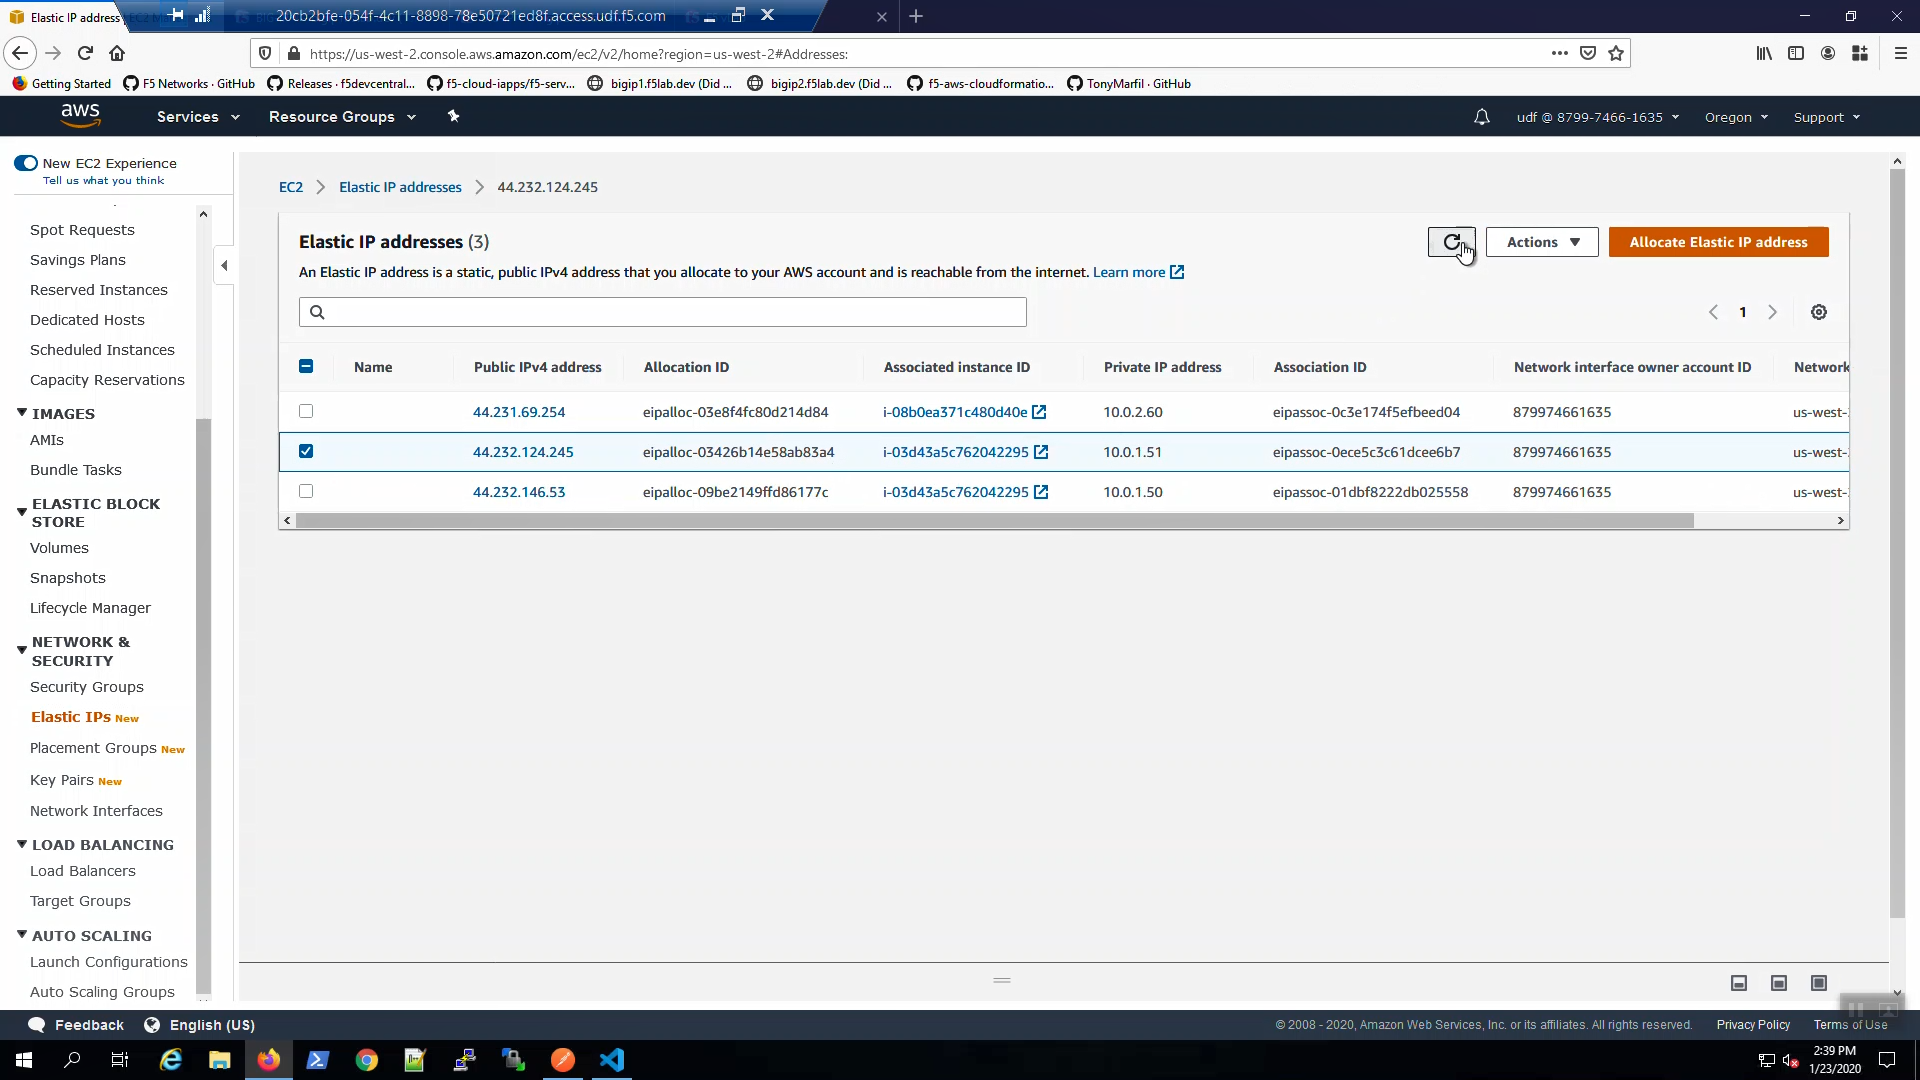
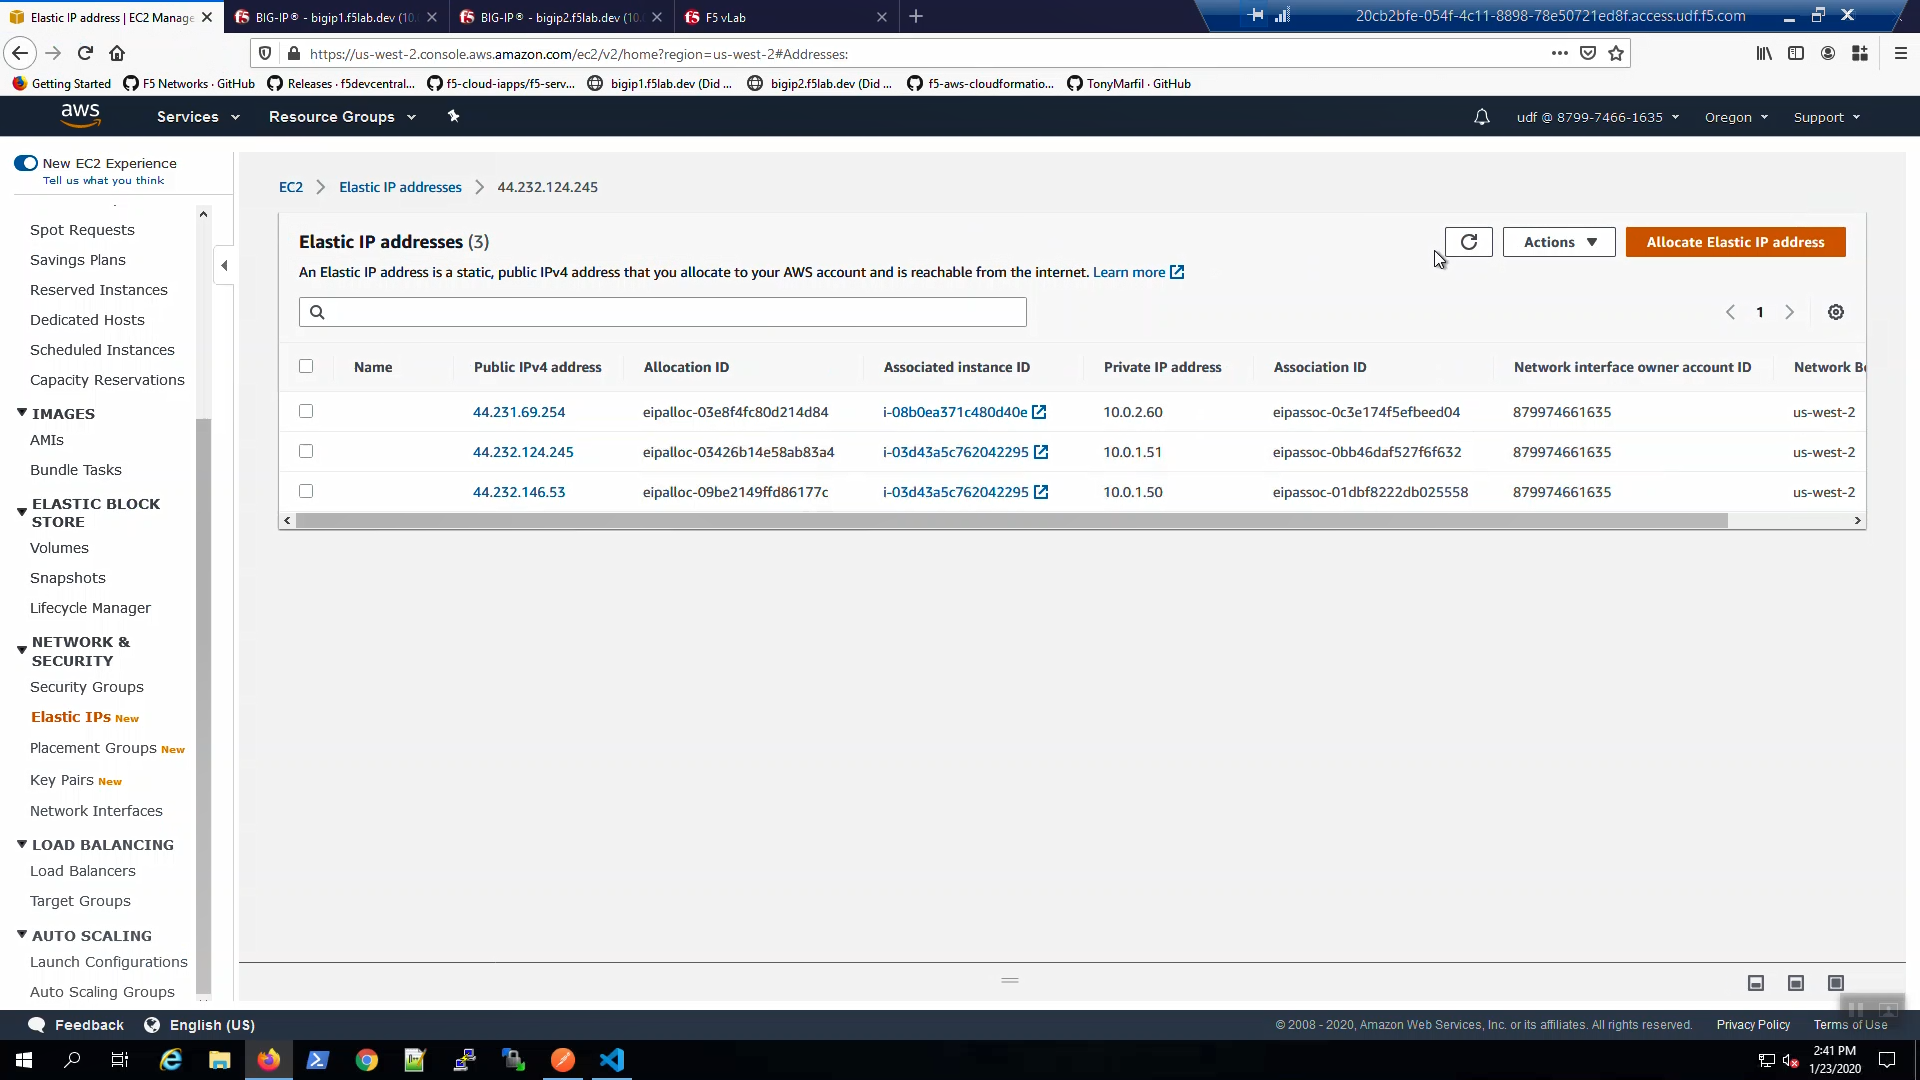
From the AWS Console, Services => EC2 => NETWORK & SECURITY => Elastic IPs. Select the Elastic IP (public IP) mapped to 10.0.1.51. Select the “Tags” tab below. Note the Elastic IP has been tagged for use by the f5-cloud-failover extension

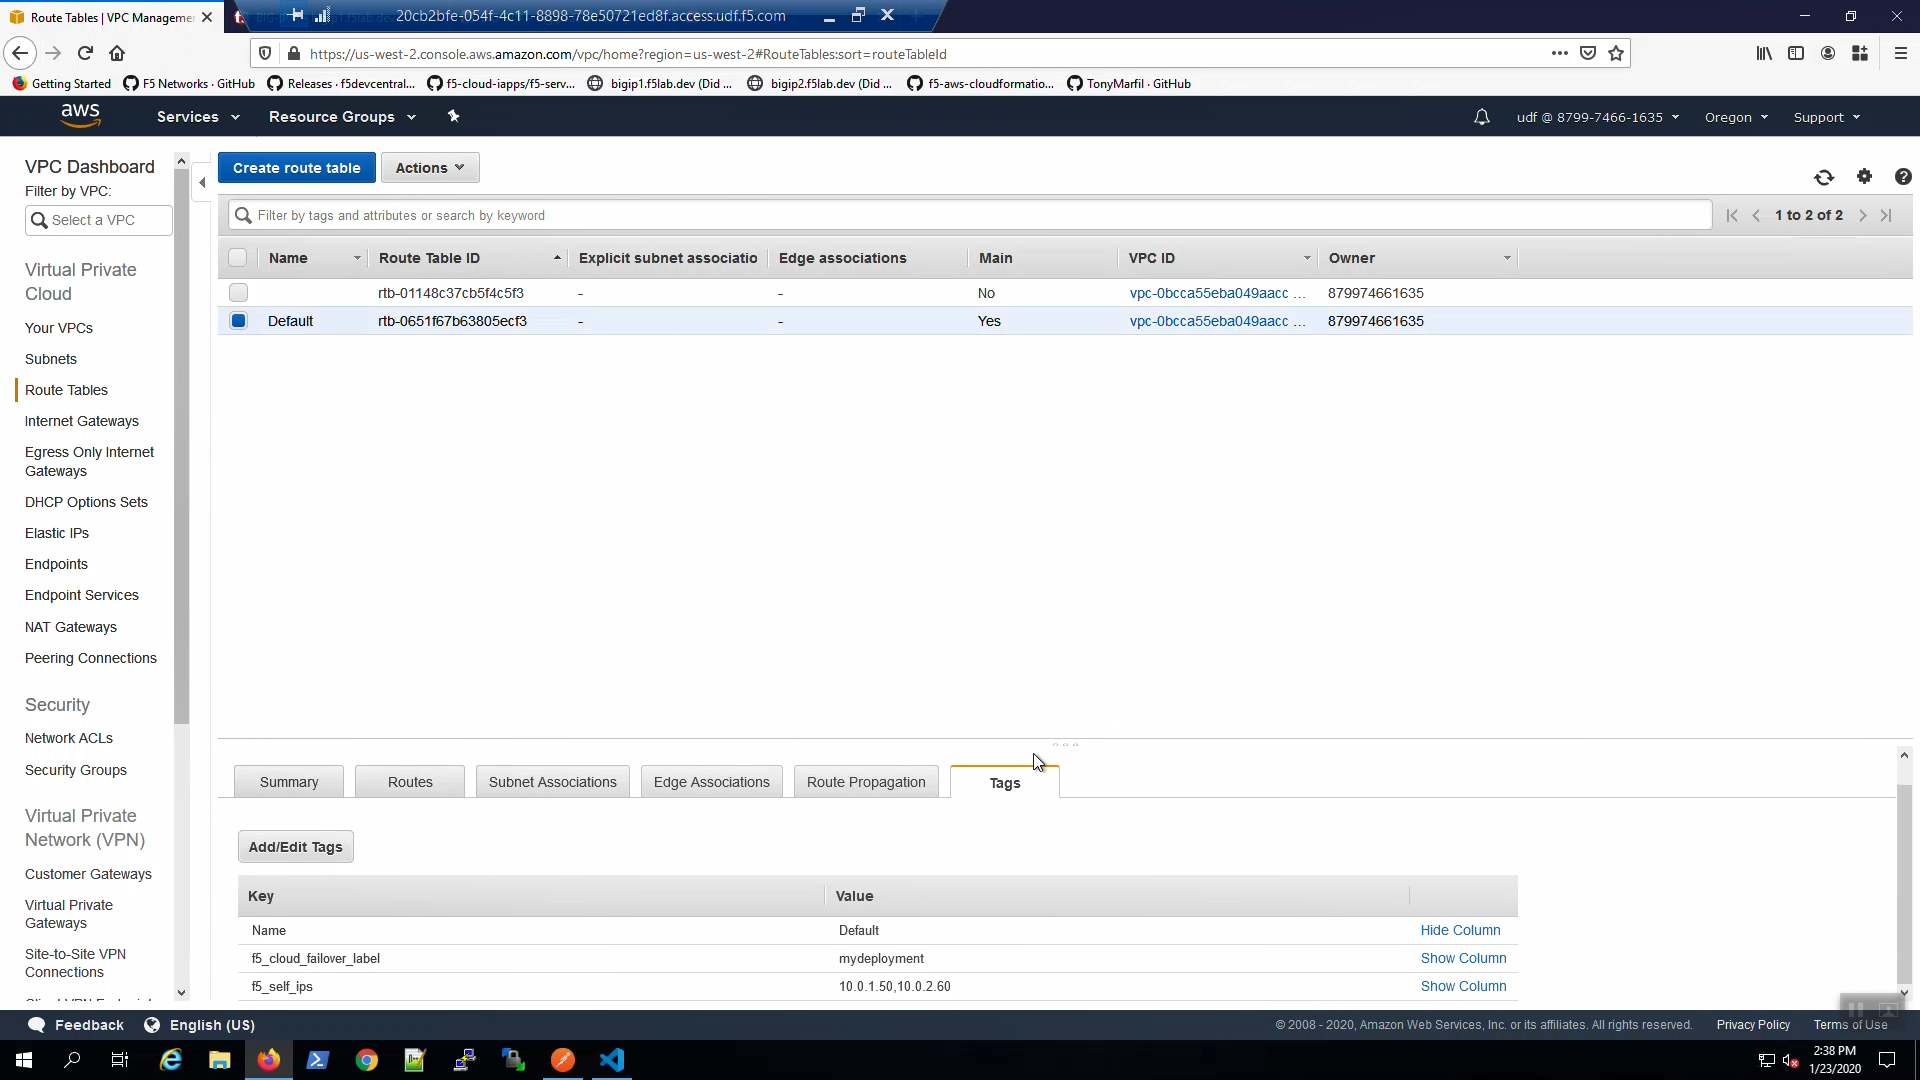
From the AWS Console, Services => VPC => Route Tables. Select the Default route table. Select the “Tags” tab below. Note the route table has been tagged for use by the f5-cloud-failover extension.
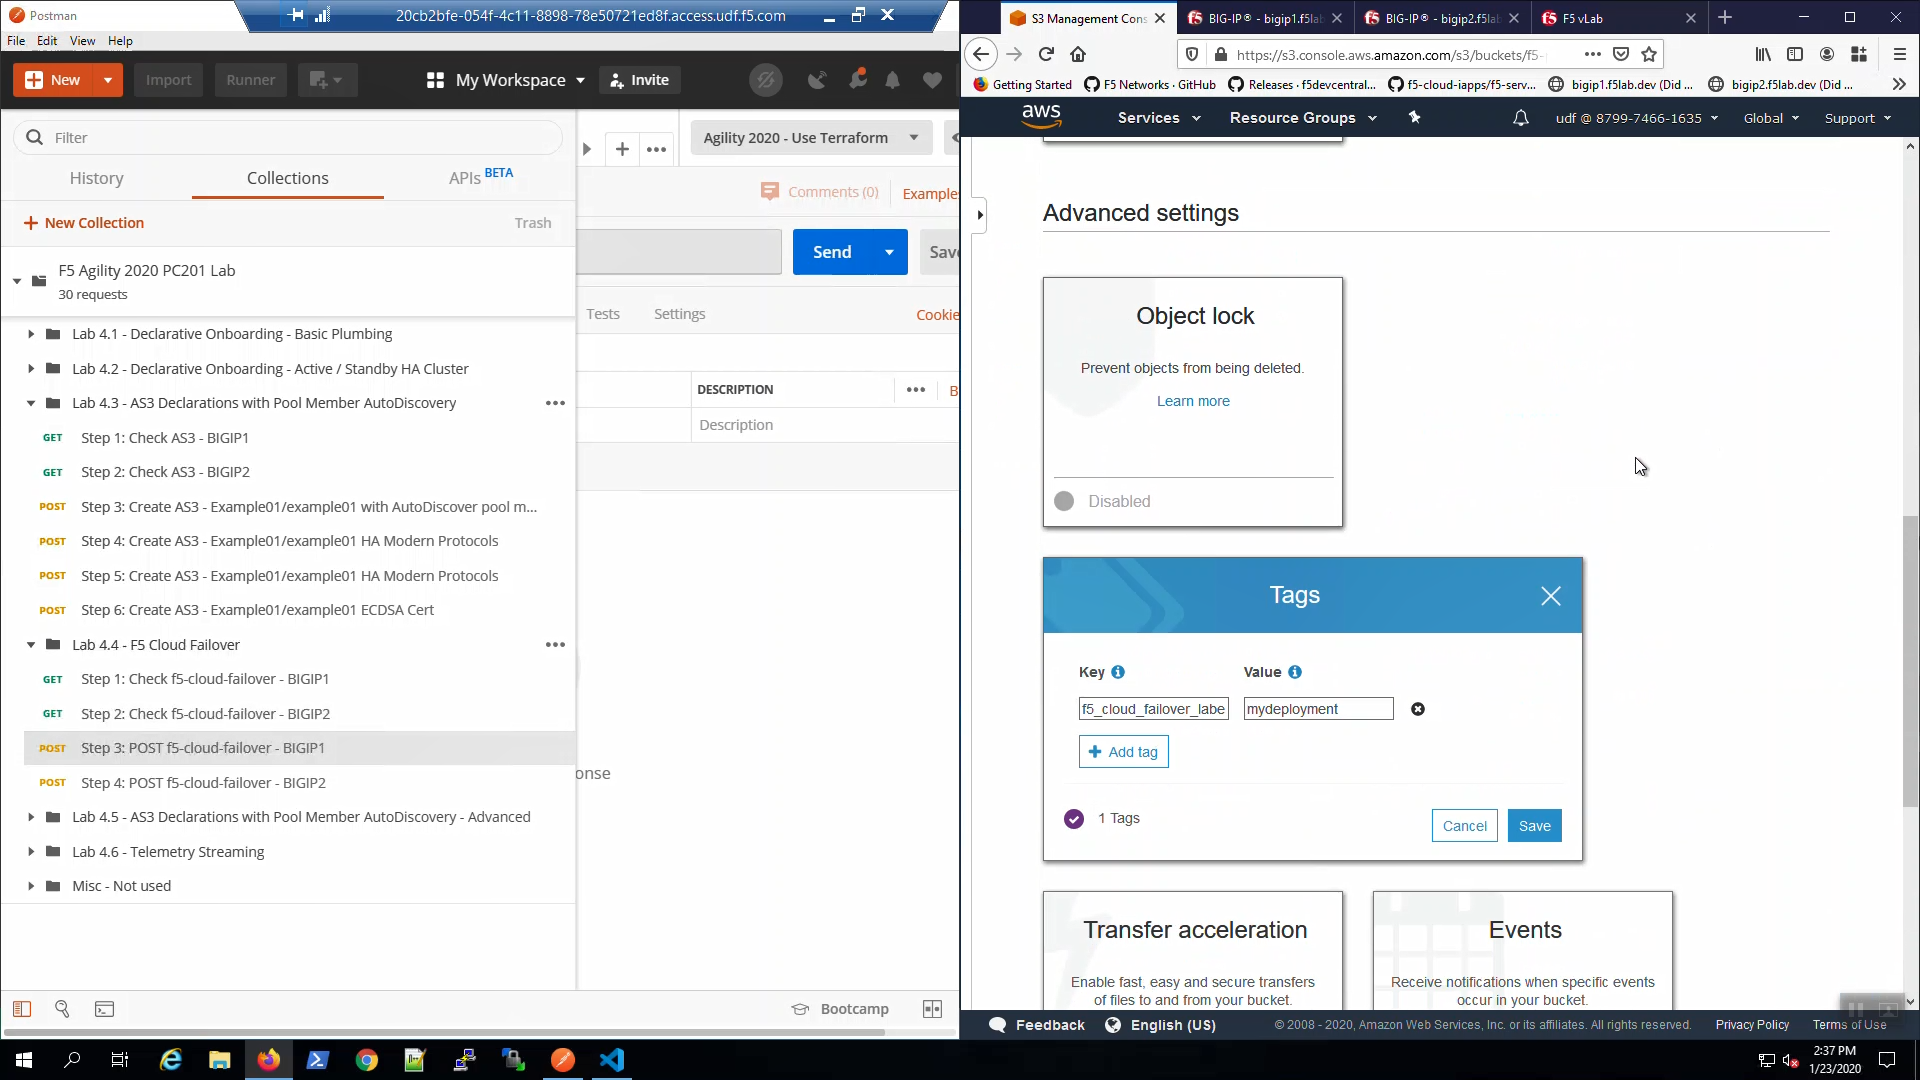
From the AWS Console, Services => S3. Note the S3 bucket has been tagged for use by the f5-cloud-failover extension.
2.7.3. POST F5 Cloud Failover Declaration
From Postman, “Lab - F5 Cloud Failover” => “Step 3: POST f5-cloud-failover - BIGIP1”. => [Send]. A “200 OK” response indicates the declaration was successfully posted.
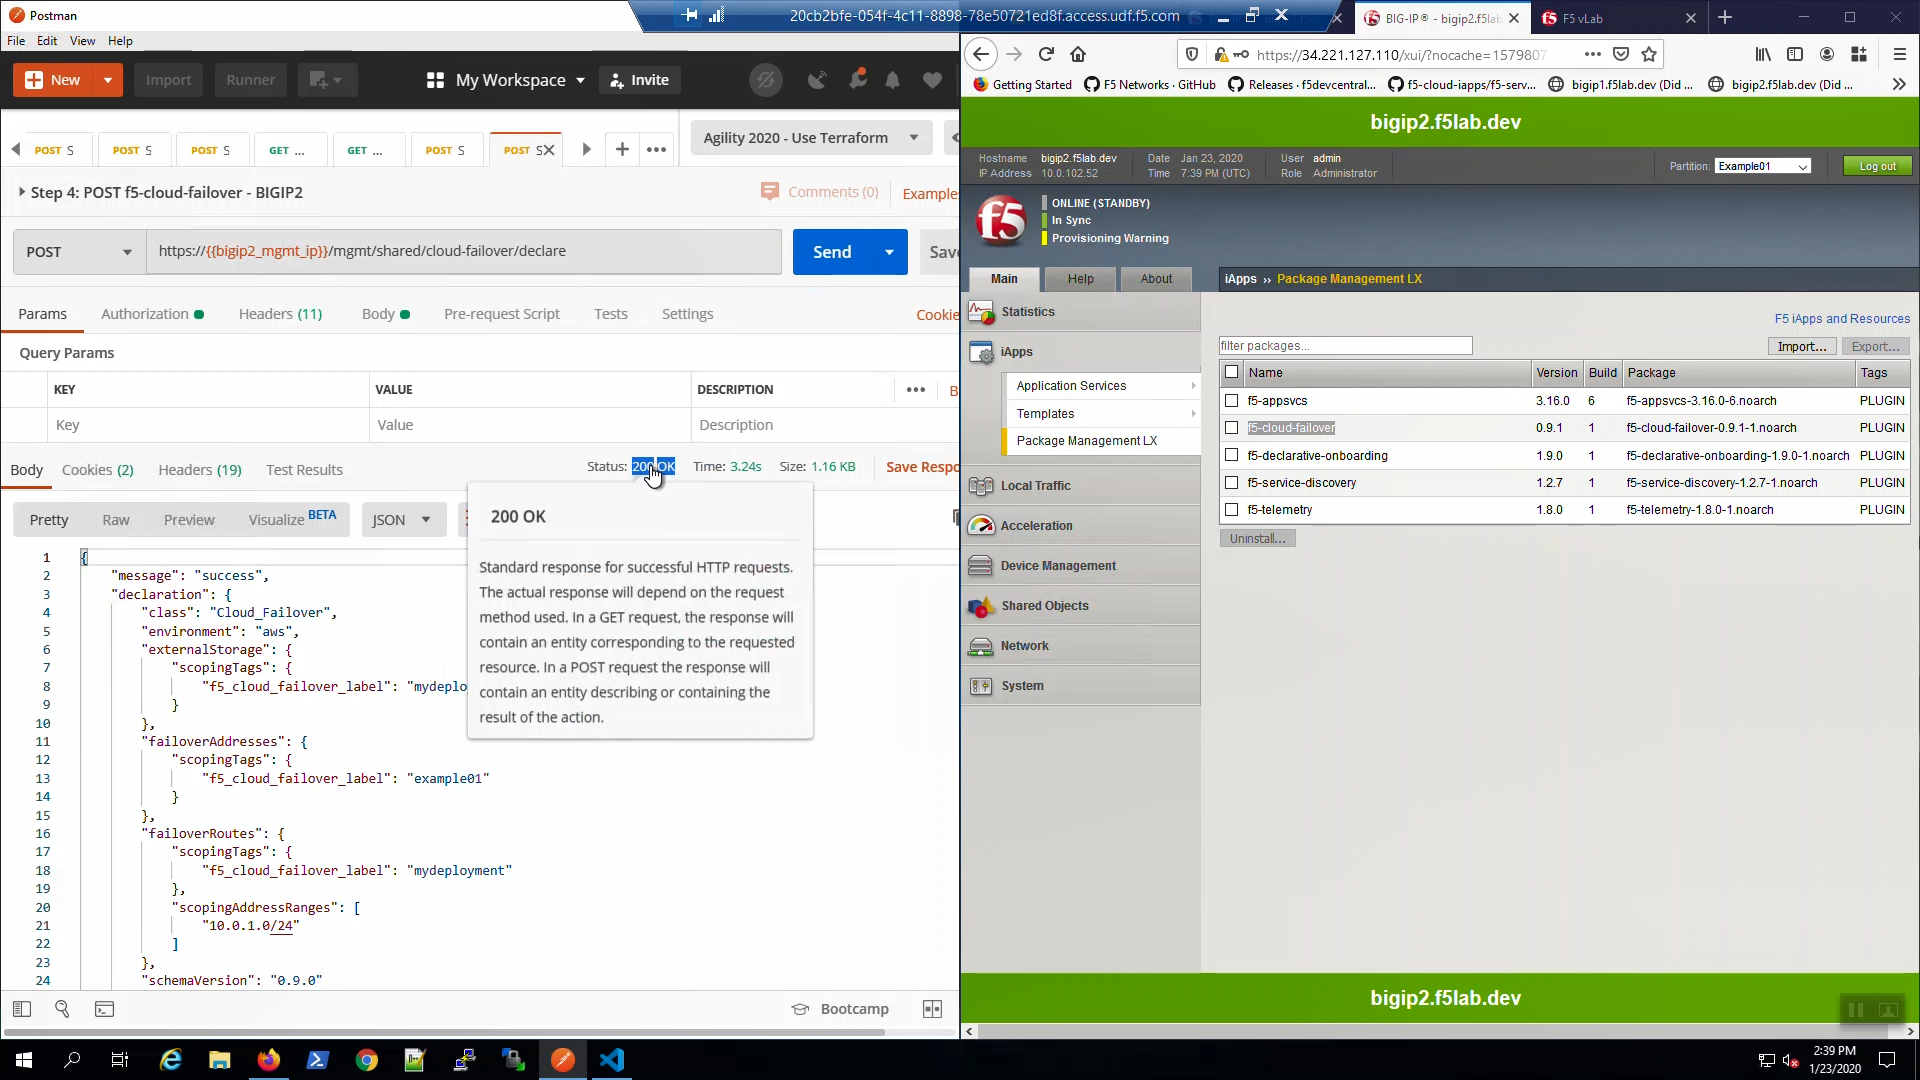
From Postman, “Lab - F5 Cloud Failover” => “Step 4: POST f5-cloud-failover - BIGIP2”. => [Send]. A “200 OK” response indicates the declaration was successfully posted.
2.7.4. Test Failover
From the AWS Console, Services => NETWORK & SECURITY => Elastic IPs. Select the Elastic IP (public IP) mapped to 10.0.1.51. Select the “Tags” tab below.
From the Visual Studio Code Terminal, note the value of virtual_server01_elastic_ip.
terraform output virtual_server01_elastic_ip
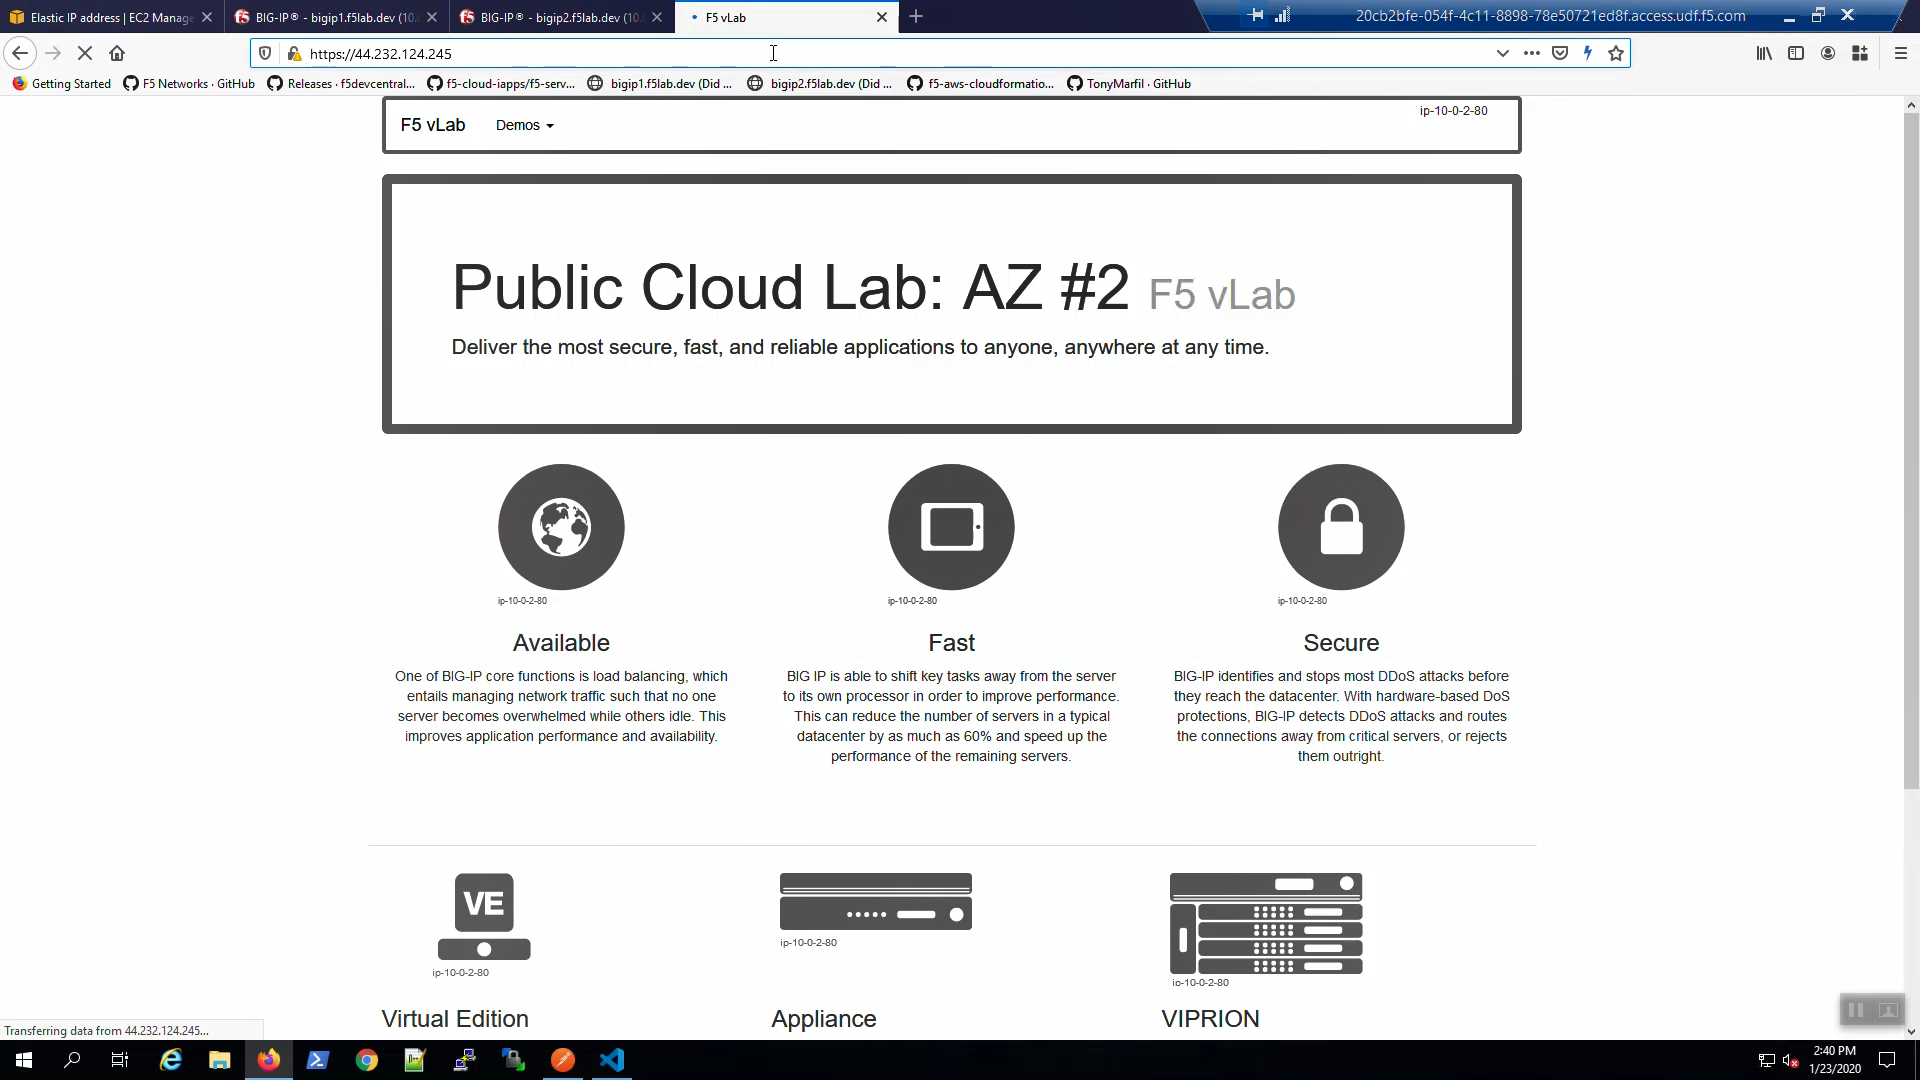
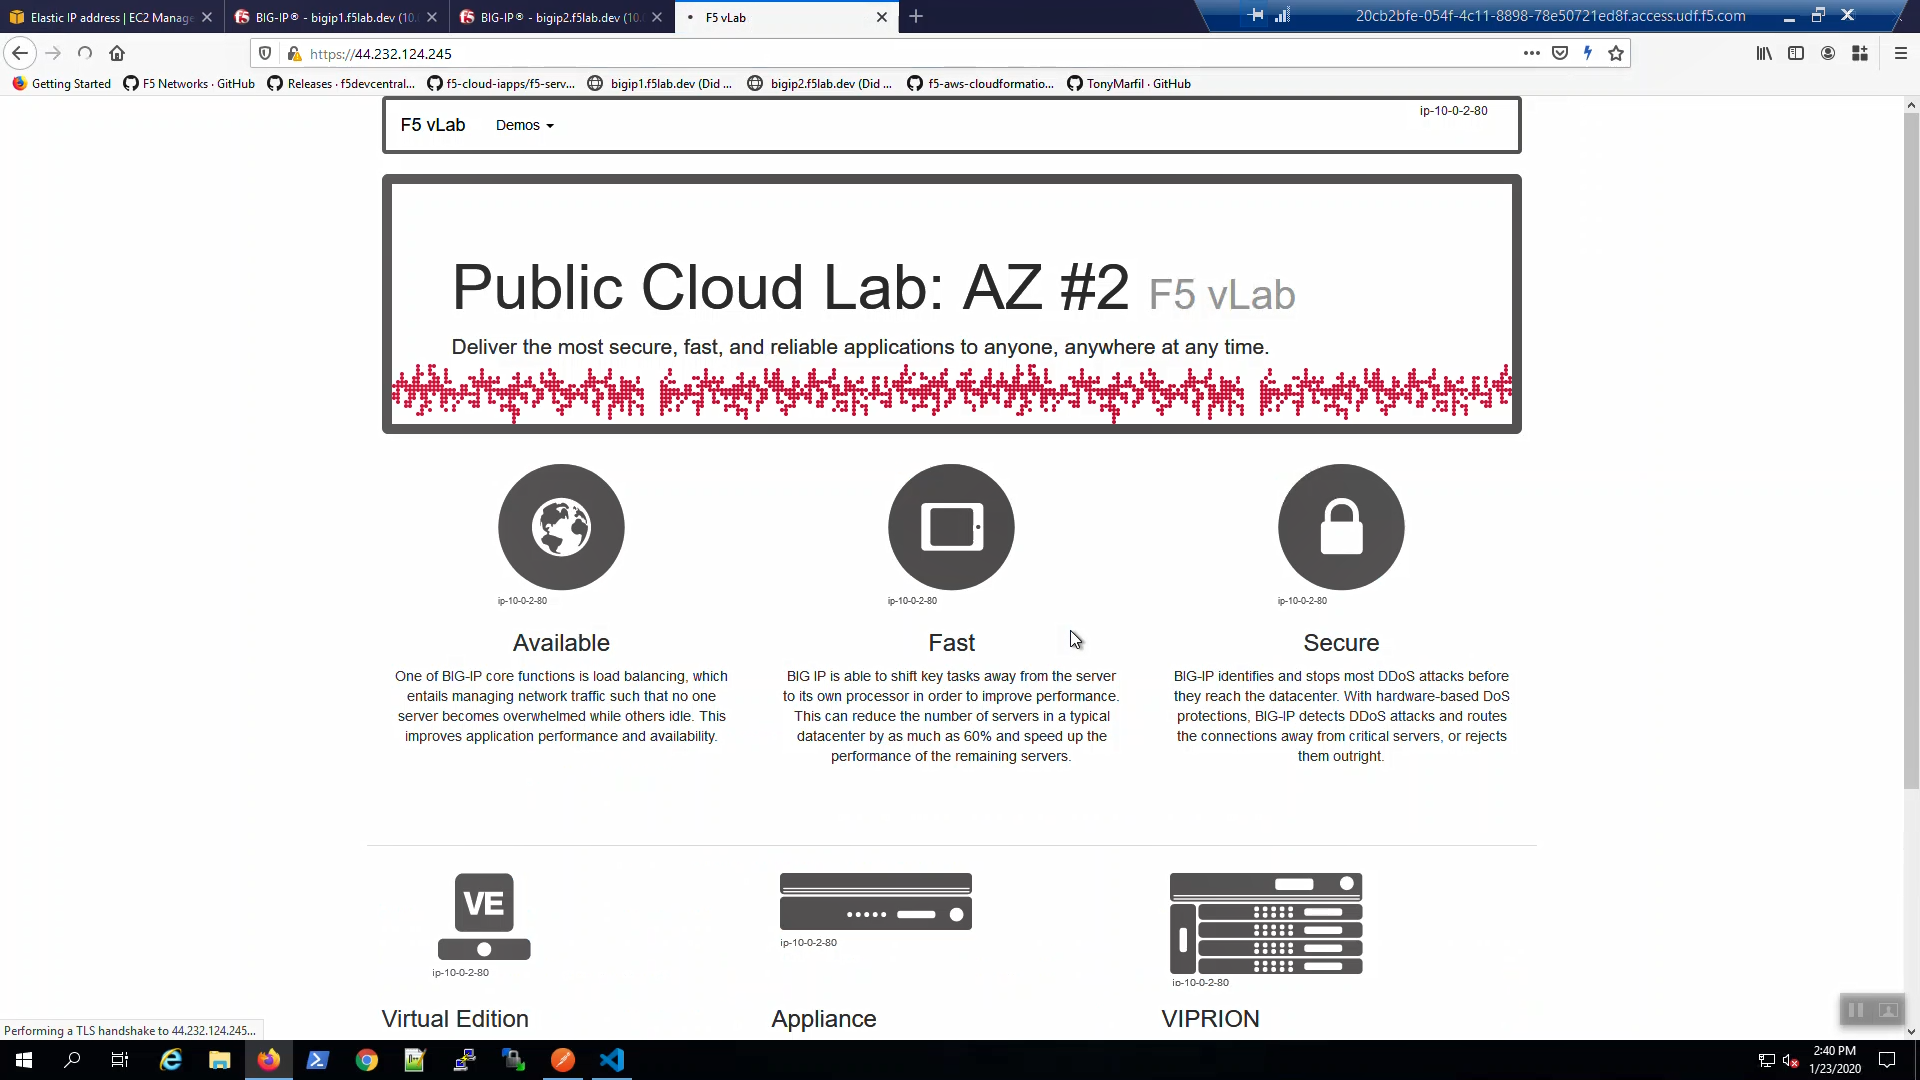
Open a new browser tab. Connect via HTTPS to virtual_server01_elastic_ip or if you already have a tab open to the example application from a previous section, use that.
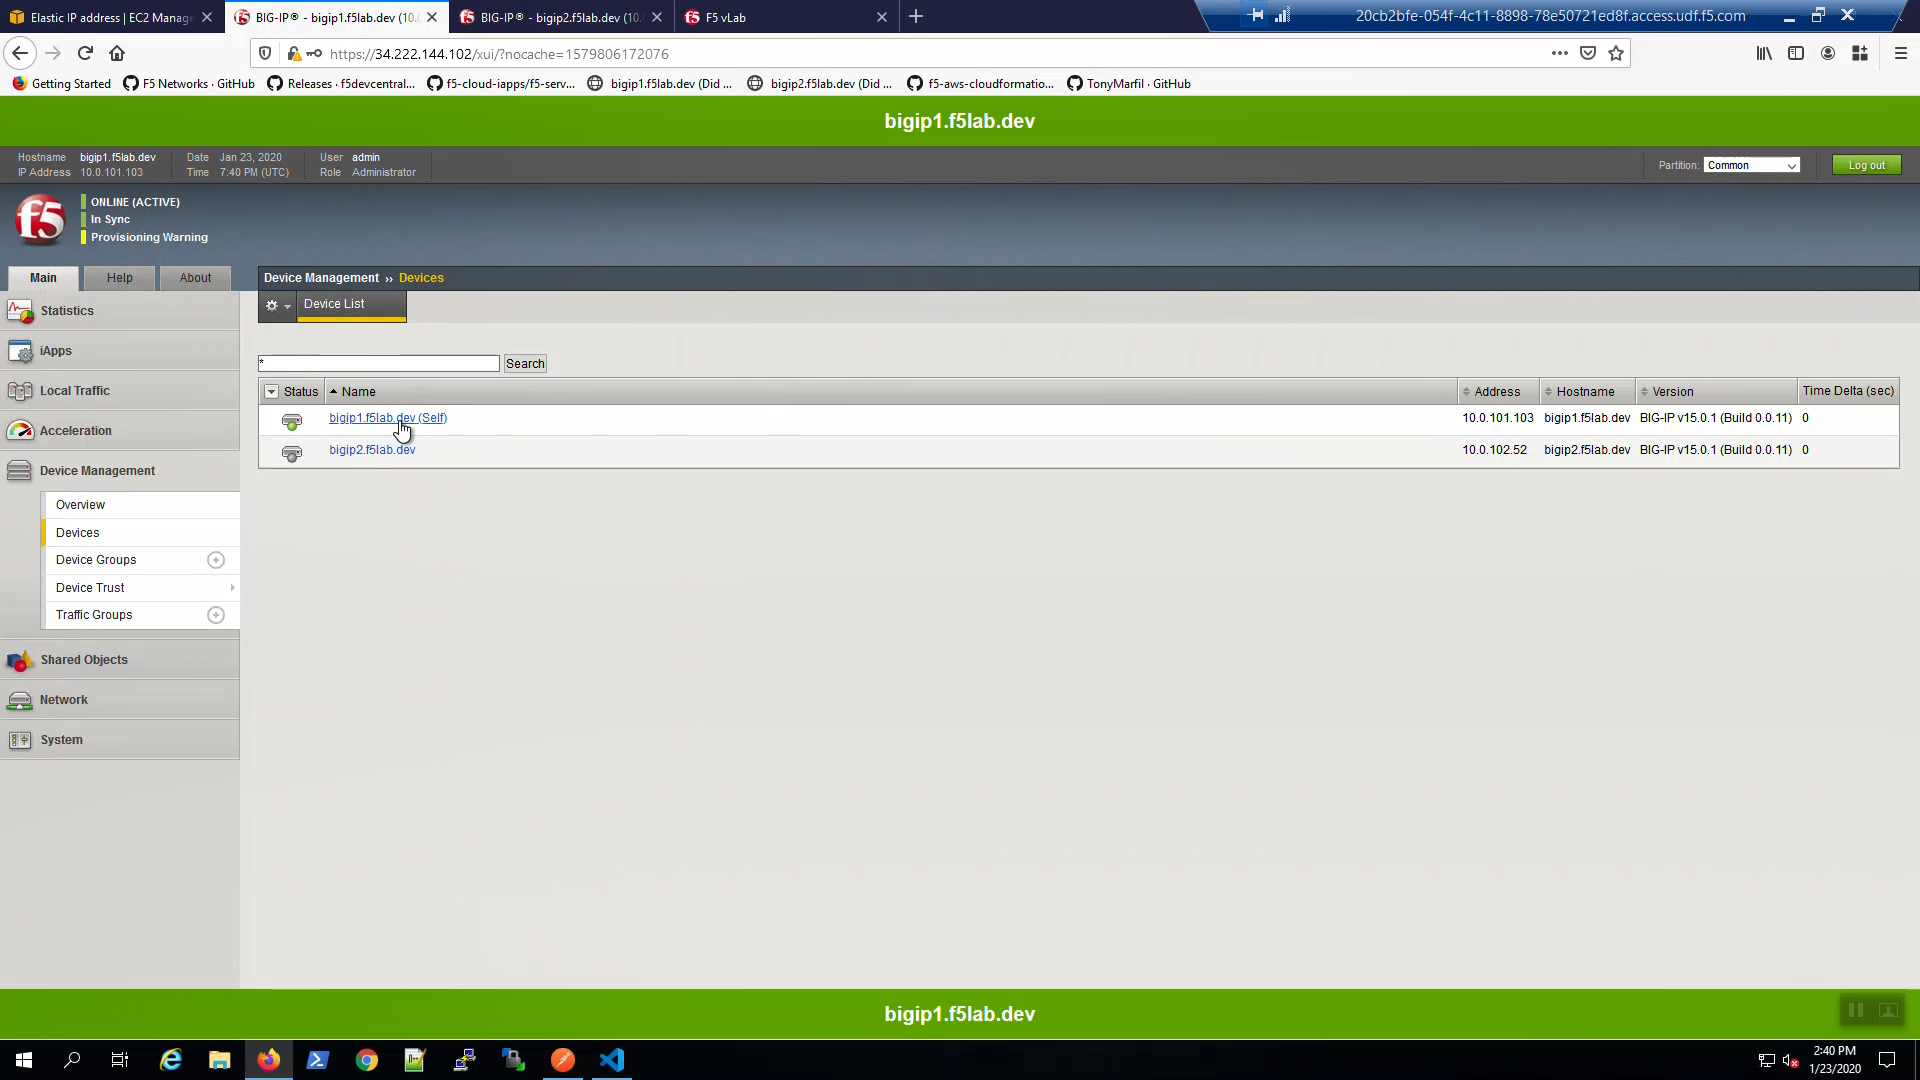
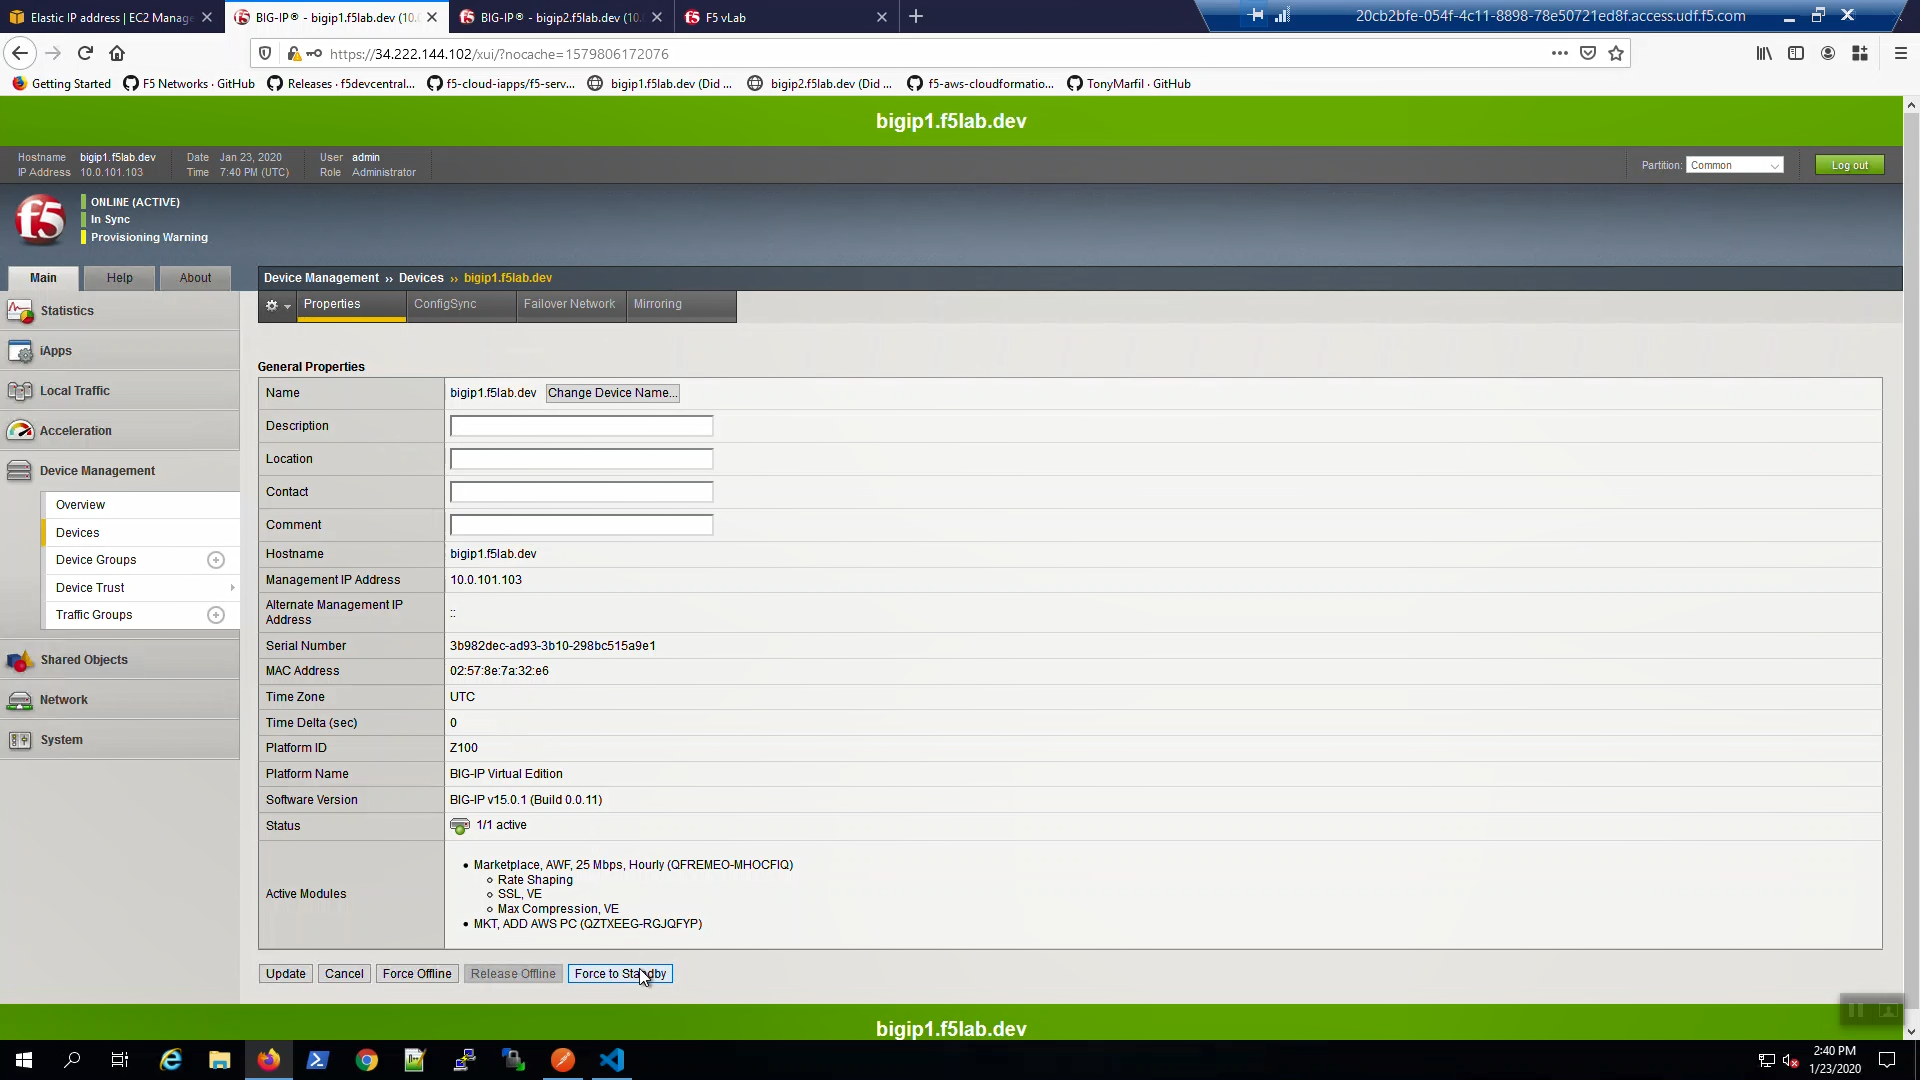
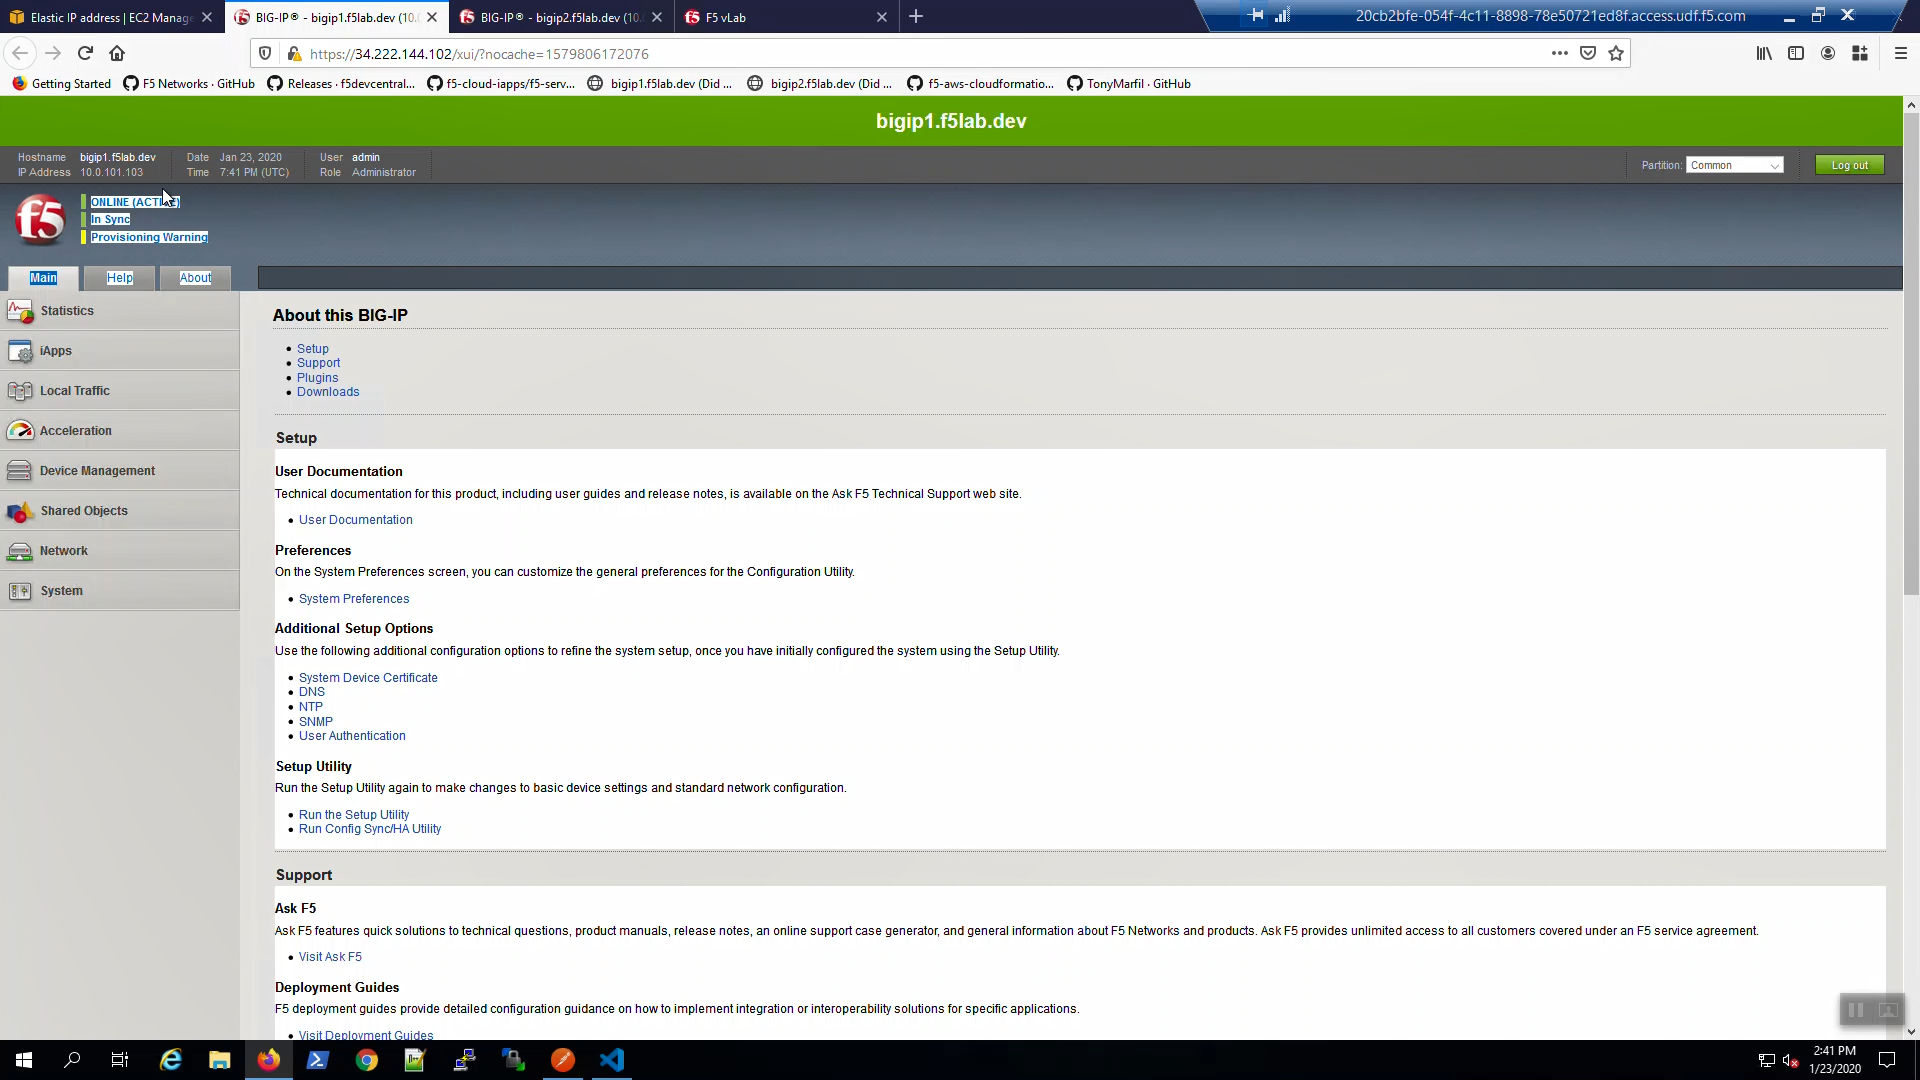
From Big-IP1, Device Management => Devices => bigip1.f5lab.dev.
Force bigip1.f5lab.dev to standby. Click [Force to Standby].
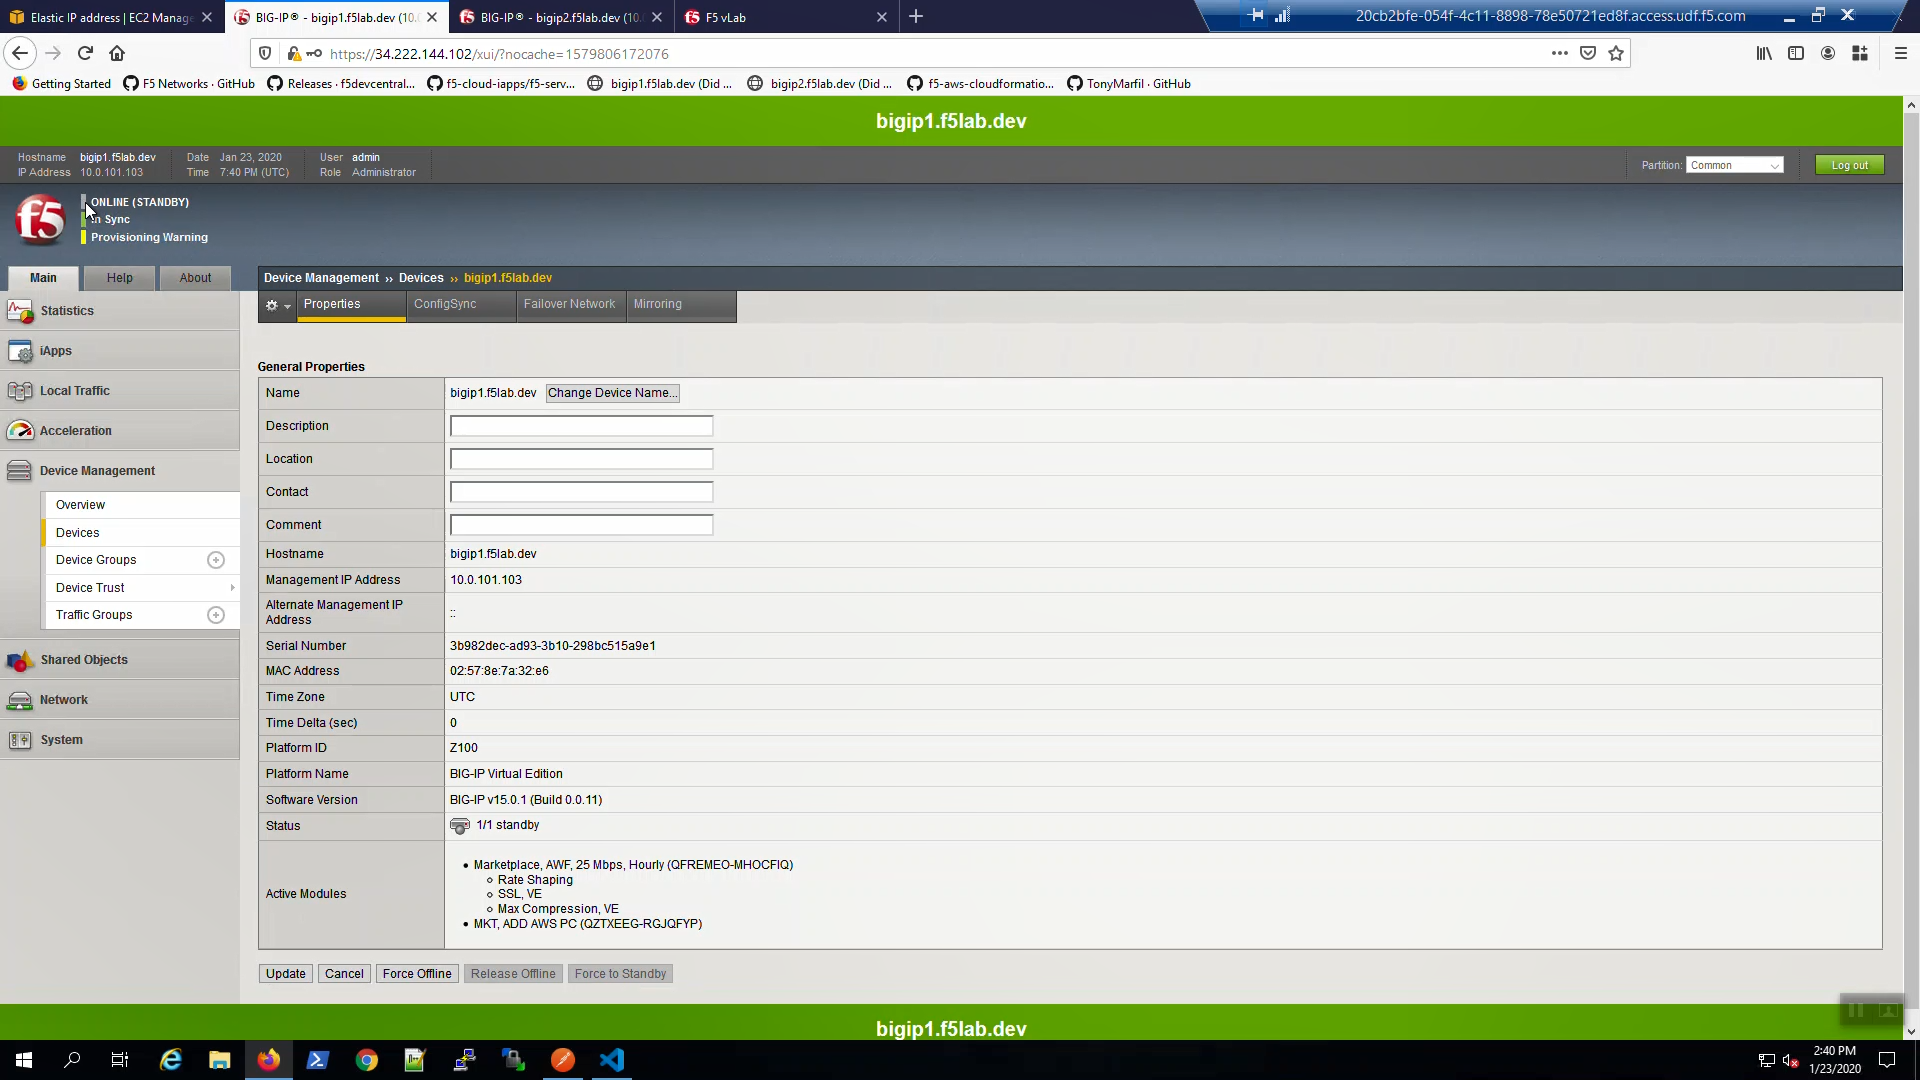
On Big-IP1, in the upper-left-hand corner, note “ONLINE (STANDBY)”.
From Big-IP2, in the upper-left-hand corner, note “ONLINE (ACTIVE)”. Big-IP2 was immediately promoted to active and Big-IP1 demoted to standby.

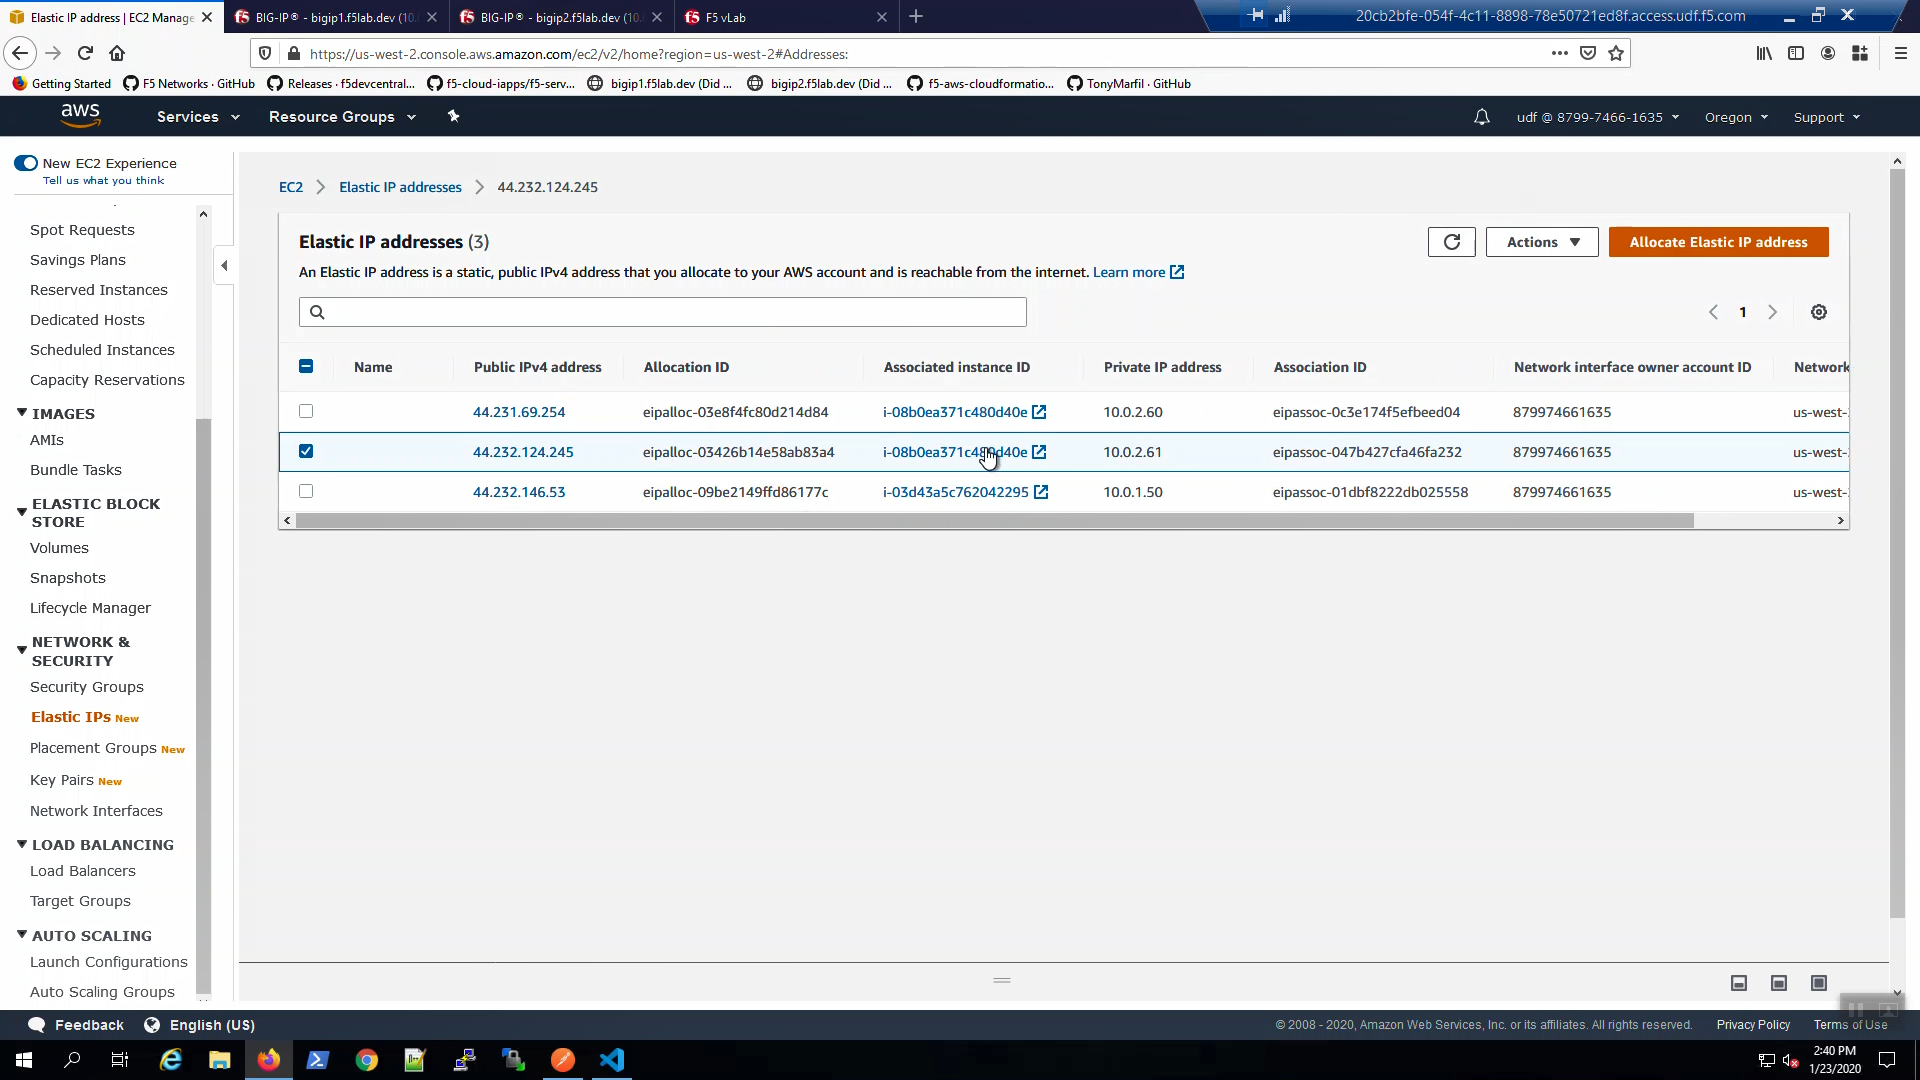
From the AWS Console, Services => NETWORK & SECURITY => Elastic IPs. Select the Elastic IP (public IP) previously mapped to 10.0.1.51. Hit the refresh icon until you see the new mapping to 10.0.1.61 (Big-IP2).
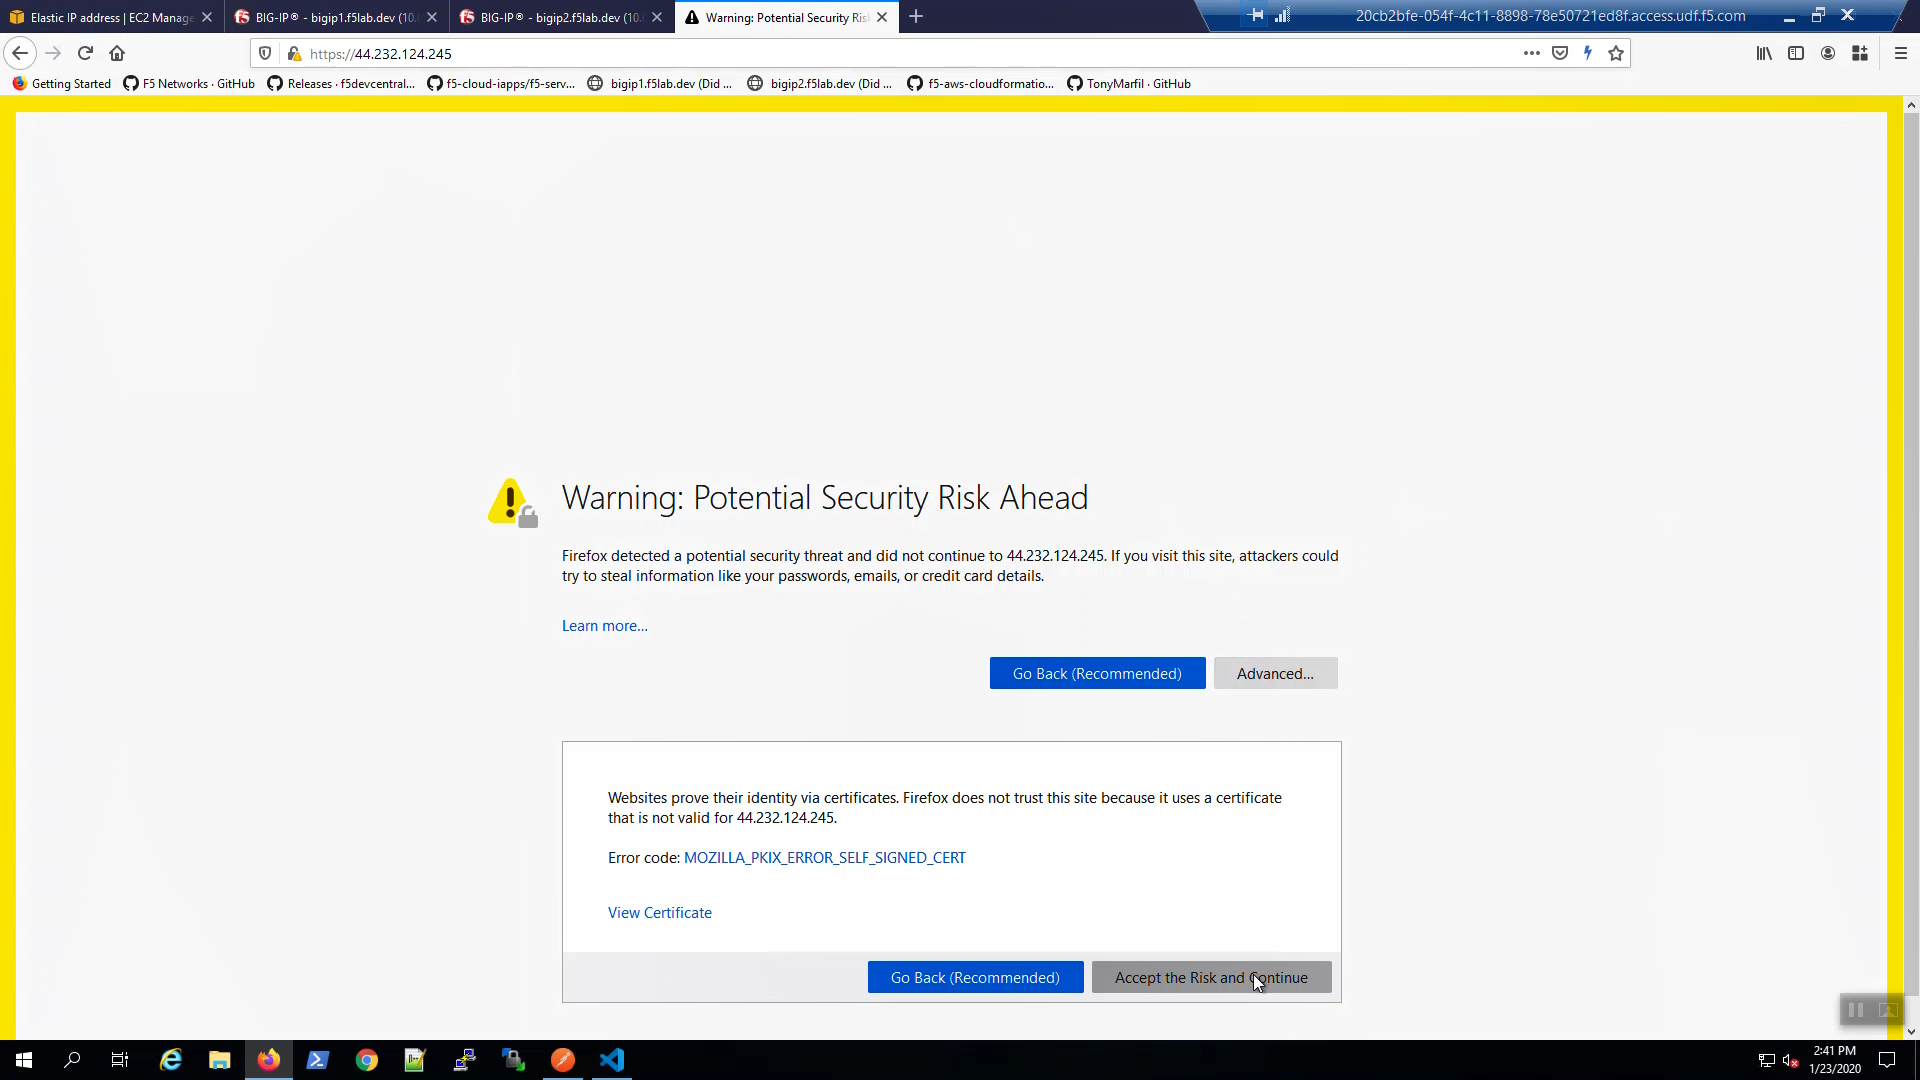
Back to the browser tab with the example application. [CTRL] + [F5] a few times to refresh the browser. We are using self-signed certificates in the lab. Bypass the TLS warnings. “Accept the Risk and Continue”.

Attention
The example application reports which Availability Zone is serving up the content (pool member), not which Availability Zone is hosting the active Big-IP.
From Big-IP2, Device Management => Devices => bigip2.f5lab.dev.
Force bigip2.f5lab.dev to standby. Click [Force to Standby].
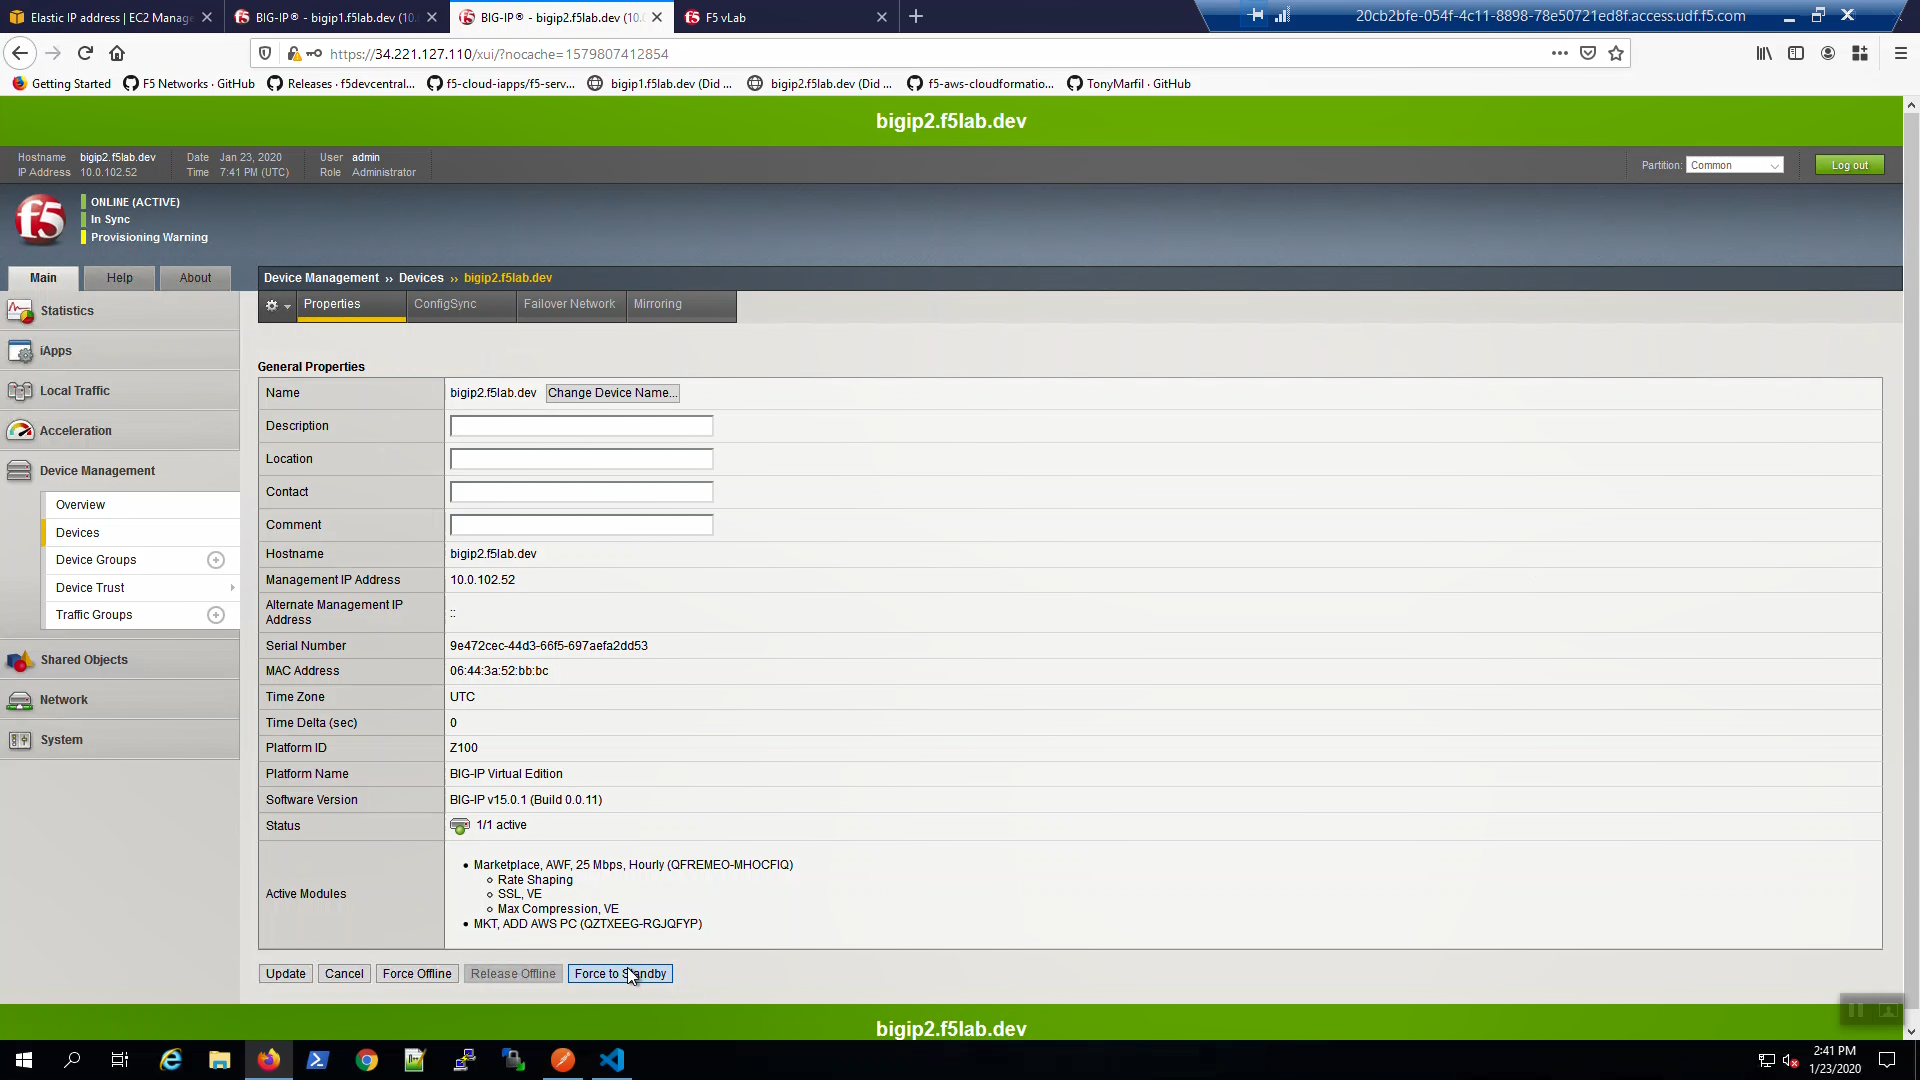
On Big-IP2, in the upper-left-hand corner, note “ONLINE (STANDBY)”.
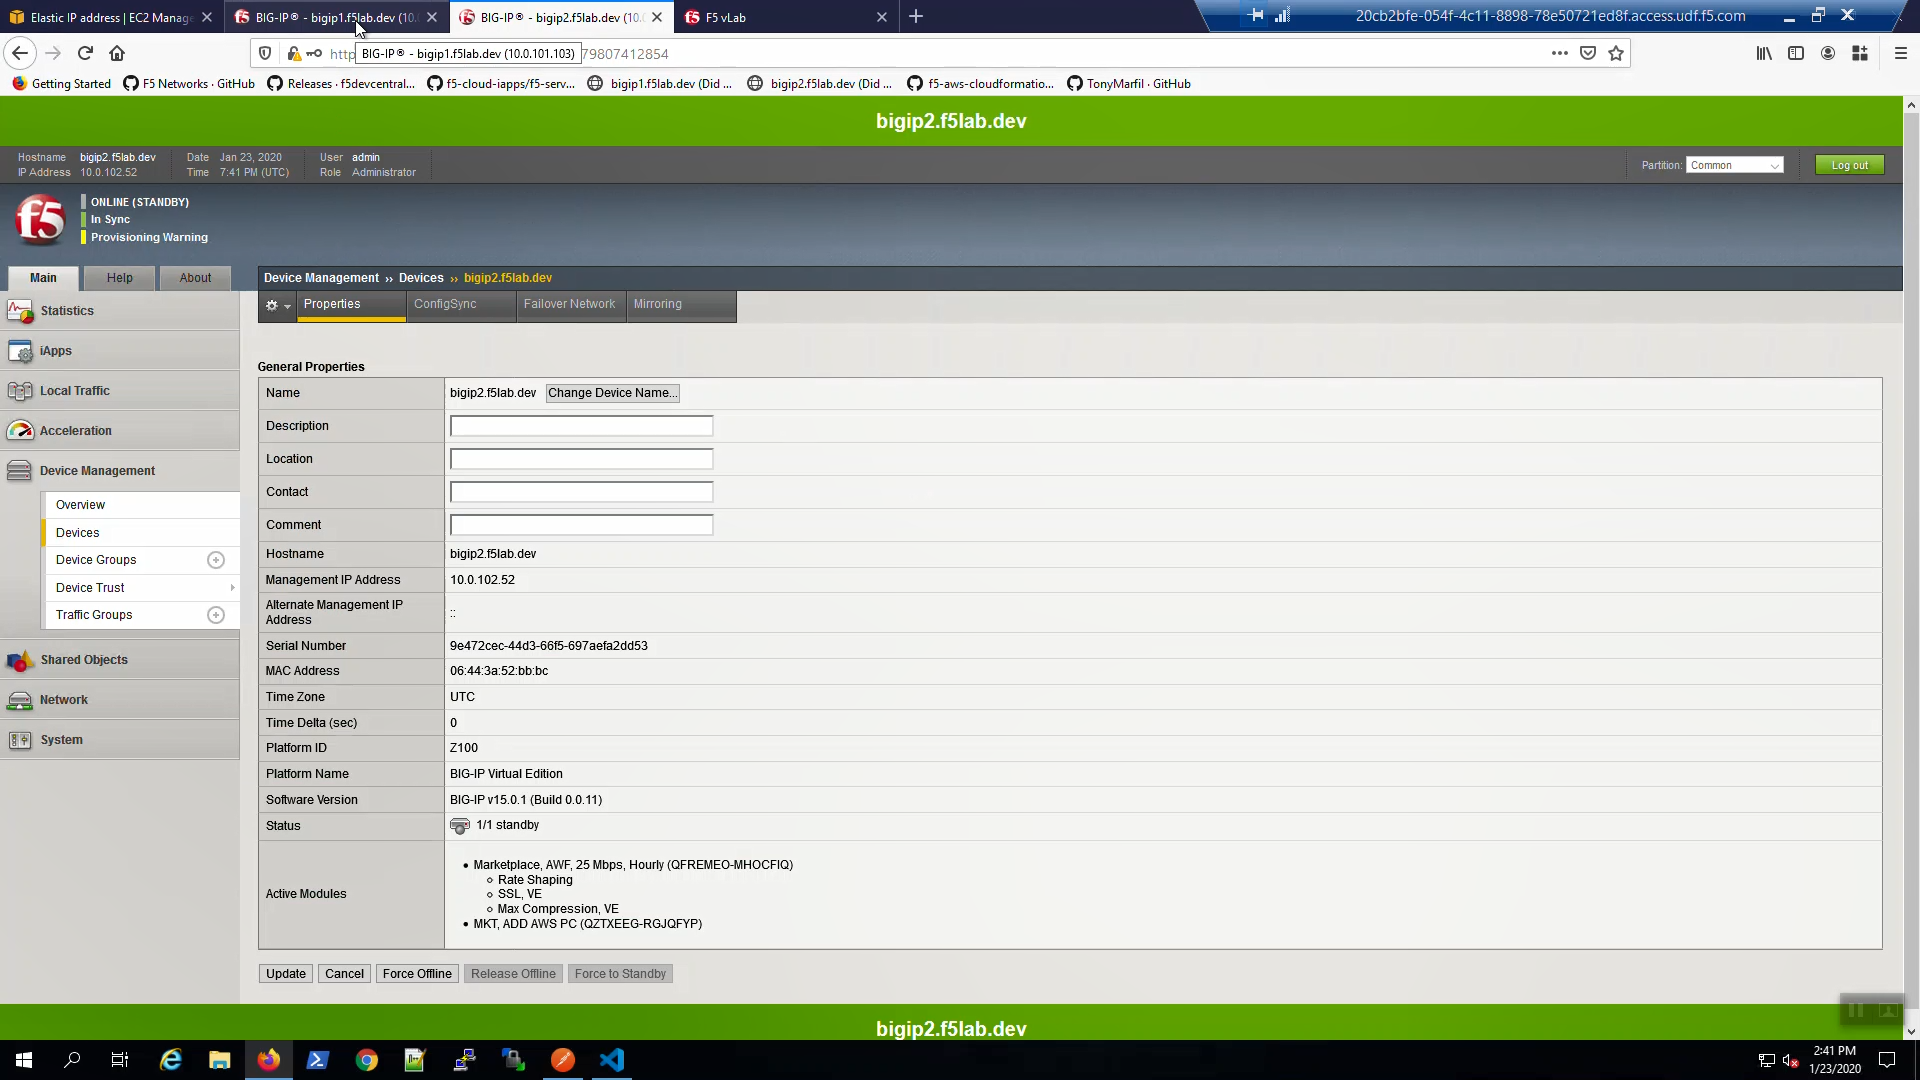
From Big-IP1, in the upper-left-hand corner, note “ONLINE (ACTIVE)”. Big-IP1 is now back to active.
From the AWS Console, Services => NETWORK & SECURITY => Elastic IPs. Select the Elastic IP (public IP) previously mapped to 10.0.1.61. Hit the refresh icon until you see the new mapping back to 10.0.1.51 (Big-IP1).
Back to the browser tab with the example application. [CTRL] + [F5] a few times to refresh the browser. We are using self-signed certificates in the lab. Bypass the TLS warnings. “Accept the Risk and Continue”.