F5 Public Cloud Solutions > 3. Class - PC 101 - Deploying F5 Solutions to AWS with CloudFormation Templates > 3.6. Creating High Availability Virtual Servers in AWS Source | Edit on
3.6.1. Install the TCP iApp
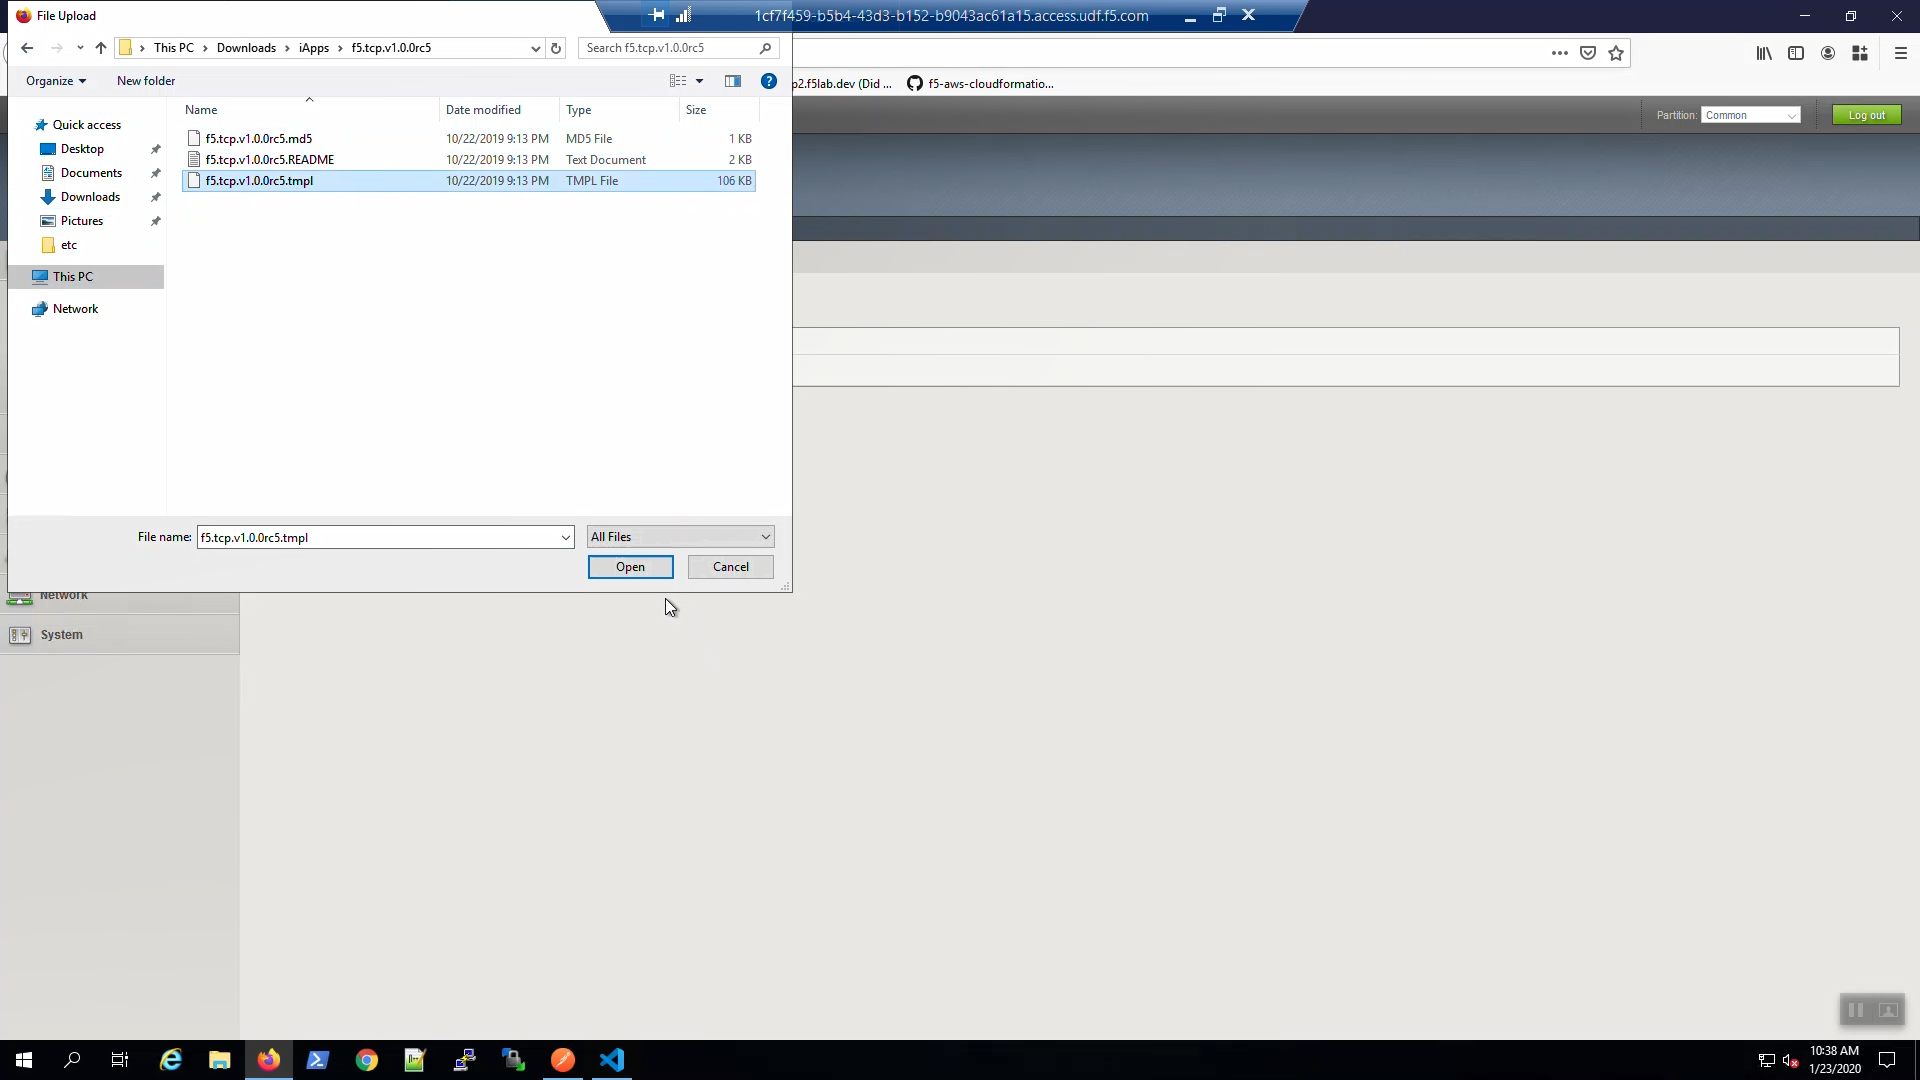
On Big-IP1, iApps => Templates => [Browse…] => \This PC \Downloads\iApps\f5.tcp.v1.0.0rc5\f5.tcp.v1.0.0rc5.tmpl => [Open]. Click [Upload].
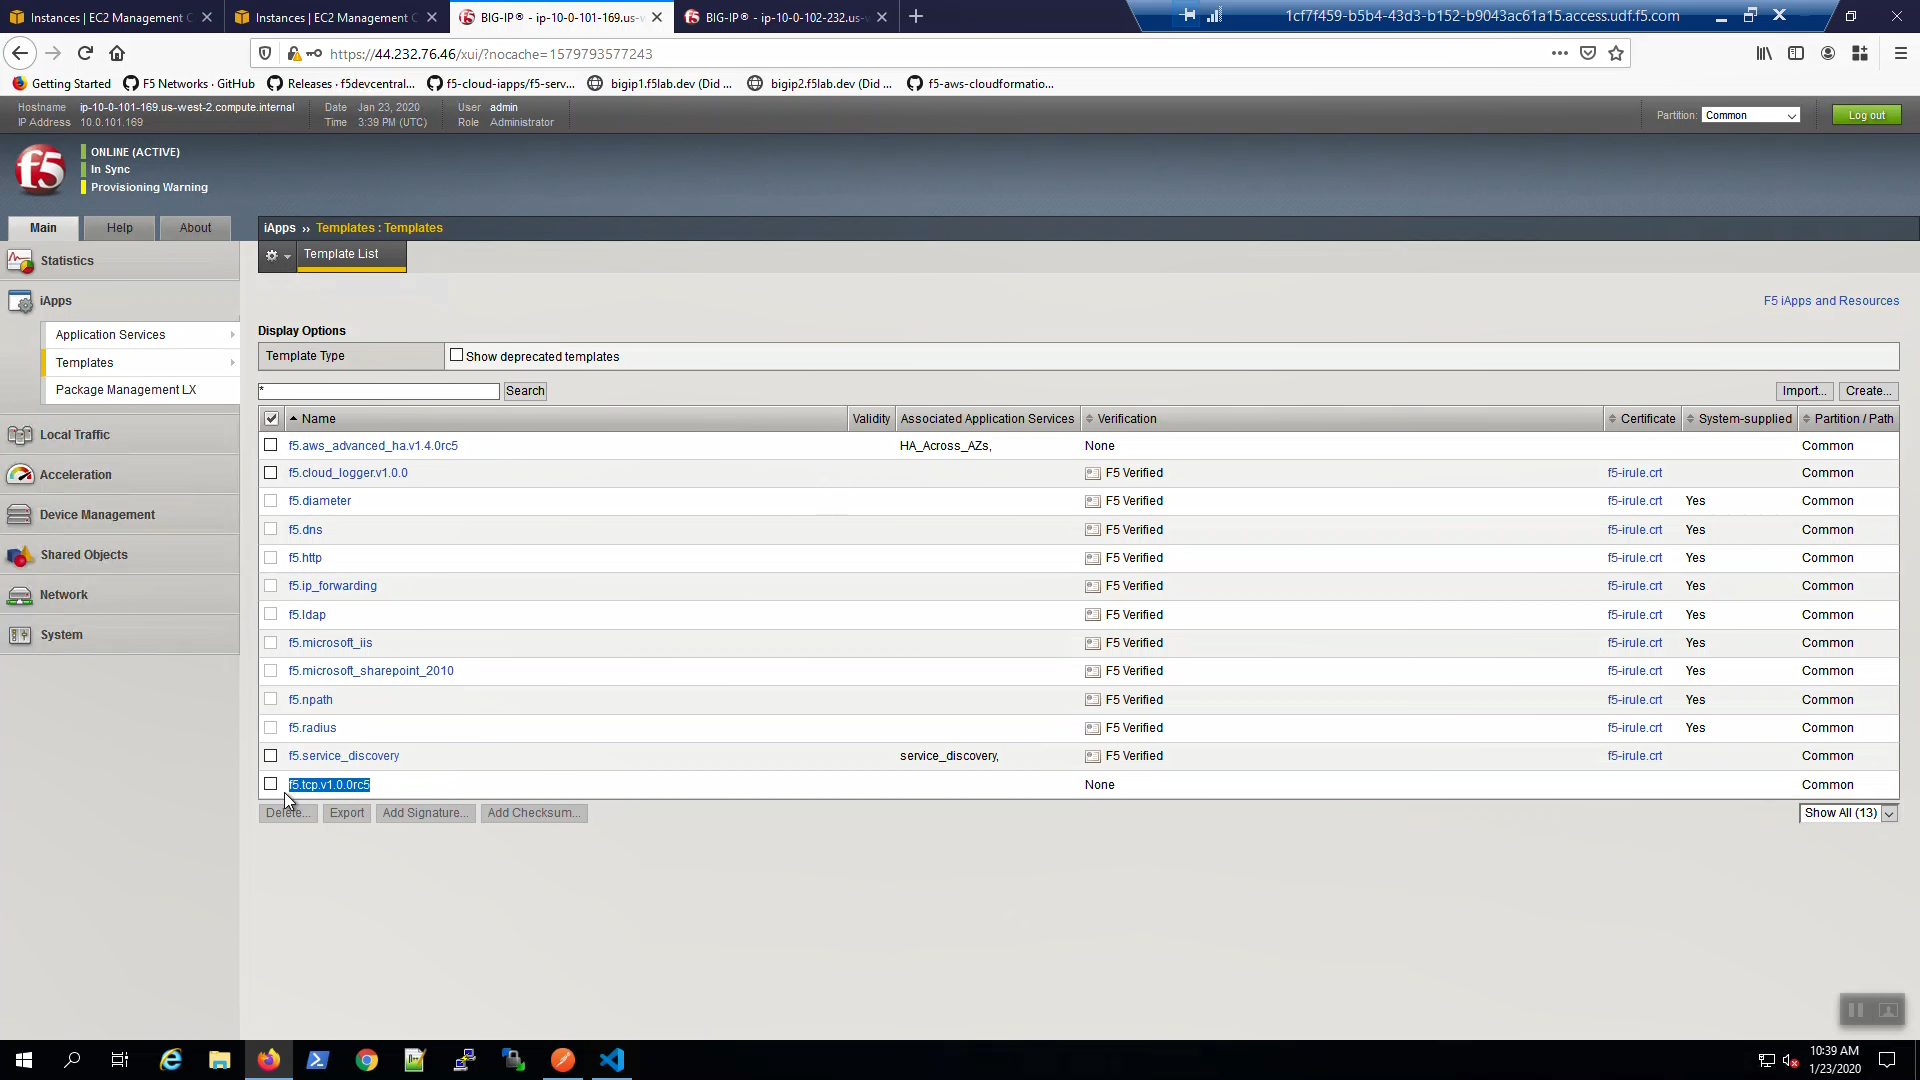
Confirm the iApp template upload was successful. iApps => Templates => “Show All” in the lower right hand corner. Locate the f5.tcp… iApp template at the bottom.

3.6.2. Note the Secondary IP addresses assigned to Big-IP1 and Big-IP2
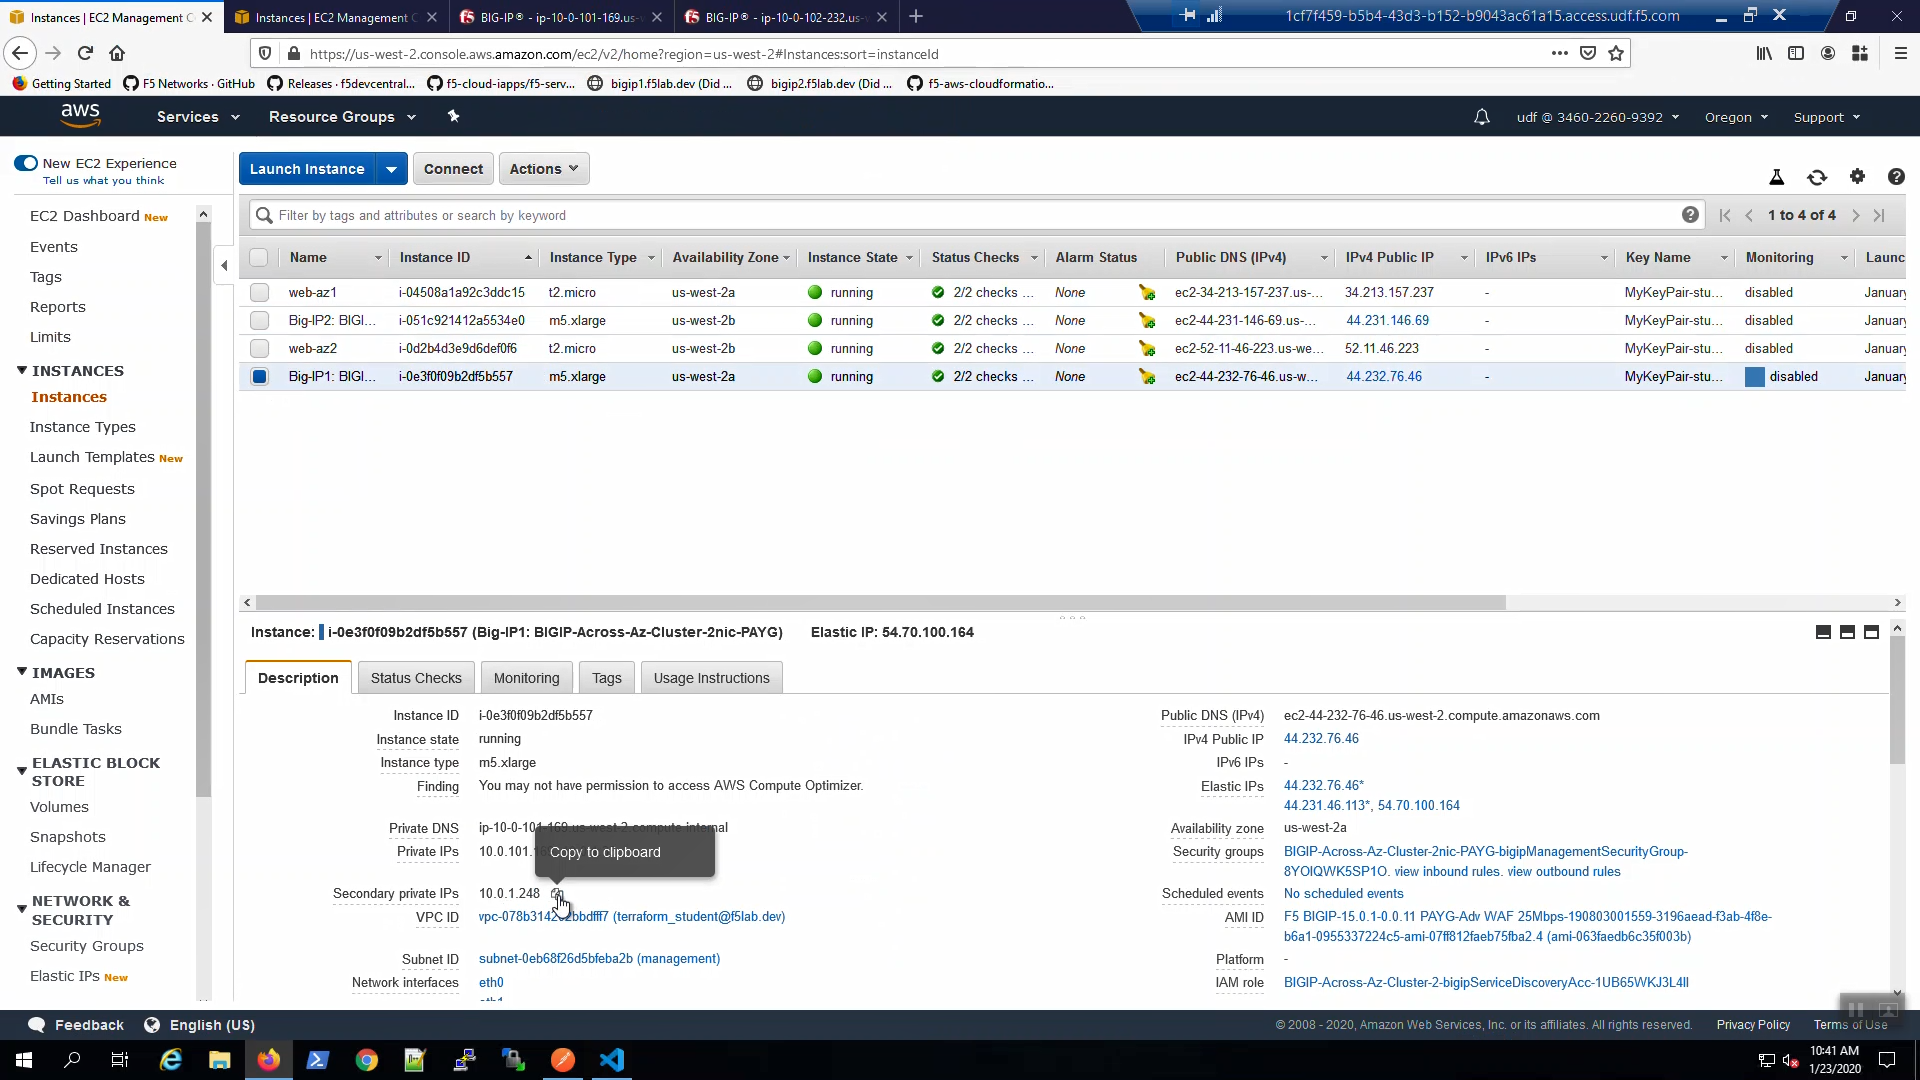
In order to configure the TCP iApp we’ll need to record the Secondary private IPs of both Big-IP1 and Big-IP2. From the AWS Console, Services => EC2 => INSTANCES => Instances => Big-IP1. Select the [Description] tab below. Copy the Secondary private IP and paste in Notepad. We’ll refer to this shortly.
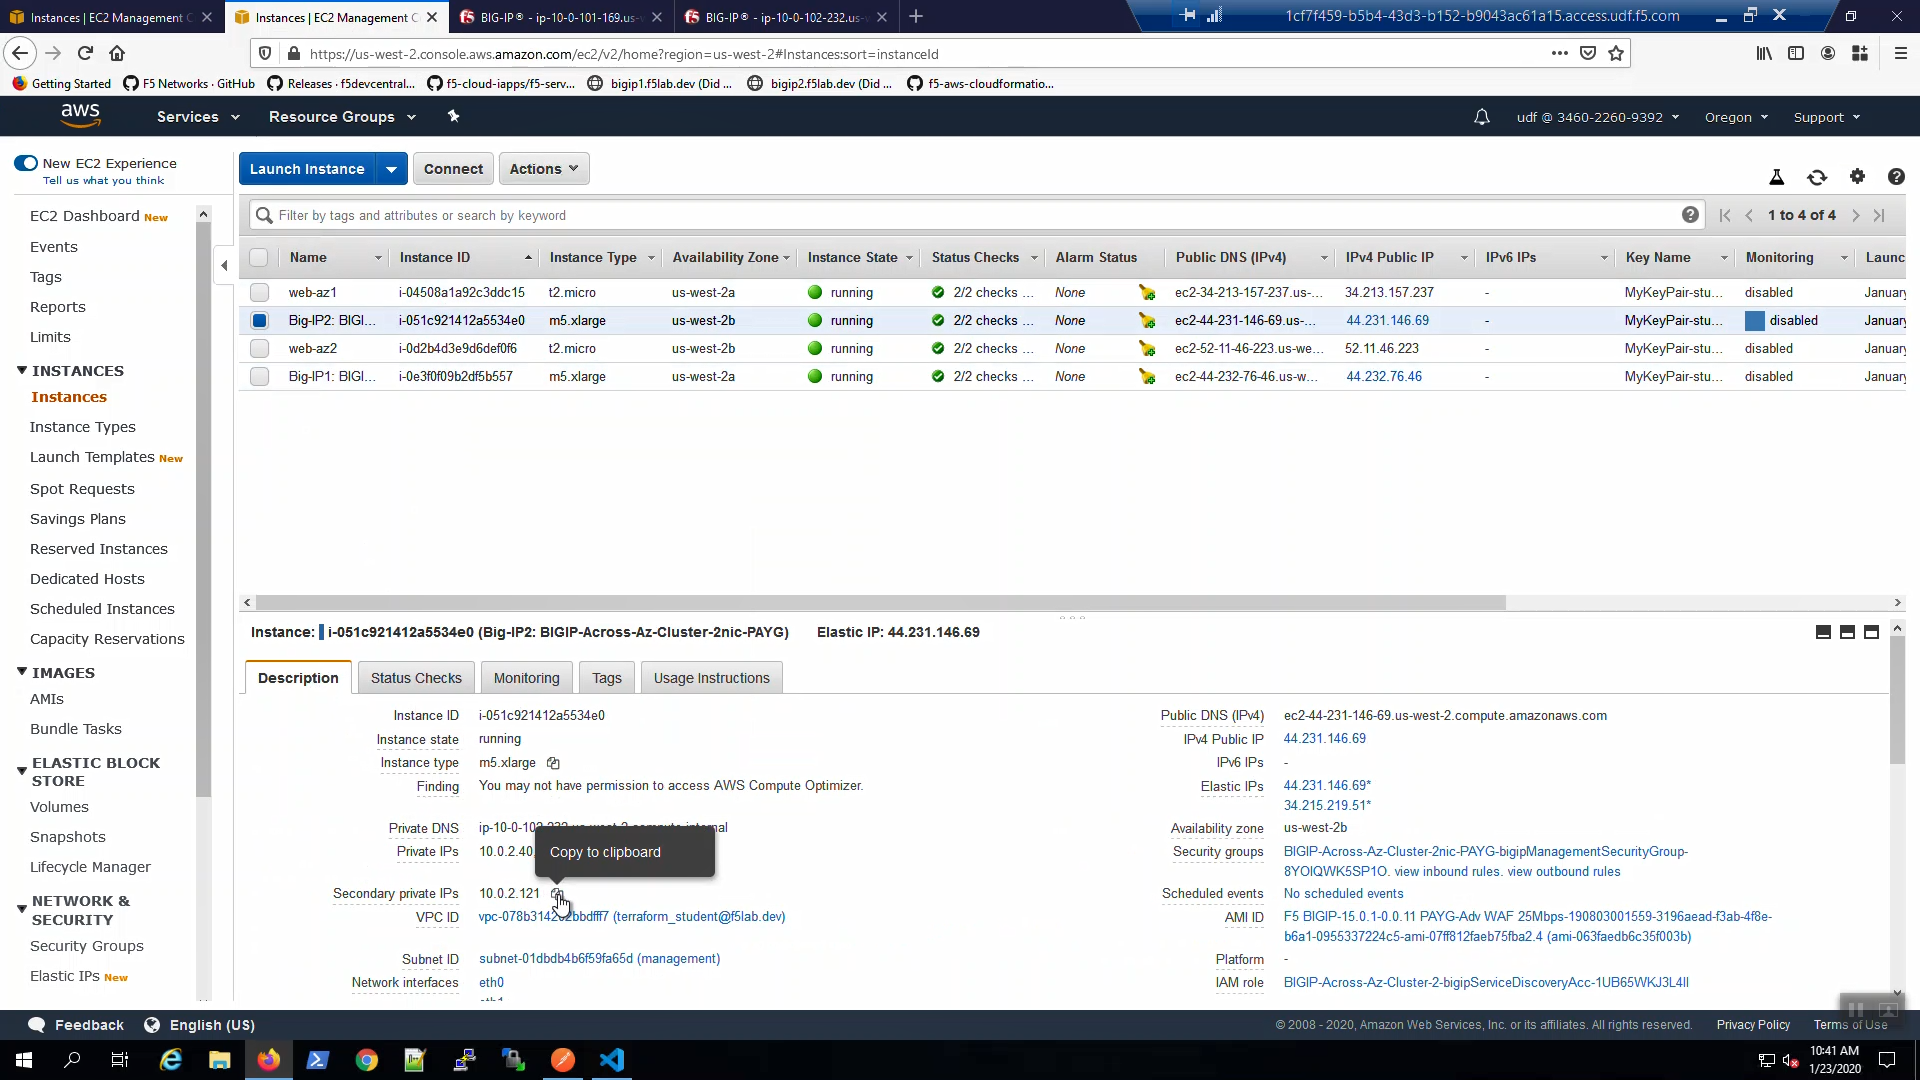
From the AWS Console, Services => EC2 => INSTANCES => Instances => Big-IP2. Select the [Description] tab below. Copy the Secondary private IP and paste in Notepad. We’ll refer to this shortly.
3.6.3. Create a High Availability Virtual Server with the TCP iApp
From Big-IP1, iApps => Application Services => Create a new iApp.
Name: example01
Template: f5.tcp.v1.0.0rc5.tmpl
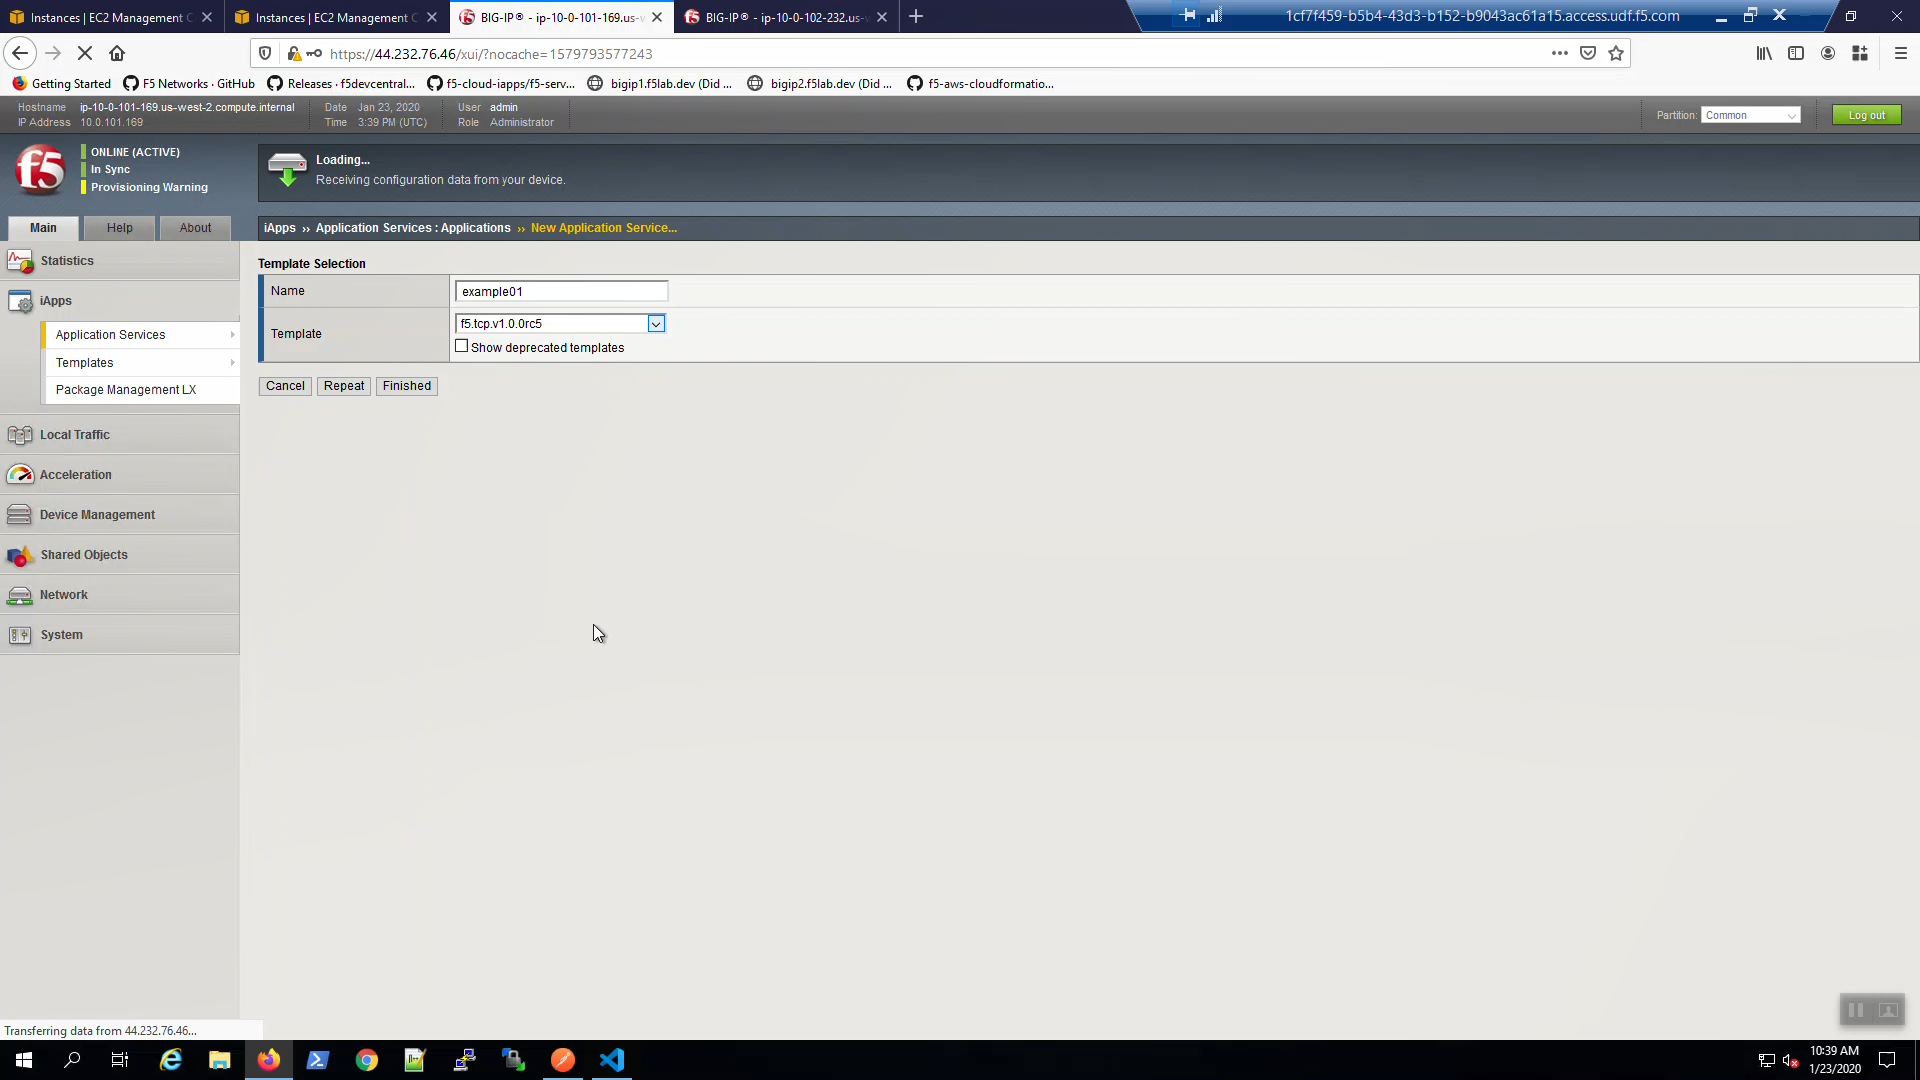
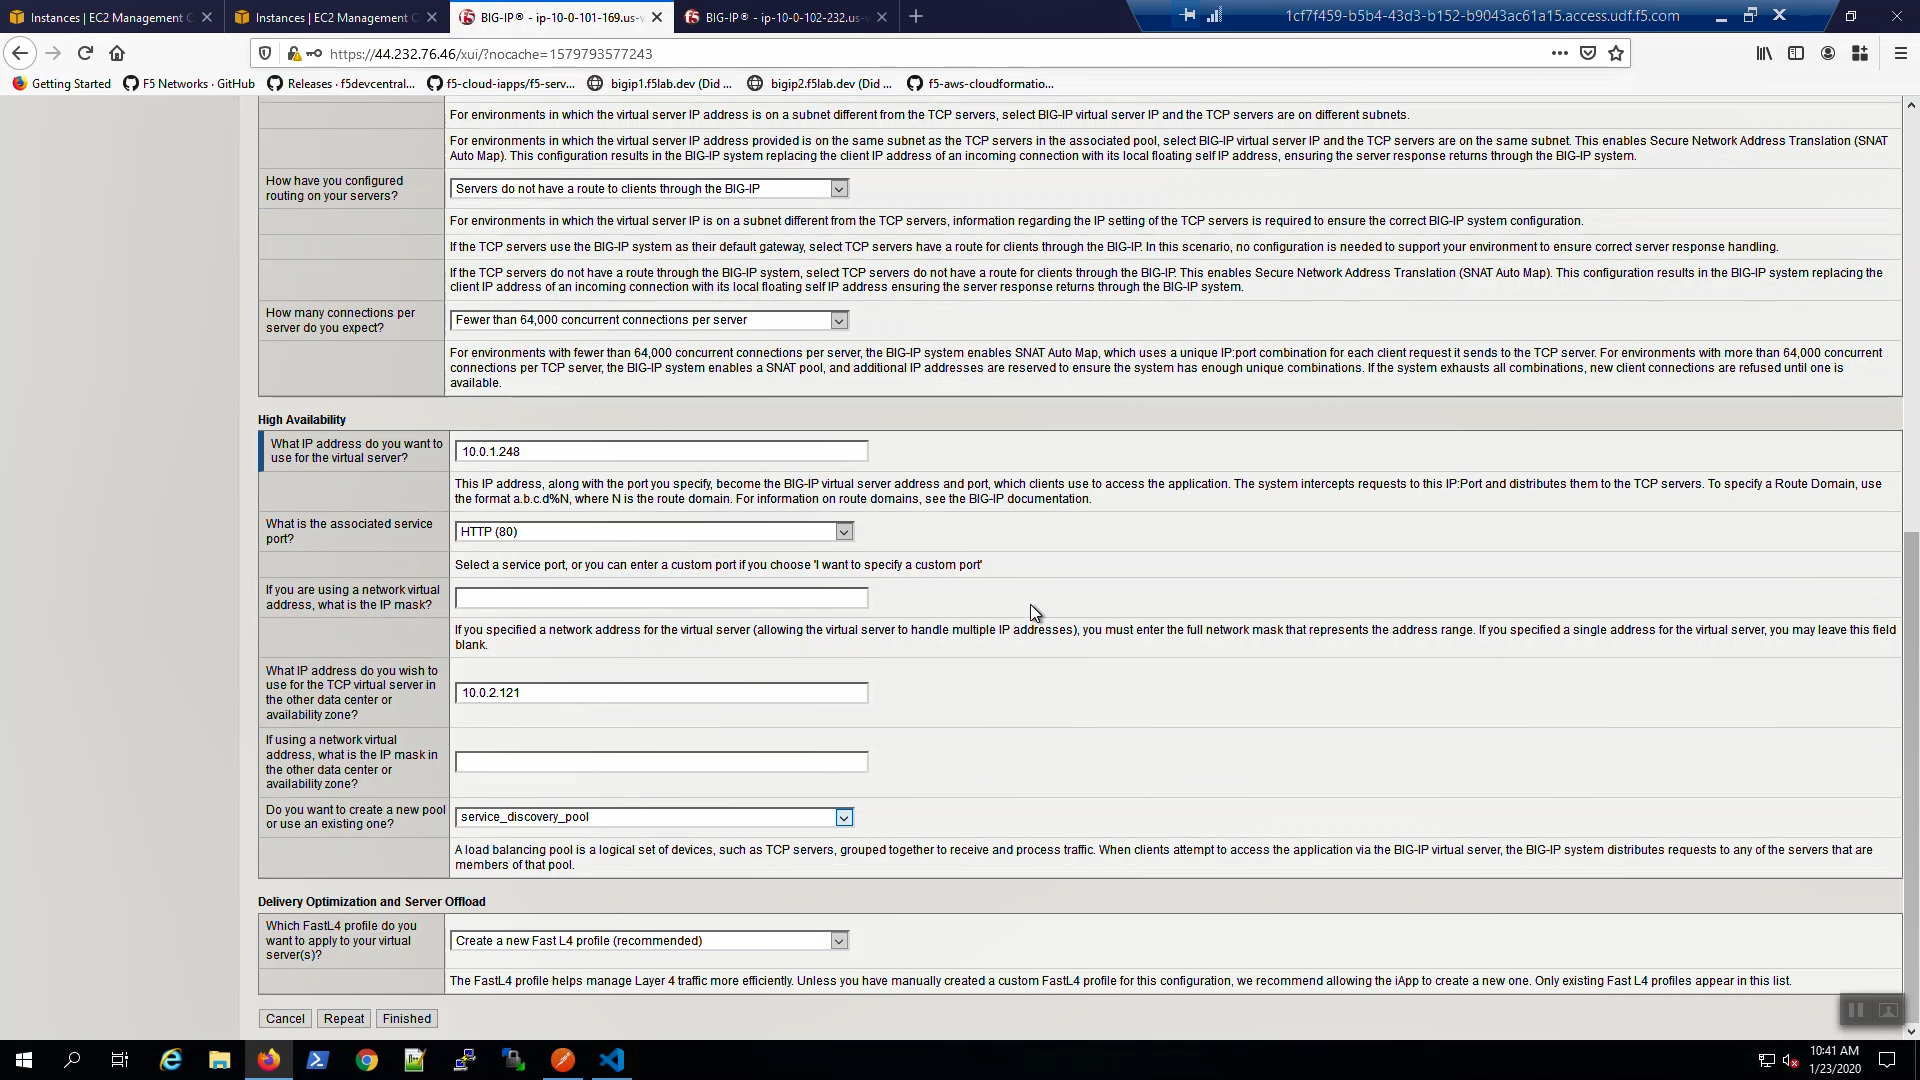
Fill in the iApp template parameters. Leave defaults where not explicitly called out below.
| Parameter | Value |
|---|---|
| High Availability | |
| What IP address do you want to use for the virtual server? | Secondary IP of Big-IP1 |
| What IP address do you wish to use for the TCP virtual server in the other data center or availability zone? | Secondary IP of Big-IP2 |
| What is the associated service port? | HTTP(80) |
| Do you want to create a new pool or use and existing one? | Choose “service_discovery_pool” from drop-down. |
Scroll down and click [Finished].
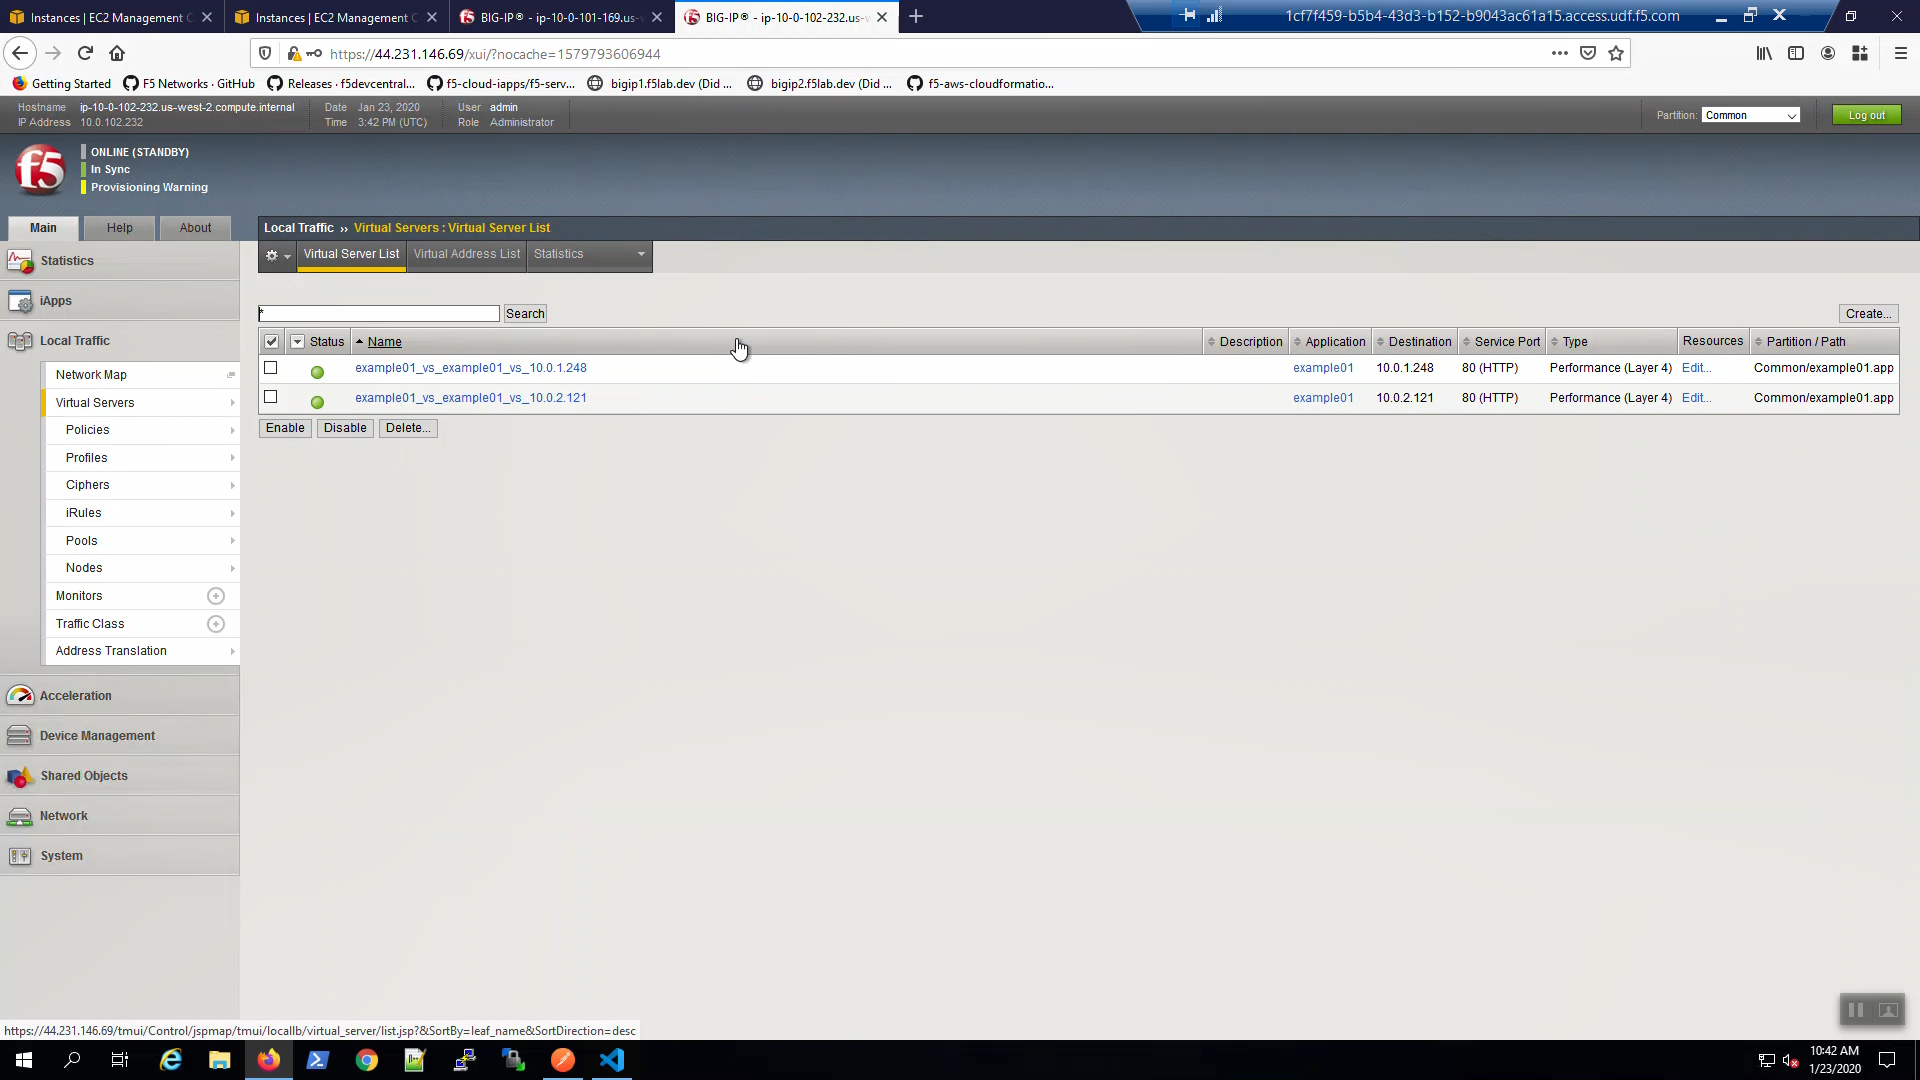
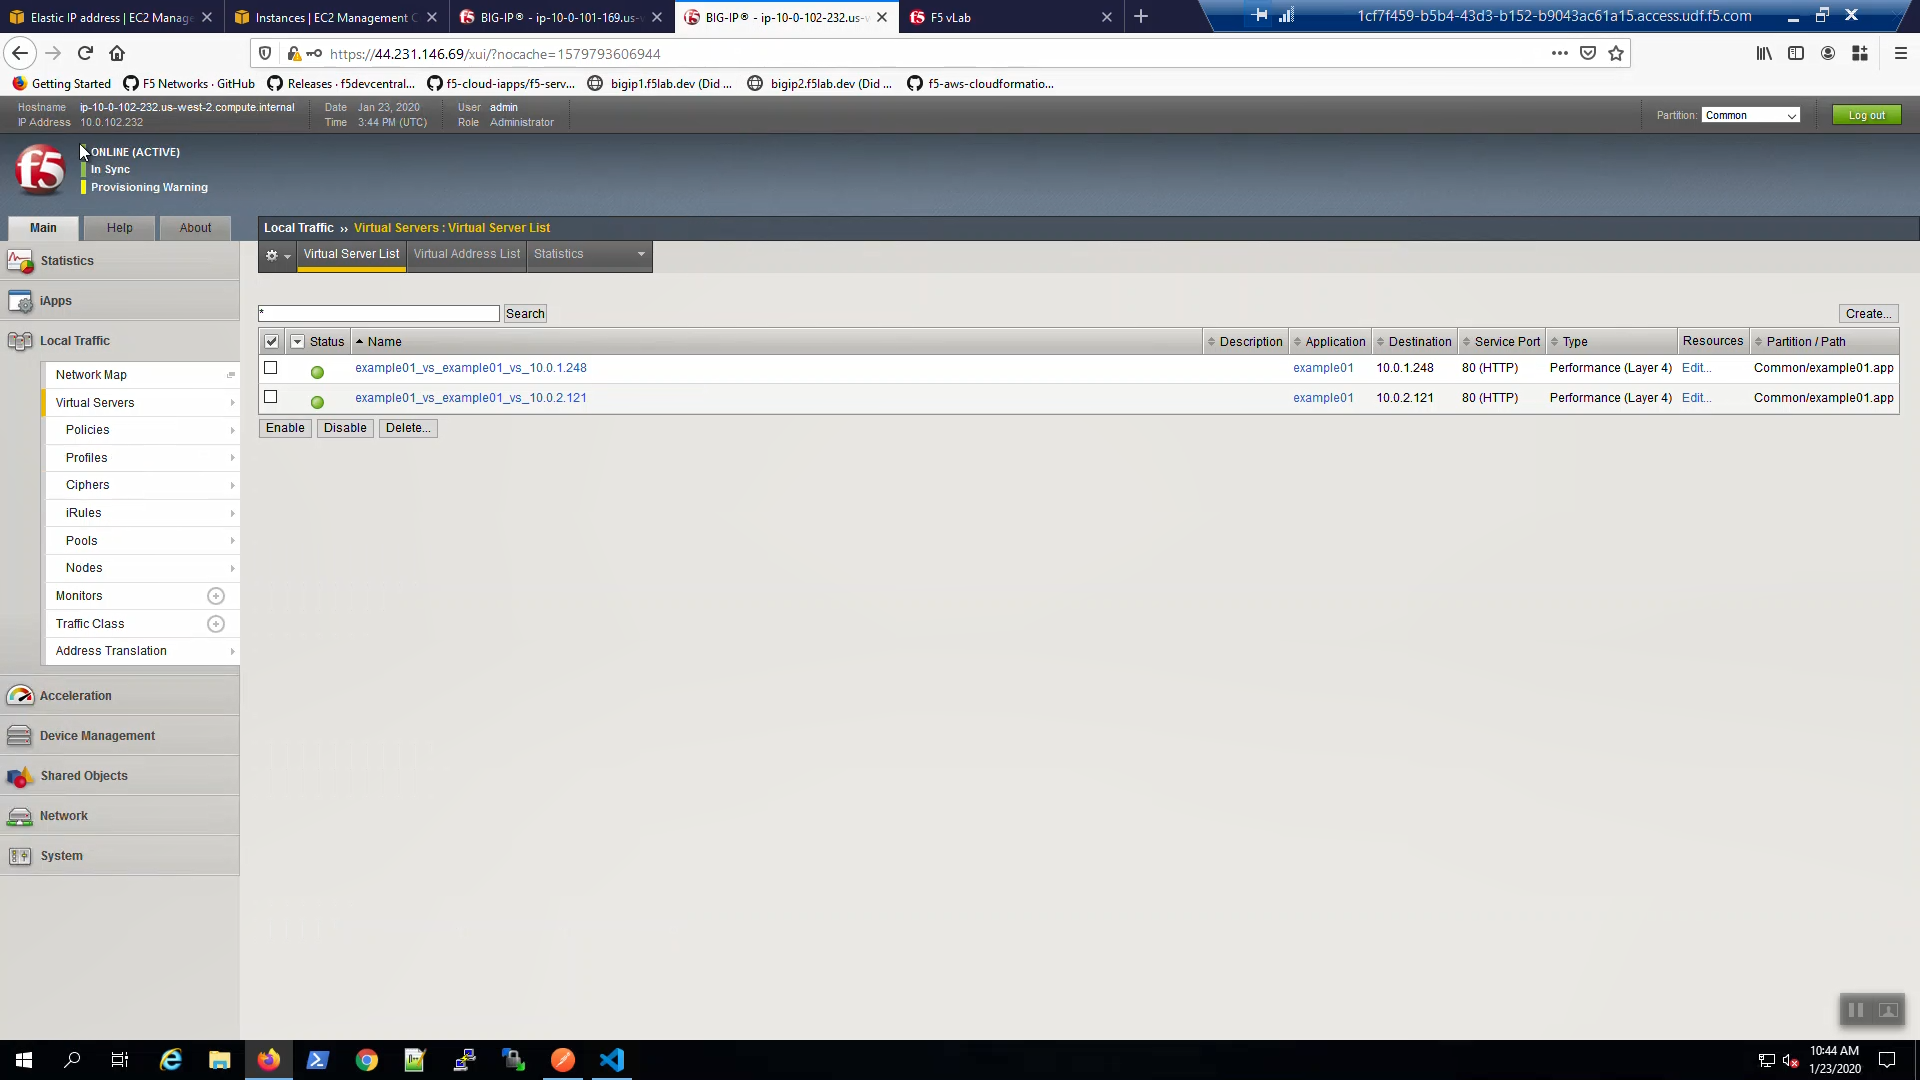
On Big-IP1, check that the virtual servers were created on the active unit.

On Big-IP2, check that the virtual servers were also created on the standby unit.
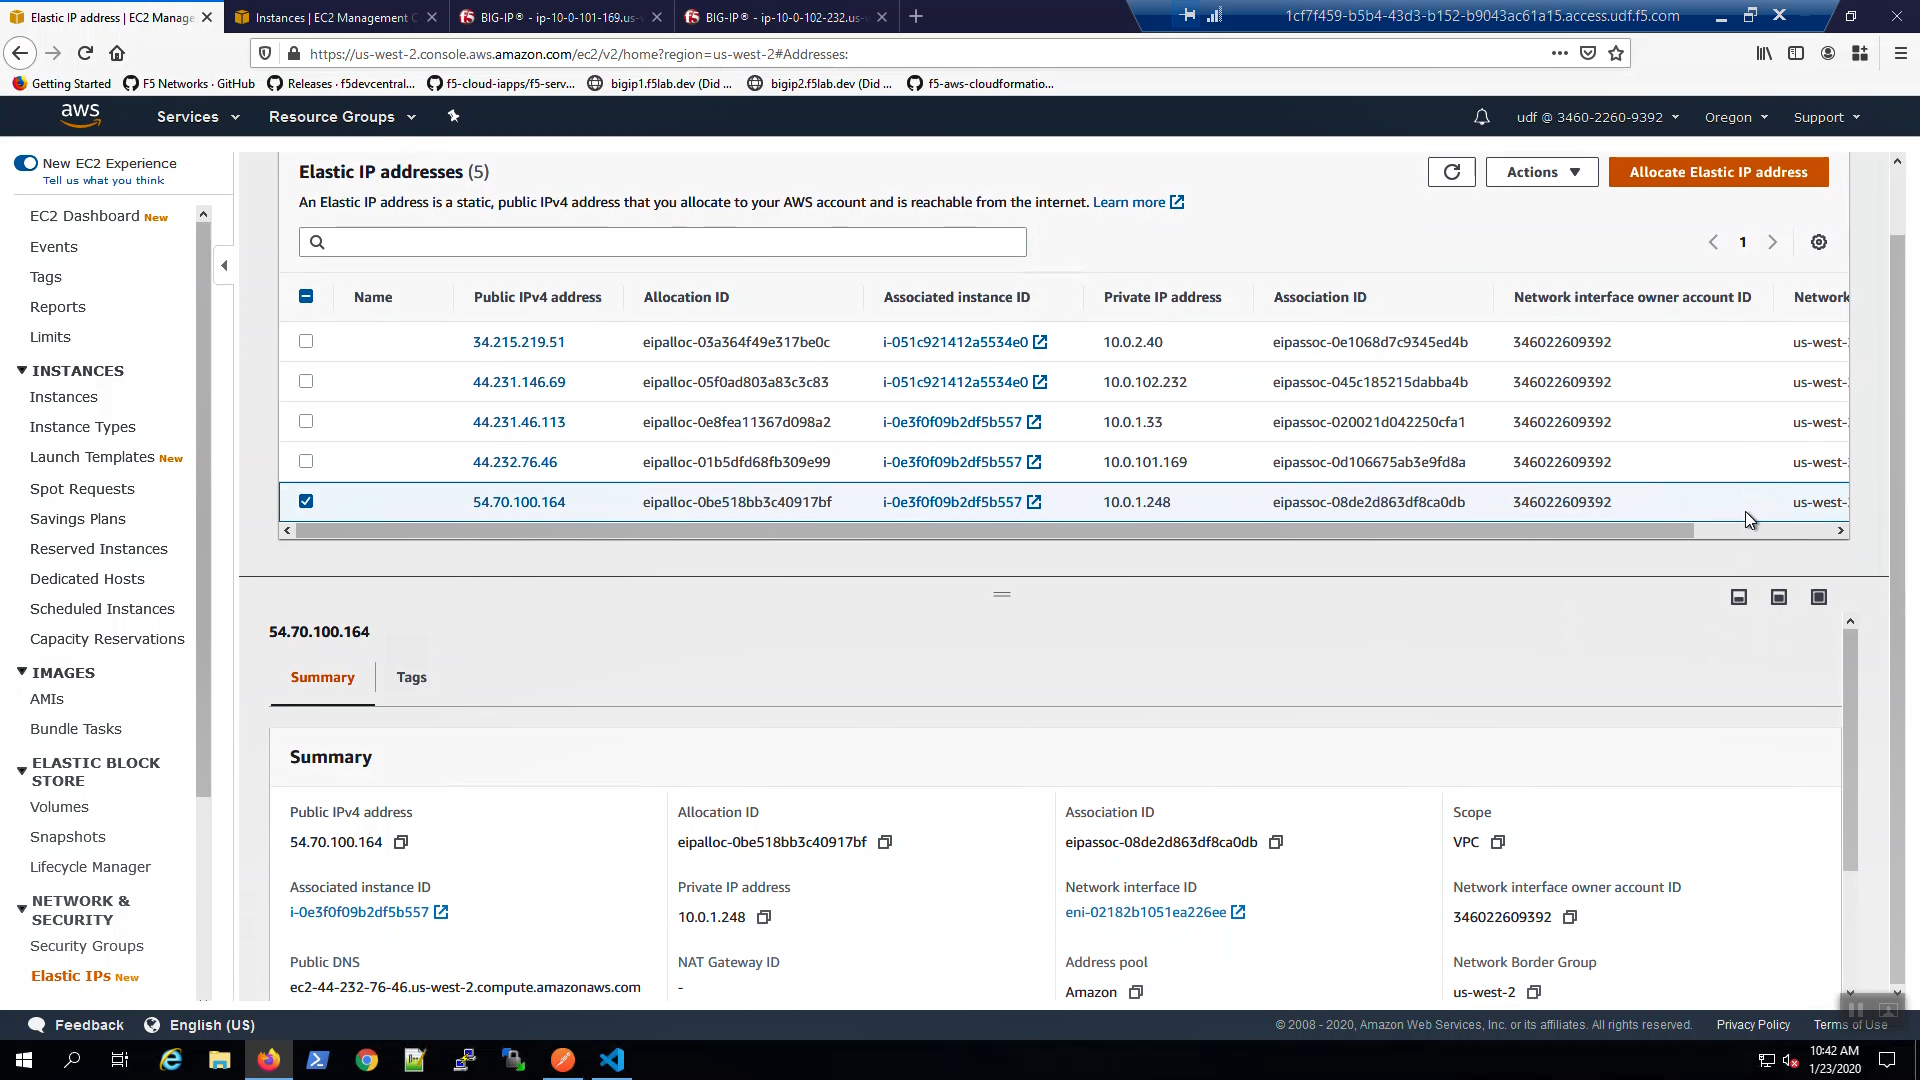
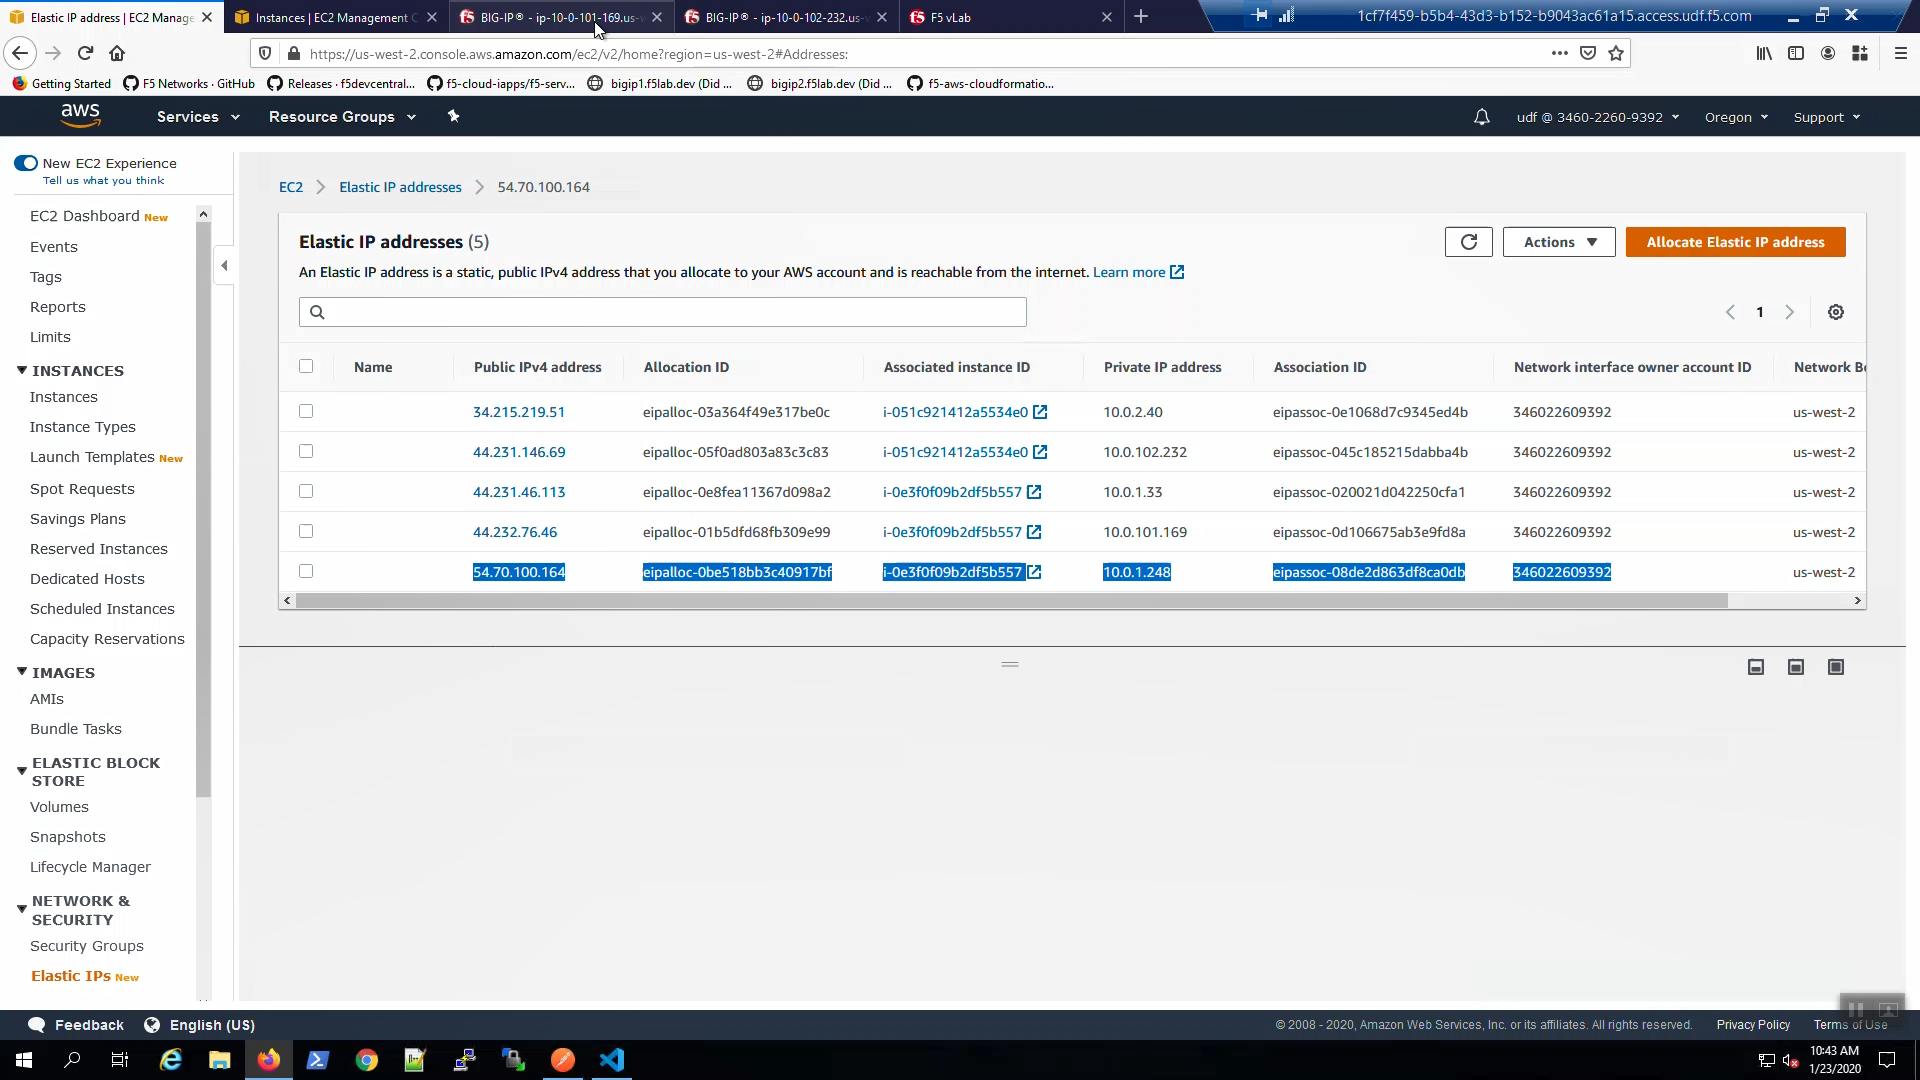
From the AWS Console, Services => EC2 => NETWORK & SECURITY => Elastic IPs. Note the Elastic IP address (public IPv4 address) mapping for the Secondary IP address of our Active Big-IP1 (10.0.1.x).
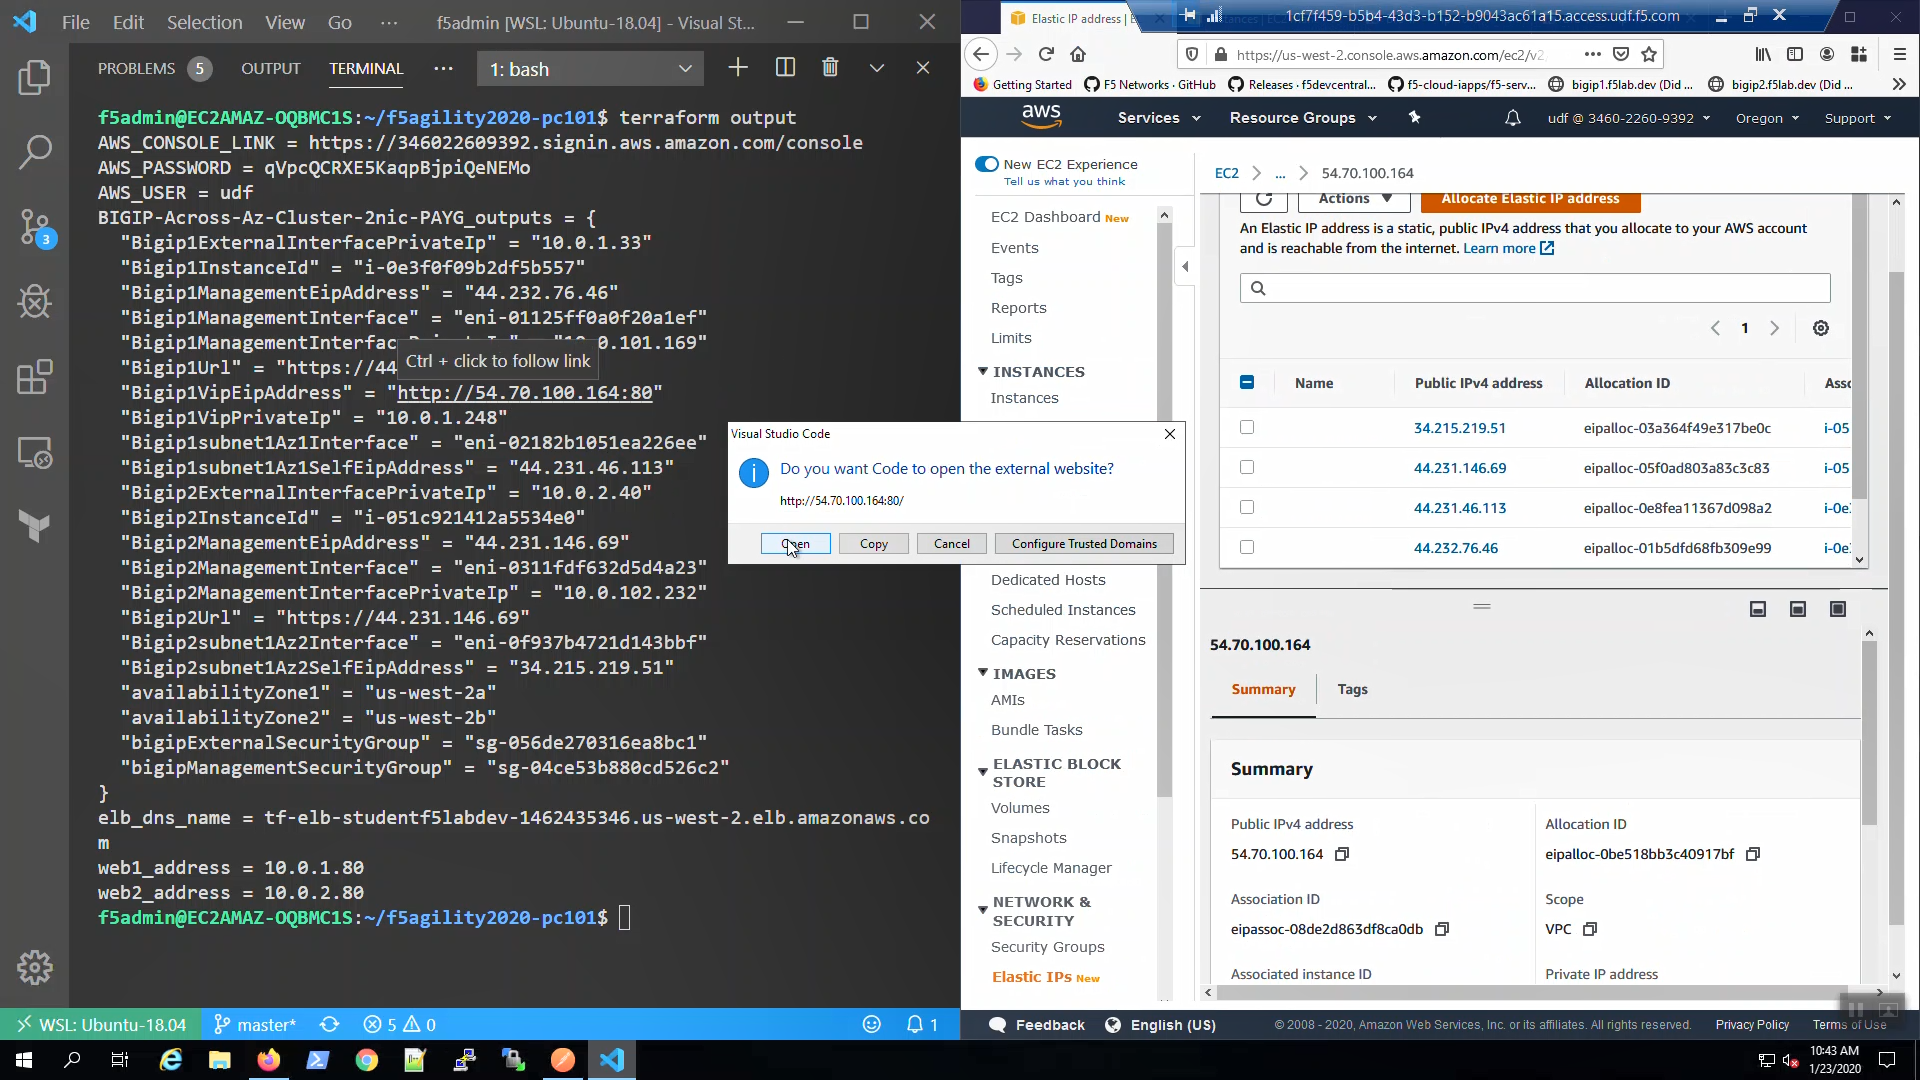
From the Visual Studio Code Terminal, invoke terraform output.
terraform output | grep Bigip1VipEipAddress
…Ctrl + click on the Bigip1VipEipAddress=. This is the same Elastic IP we just reviewed in the AWS Console.
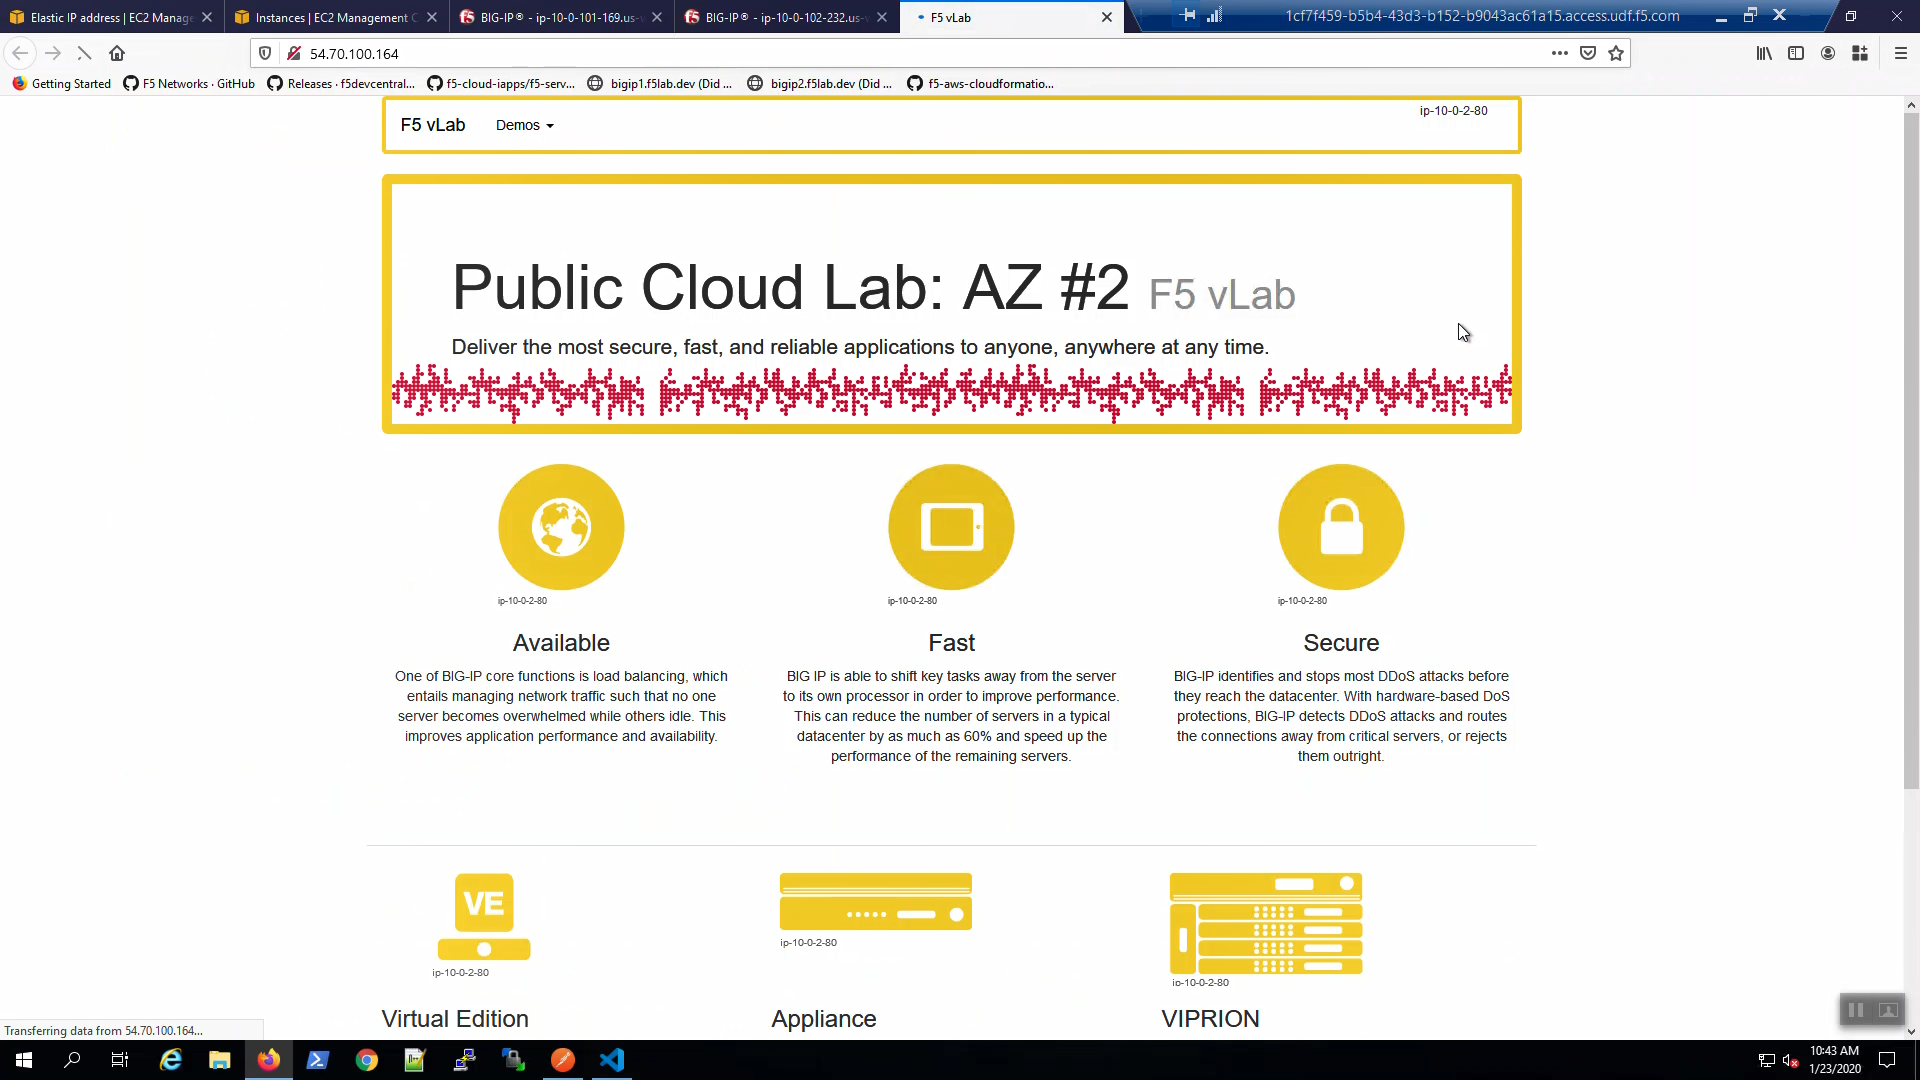
We are using self-signed certificates in the lab. Bypass the TLS warnings. “Accept the Risk and Continue”. You will see the example app.
3.6.4. Survive a fail-over event across Availability Zones
From the AWS Console, Services => EC2 => NETWORK & SECURITY => Elastic IPs. Note the Elastic IP address (public IPv4 address) mapping for the Secondary IP address of our Active Big-IP1 (10.0.1.x).
Big-IP1 => Device Management => Devices => Self => [Force to Standby]. Click [OK] to confirm.

Big-IP2 is now active.
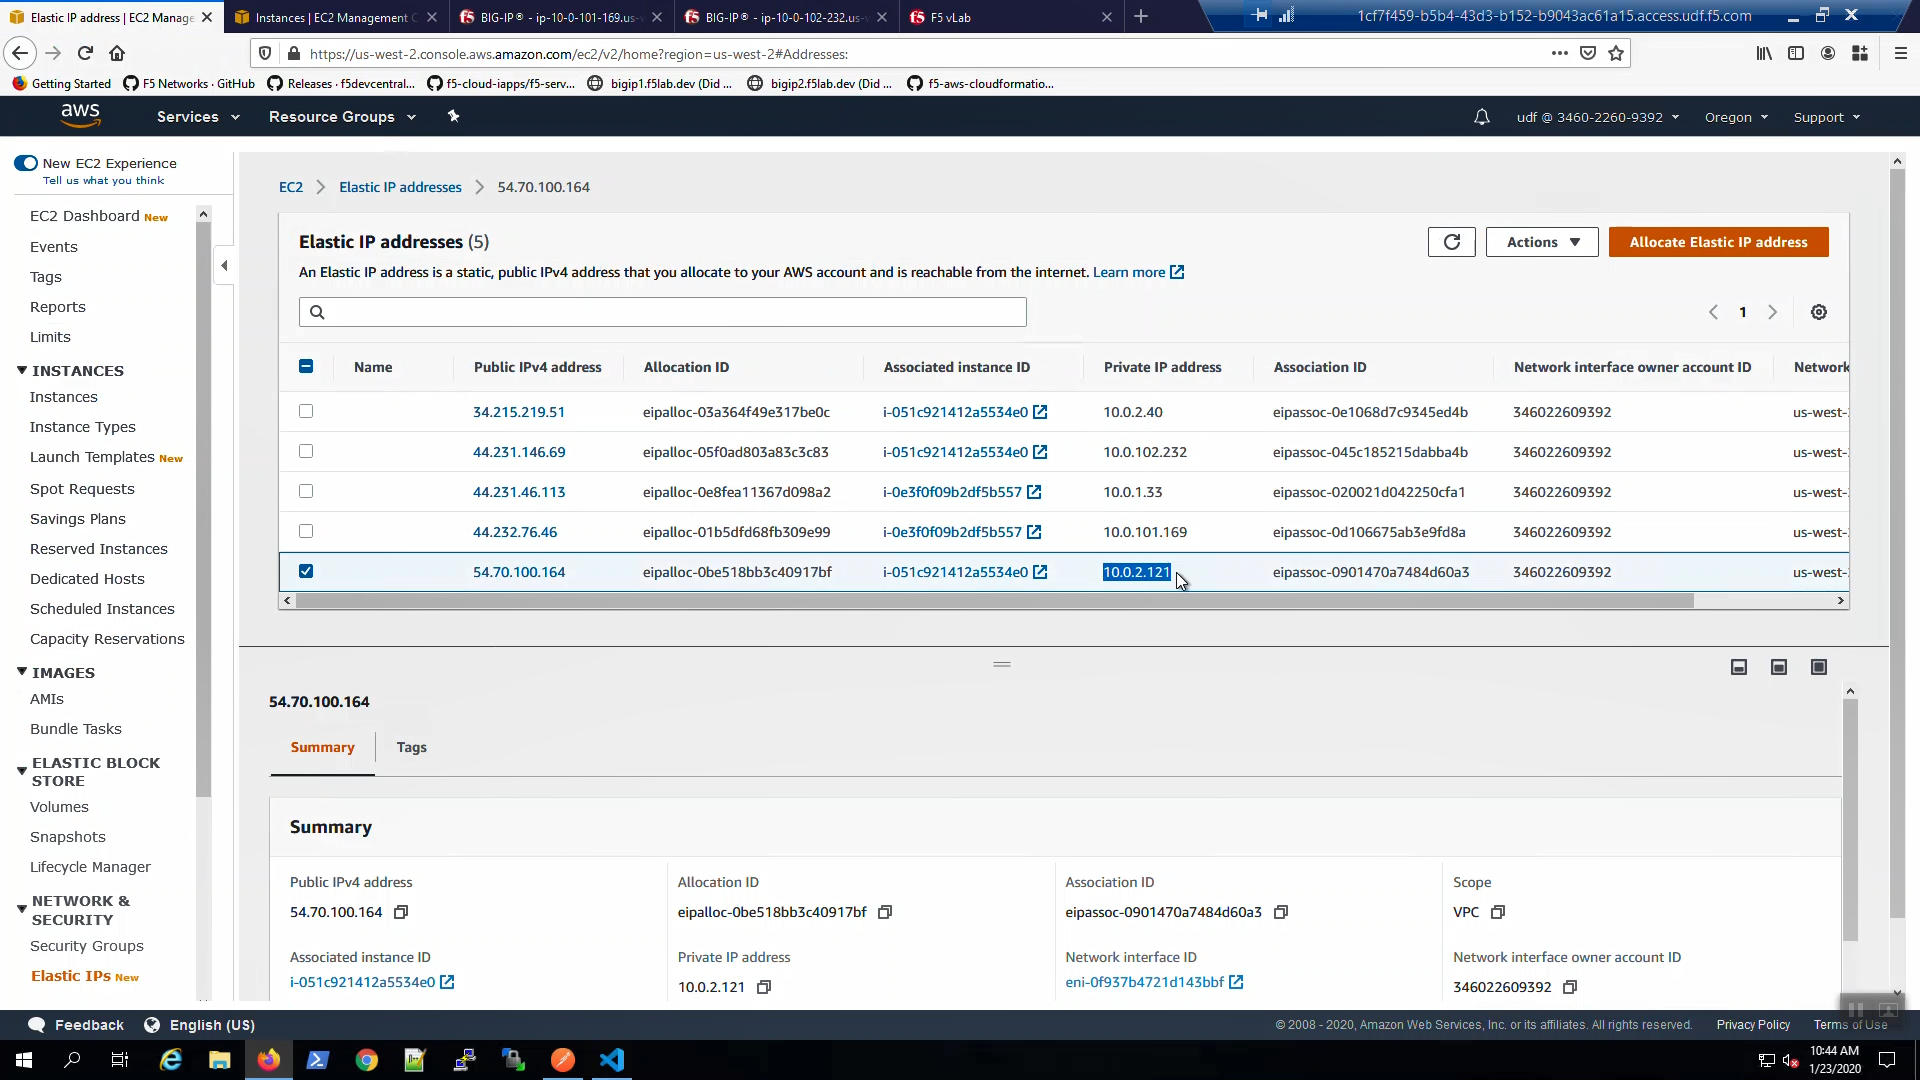
From the AWS Console, Services => EC2 => NETWORK & SECURITY => Elastic IPs. Note the Elastic IP address (public IPv4 address) mapping for the Secondary IP has changed to the new Active Big-IP2 (10.0.2.x). Hit the refresh icon in the upper-right-hand side a few times until you notice the change.
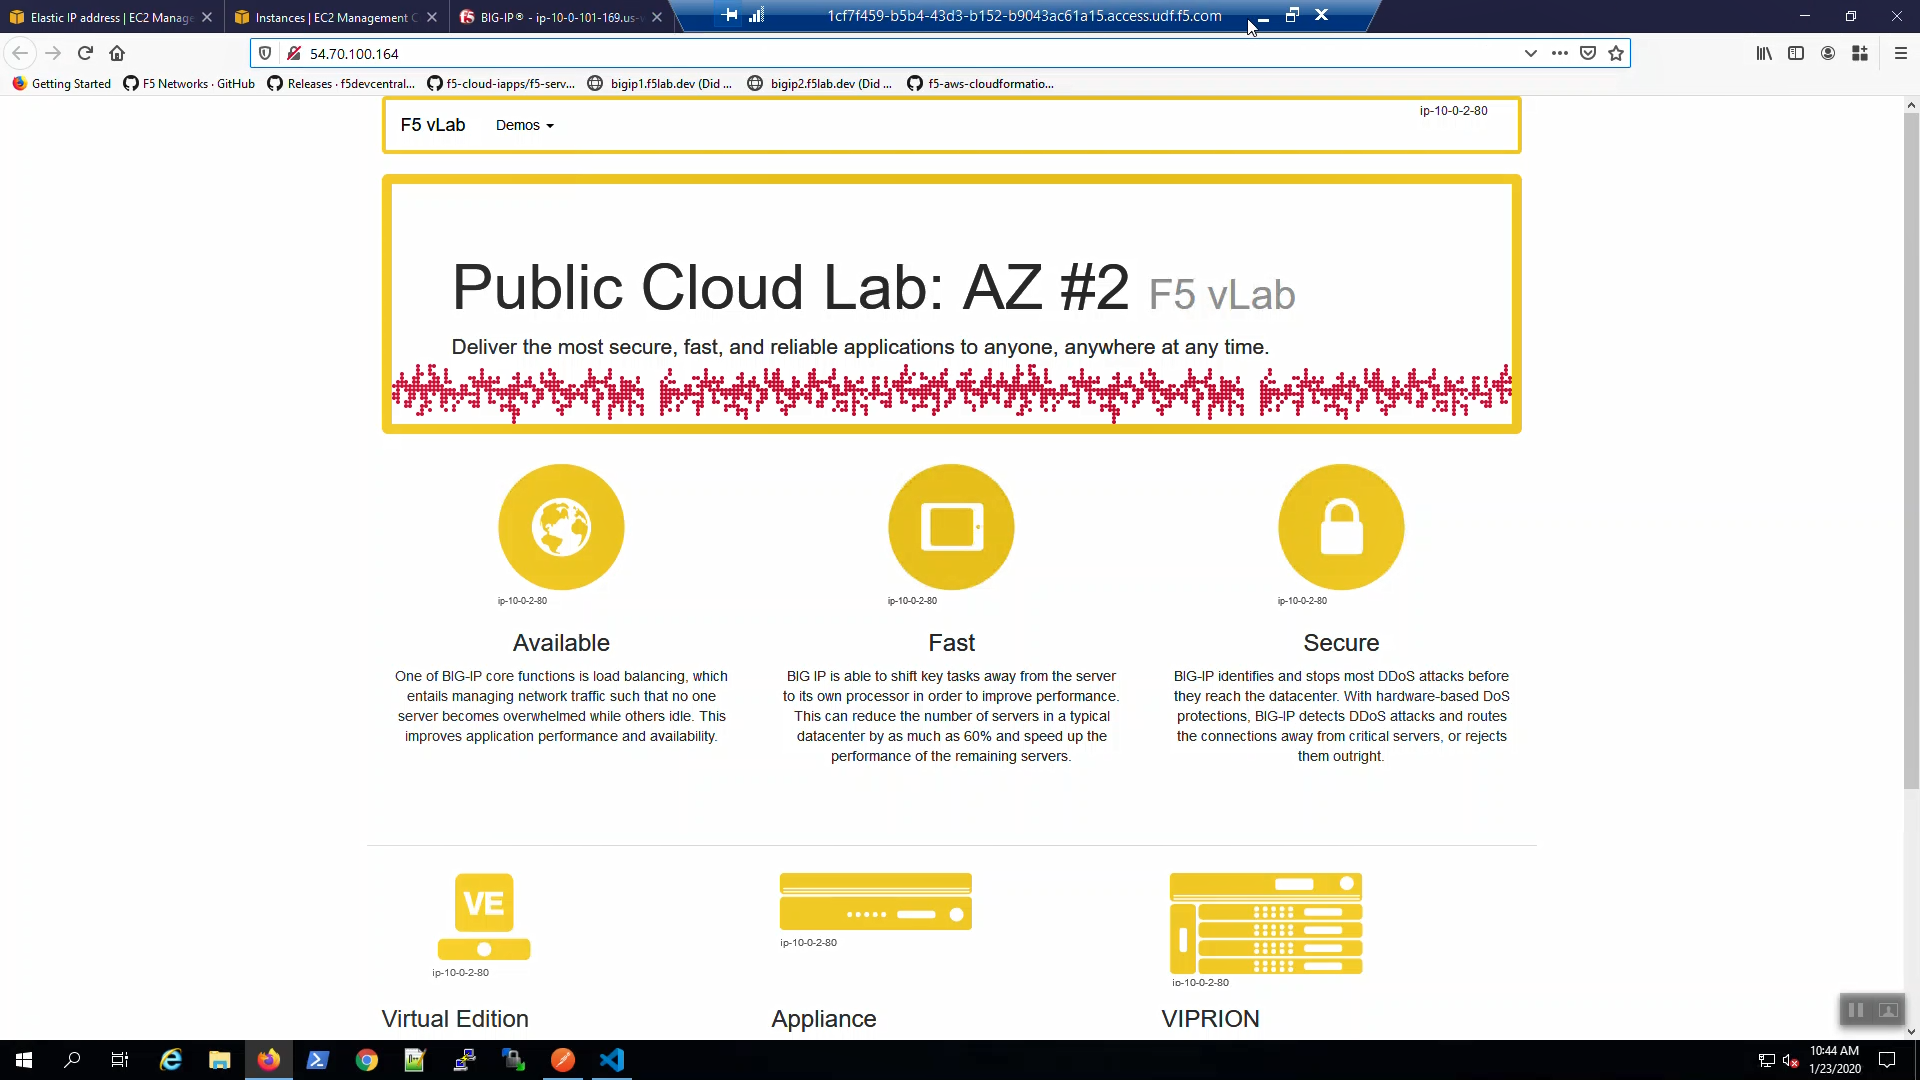
Back to the example app screen. We are using self-signed certificates in the lab. Bypass the TLS warnings. “Accept the Risk and Continue”. You will see the example app now behind the new active Big-IP2.
Attention
The example application reports which Availability Zone is serving up the content (pool member), not which Availability Zone is hosting the active Big-IP.