F5 Public Cloud Solutions > 6. Welcome to F5 Agility 2018 – Secure BIG-IP and Application deployments in AWS documentation! > 6.4. Automating App Deployment and Security Implementation Source | Edit on
6.4.1. Deploy Super-NetOps host
Launch new EC2 resource.
In the AWS Management Console, navigate to EC2 and click Launch Instance.
Select Amazon Linux AMI 2018.03.0 (HVM), SSD Volume Type - ami-cfe4b2b0.

For Instance Size* select t2.micro then click Next: Configure Instance Details
For the Network select your Student#-VPC-CFT
For the Subnet select your Student#-VPC-CFT-MgmtSubnet
For Auto-assign Public IP select Enable
Expand Advanced Details on bottom of page and paste the following code into User Data box.
#!/bin/bash
yum update -y
yum install -y docker
yum install -y telnet
yum install -y curl
yum install -y ab
/sbin/chkconfig --add docker
service docker start
Click Next: Add Storage
Click Next: Add Tags
Click Next: Configure Security Group
Select Existing Security and find your Student#-VPC-CFT-bigipManagement
Click Review and Launch
Click Launch
For SSH Key utilize the Student#-BIG-IP key
Check the I acknowledge that AWS CloudFormation might create IAM resources box and click Launch Instances.
Launch F5 Super-NetOps docker instance
- View Instances and filter for your Student# to see your unamed instance.
- Connect to Super-NetOps host using ssh utility. For example; ssh -i “Student#-BIG-IP.pem” ec2-user@<Super-NetOps_IP>
- Type sudo docker run -it f5usecases/f5-rs-container:latest
- Type git clone https://github.com/gotspam/as3-examples.git
- Type cd as3-examples
Modify ansible files for your environment
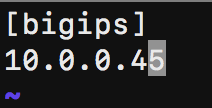
Type vim inventory/hosts and change ipaddress to your BIG-IP Private IP Address (eth0). This is the BIG-IP Management IP and is typically the first Private IP listed or by clicking on eth0.
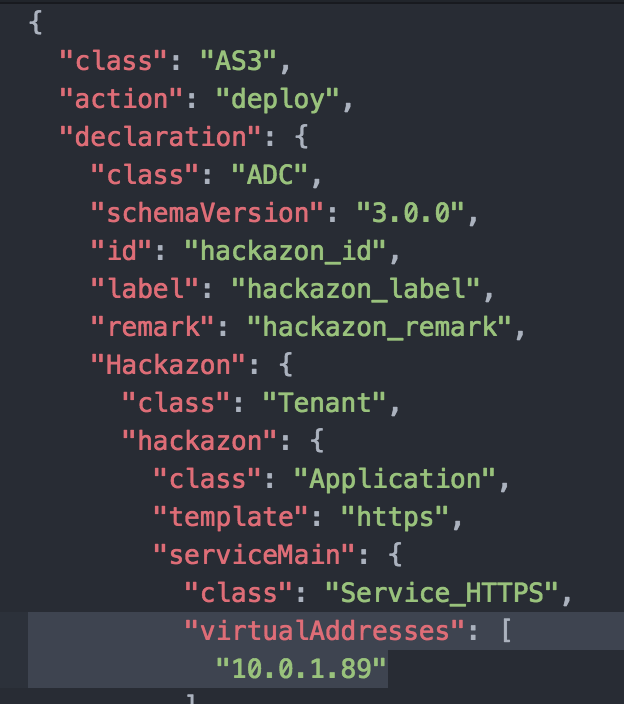
Type vim roles/hackazon/files/hackazon.json and change ipaddress to your BIG-IP Private IP Address of the Elastic IP found in Lab2.
Test Super-NetOps communication with BIG-IP
You will now need to setup security permissions on AWS EC2 console so that Super-NetOps can communicate with your BIG-IP.
In the AWS EC2 console go to Network Interfaces and Filter by your Student#.
Select the Interface with the description labeled Primary network interface.
In the bottom area look for the**Primary private IPv4 IP:**
Now select Security Groups on the left hand side.
Filter by your Student# and then select the BIG-IP Management instance.
Click the Inbound tab at the bottom and then select Edit.
Click on Add Rule.
Select SSH and then put the IP you found earlier in the source with a /32.
Click on Add Rule again.
Select HTTPS and then put the IP you found earlier in the source with a /32.
Click on Save.
Go back to your SSH session on the Super-NetOps host.
Ensure your Super-NetOps host can communicate with your BIG-IP Management instance.
- Type ssh admin@<BIG-IP Private IP Address (eth0)>.
- After successfully logging in, type quit to disconnect ssh session.
- Type ansible-playbook playbooks/cmd.yaml.
- Enter BIG-IP Username and Password when prompted.
