F5 Public Cloud Solutions > 3. Class - PC 101 - Deploying F5 Solutions to AWS with CloudFormation Templates > 3.7. Application Services 3 Extension Source | Edit on
3.7.1. Delete the configuration objects you manually created
Delete the TCP iApp that created the Virtual Servers.
iApps => Application Services => Applications. Select example01 and delete. Delete again to confirm.
Attention
Alternatively, follow the steps below to delete the configuration objects manually.
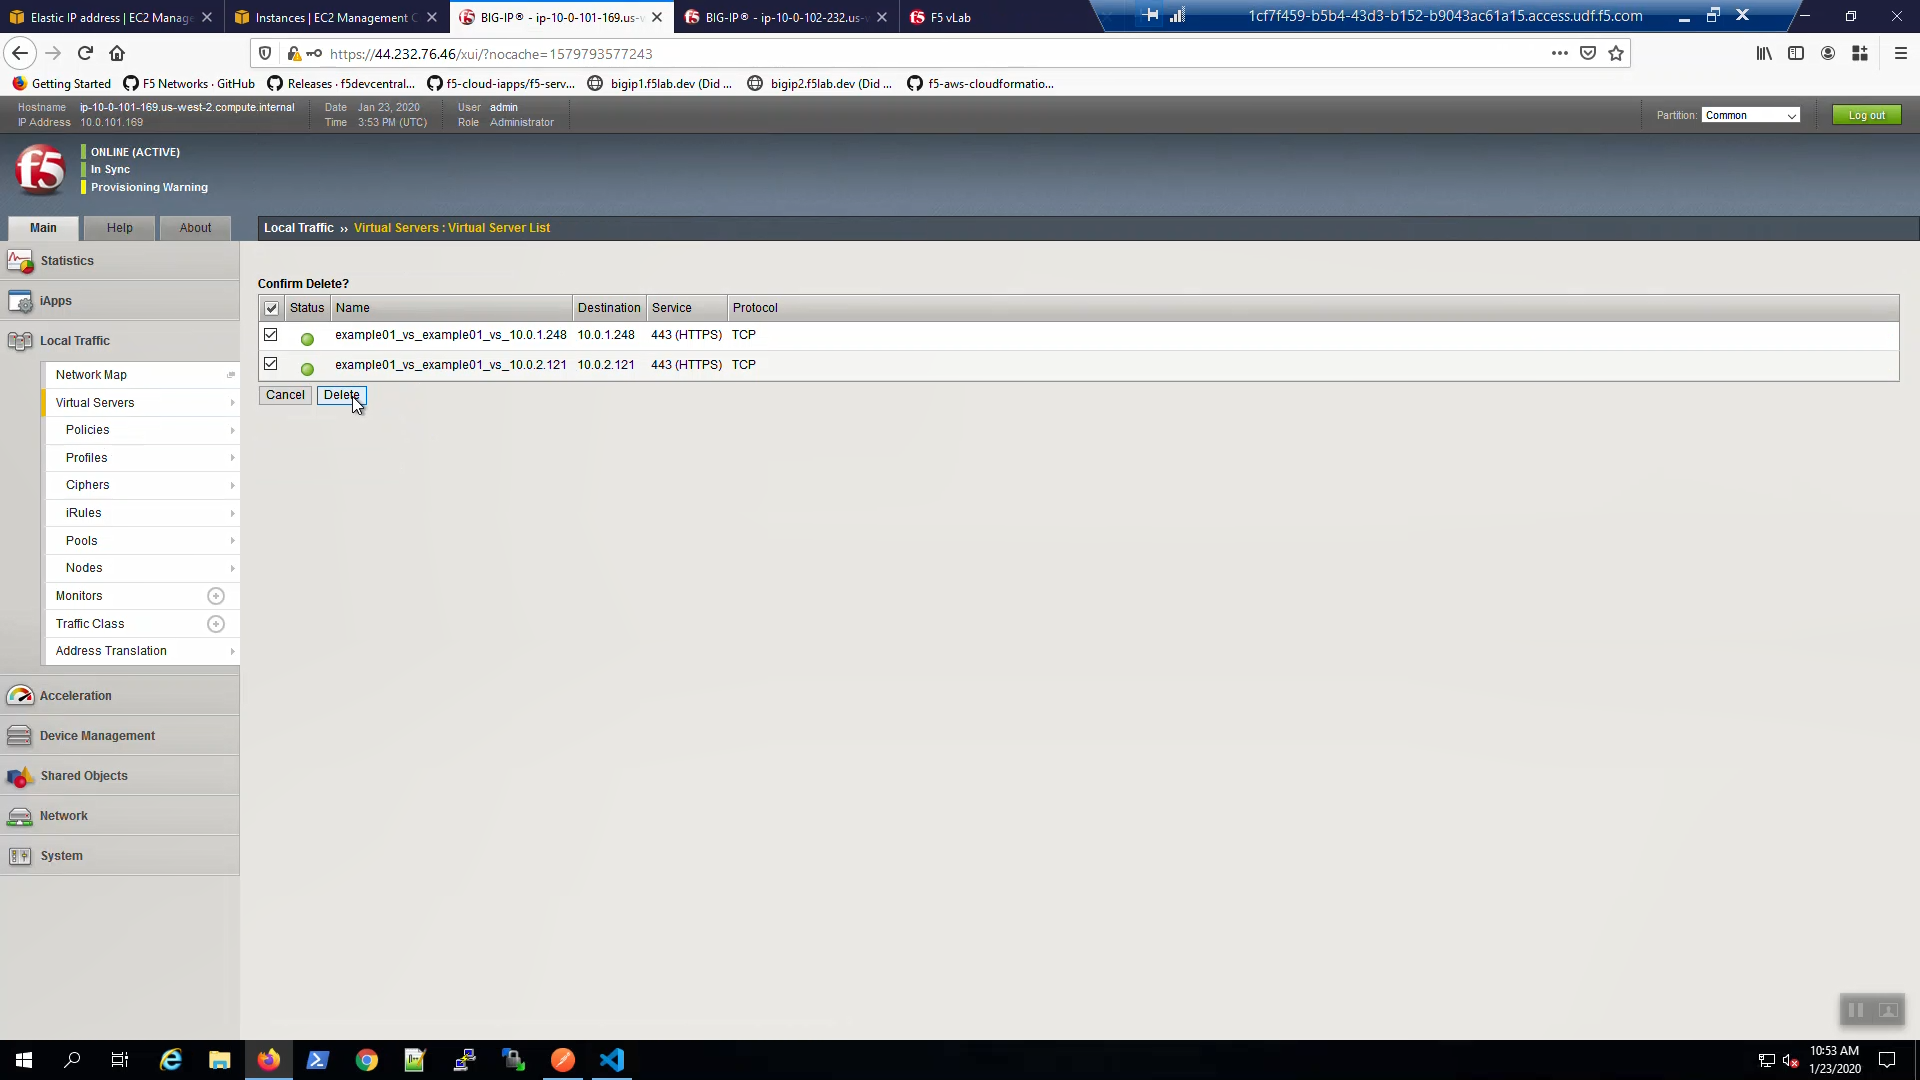
From Big-IP1, Local Traffic => Virtual Servers => Select both Virtual Servers and [Delete].
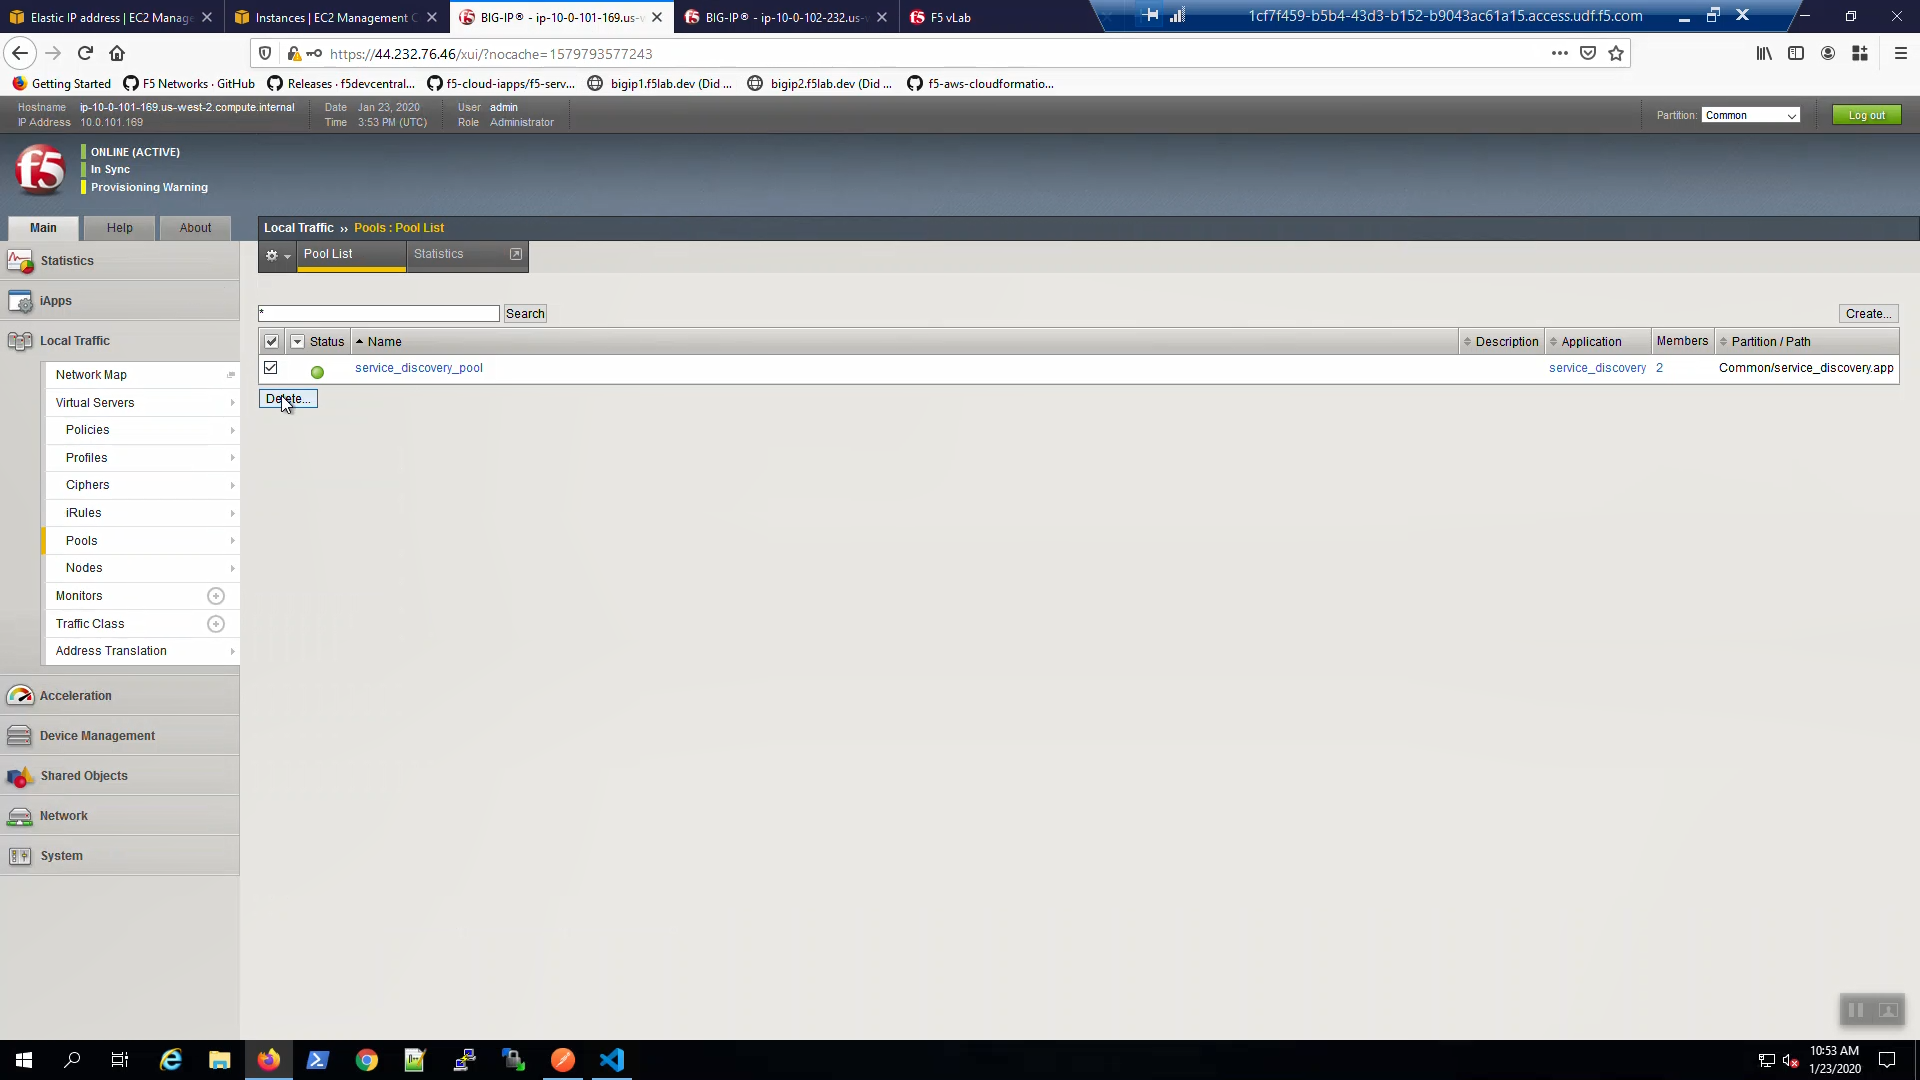
From Big-IP1, Local Traffic => Pools => Select “service_discovery_pool” and [Delete].
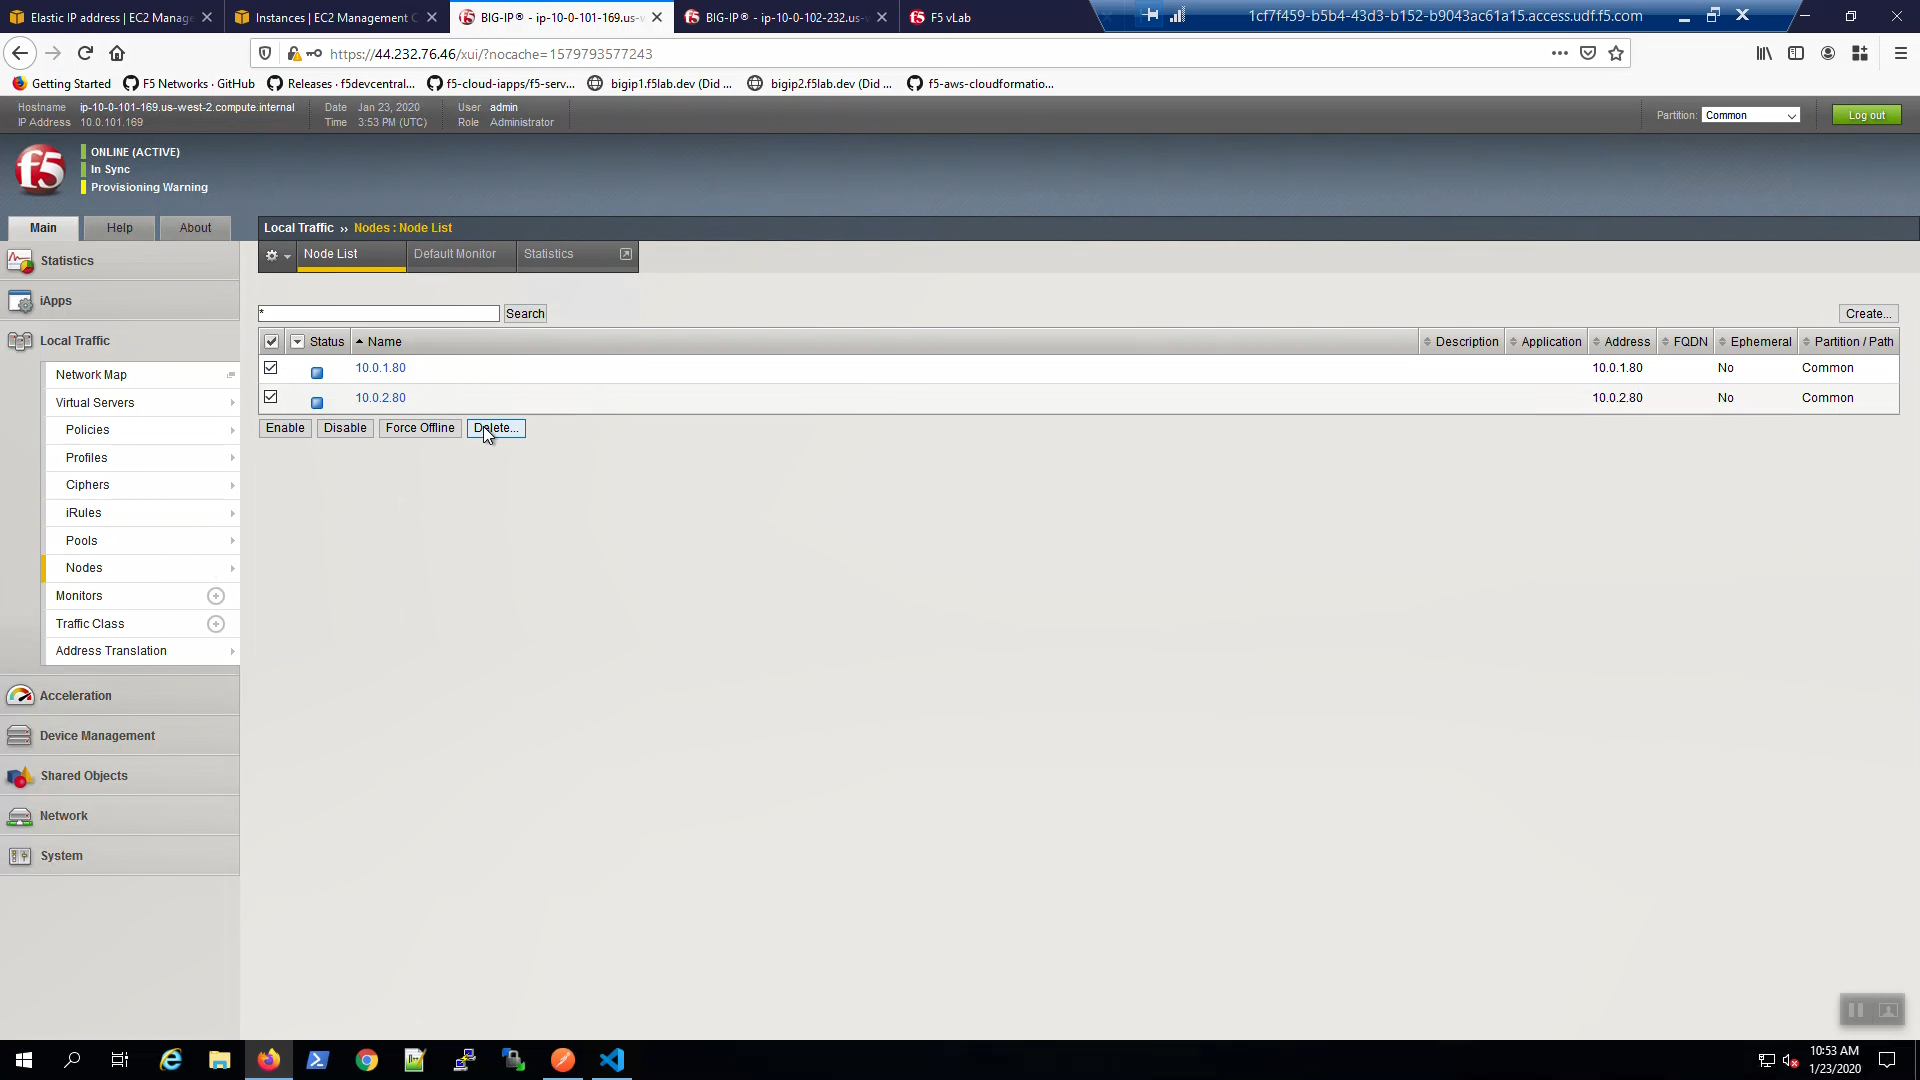
From Local Traffic => Nodes => Node List => Select both nodes and [Delete].
3.7.2. Prepare Postman
From the Visual Studio Code Terminal, copy the postman_rendered.json file to the desktop. This file contains the environment variables for a Postman collection.
cp ./postman_rendered.json /mnt/c/Users/Administrator/Desktop/
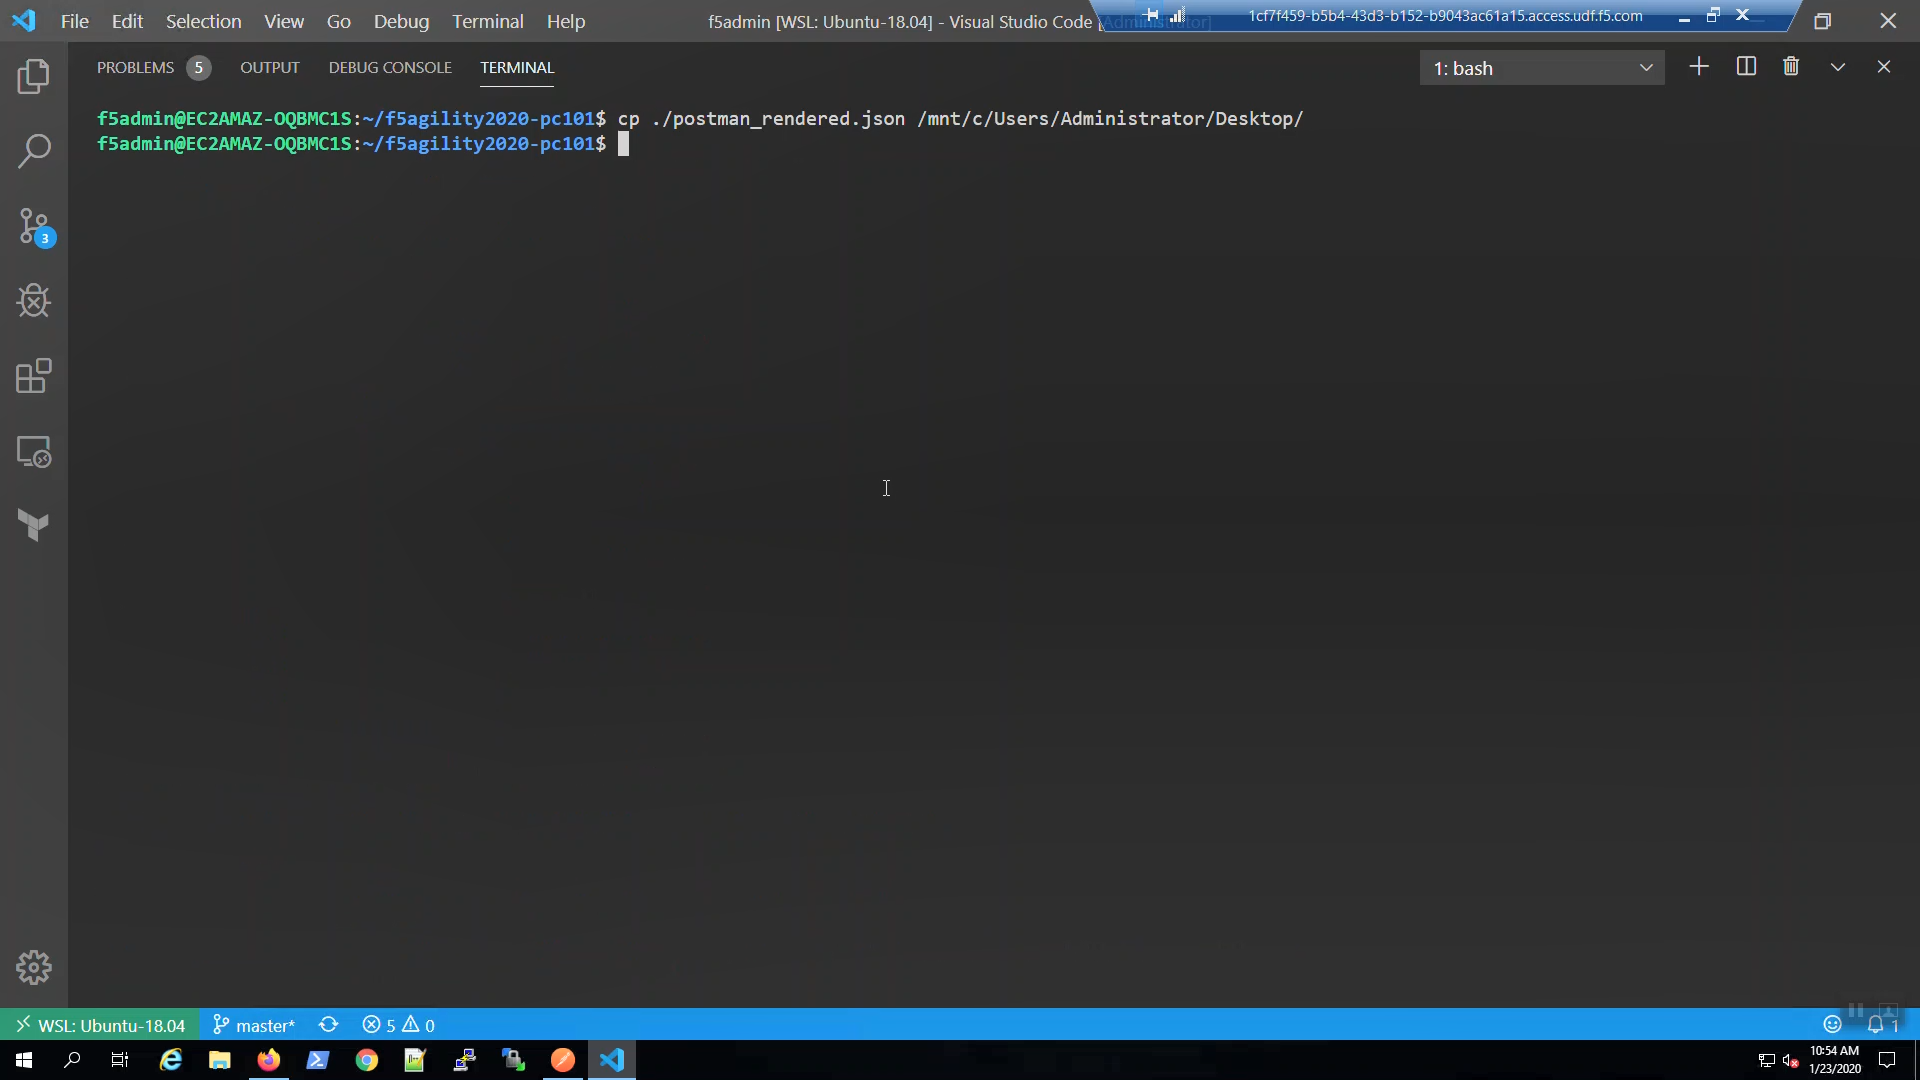
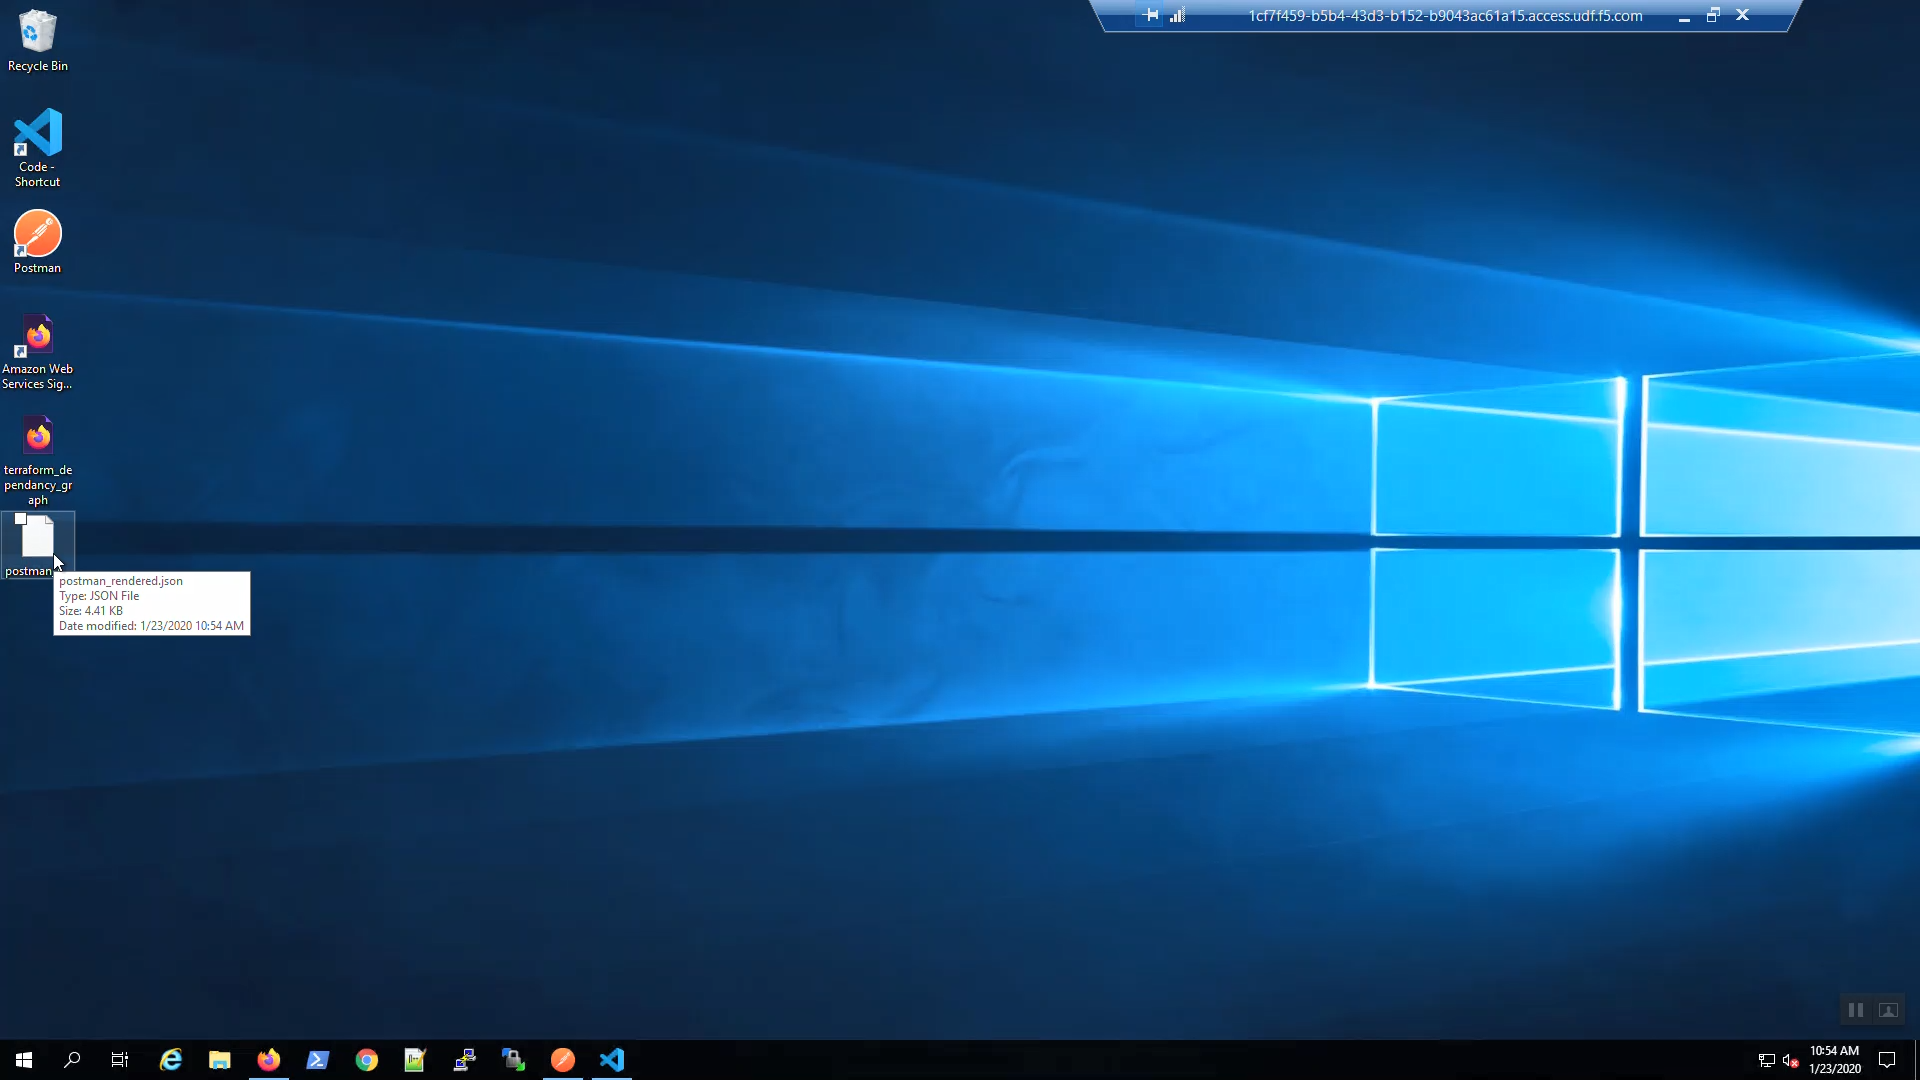
The postman_rendered.json file was copied to the Windows desktop.
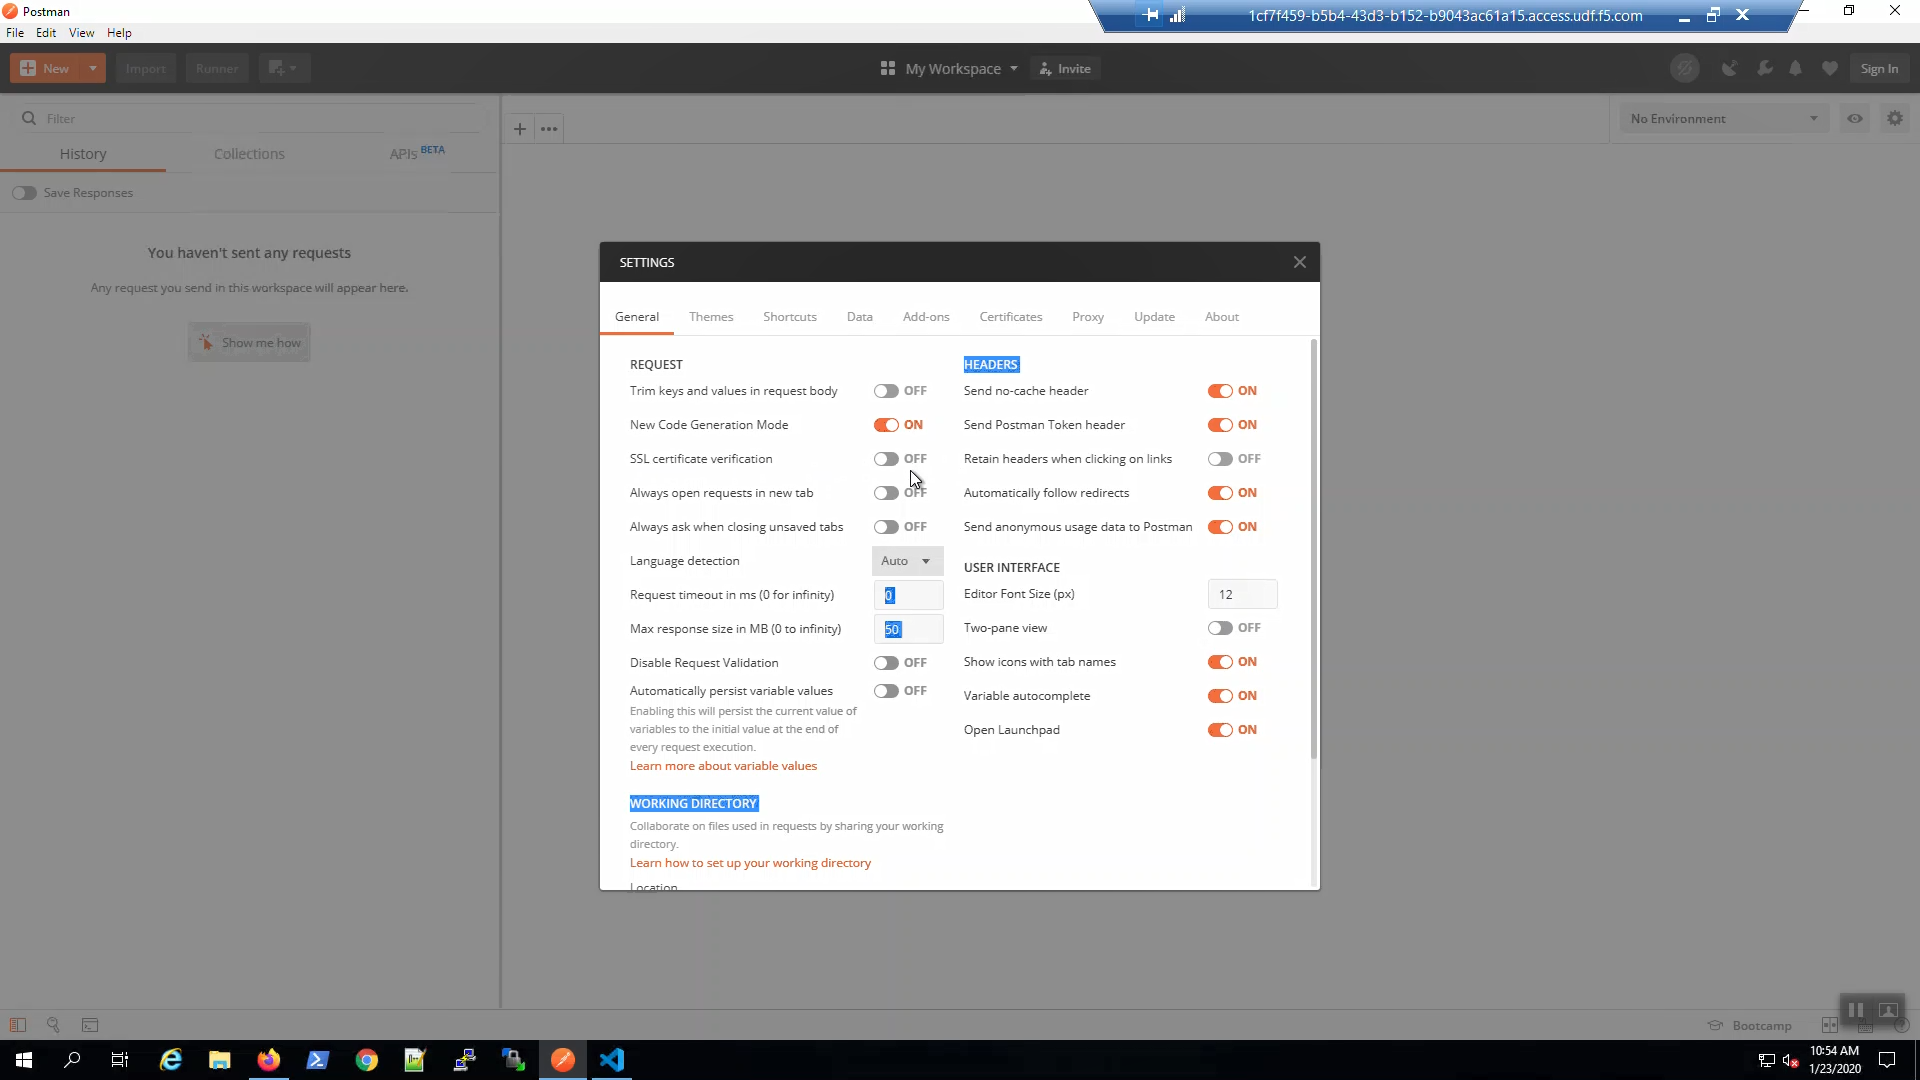
Open Postman. Click the wrench icon in the upper-right-hand corner to review Settings. Ensure that “SSL certificate verification” is turned “OFF”. Close Settings.
Click “Import” in the upper-left-hand corner. Choose “Import From Link”. Import the Postman Collection for this lab from:
https://raw.githubusercontent.com/TonyMarfil/f5agility2020-pc101/master/postman/f5agility2020-pc101-postman-collection.json

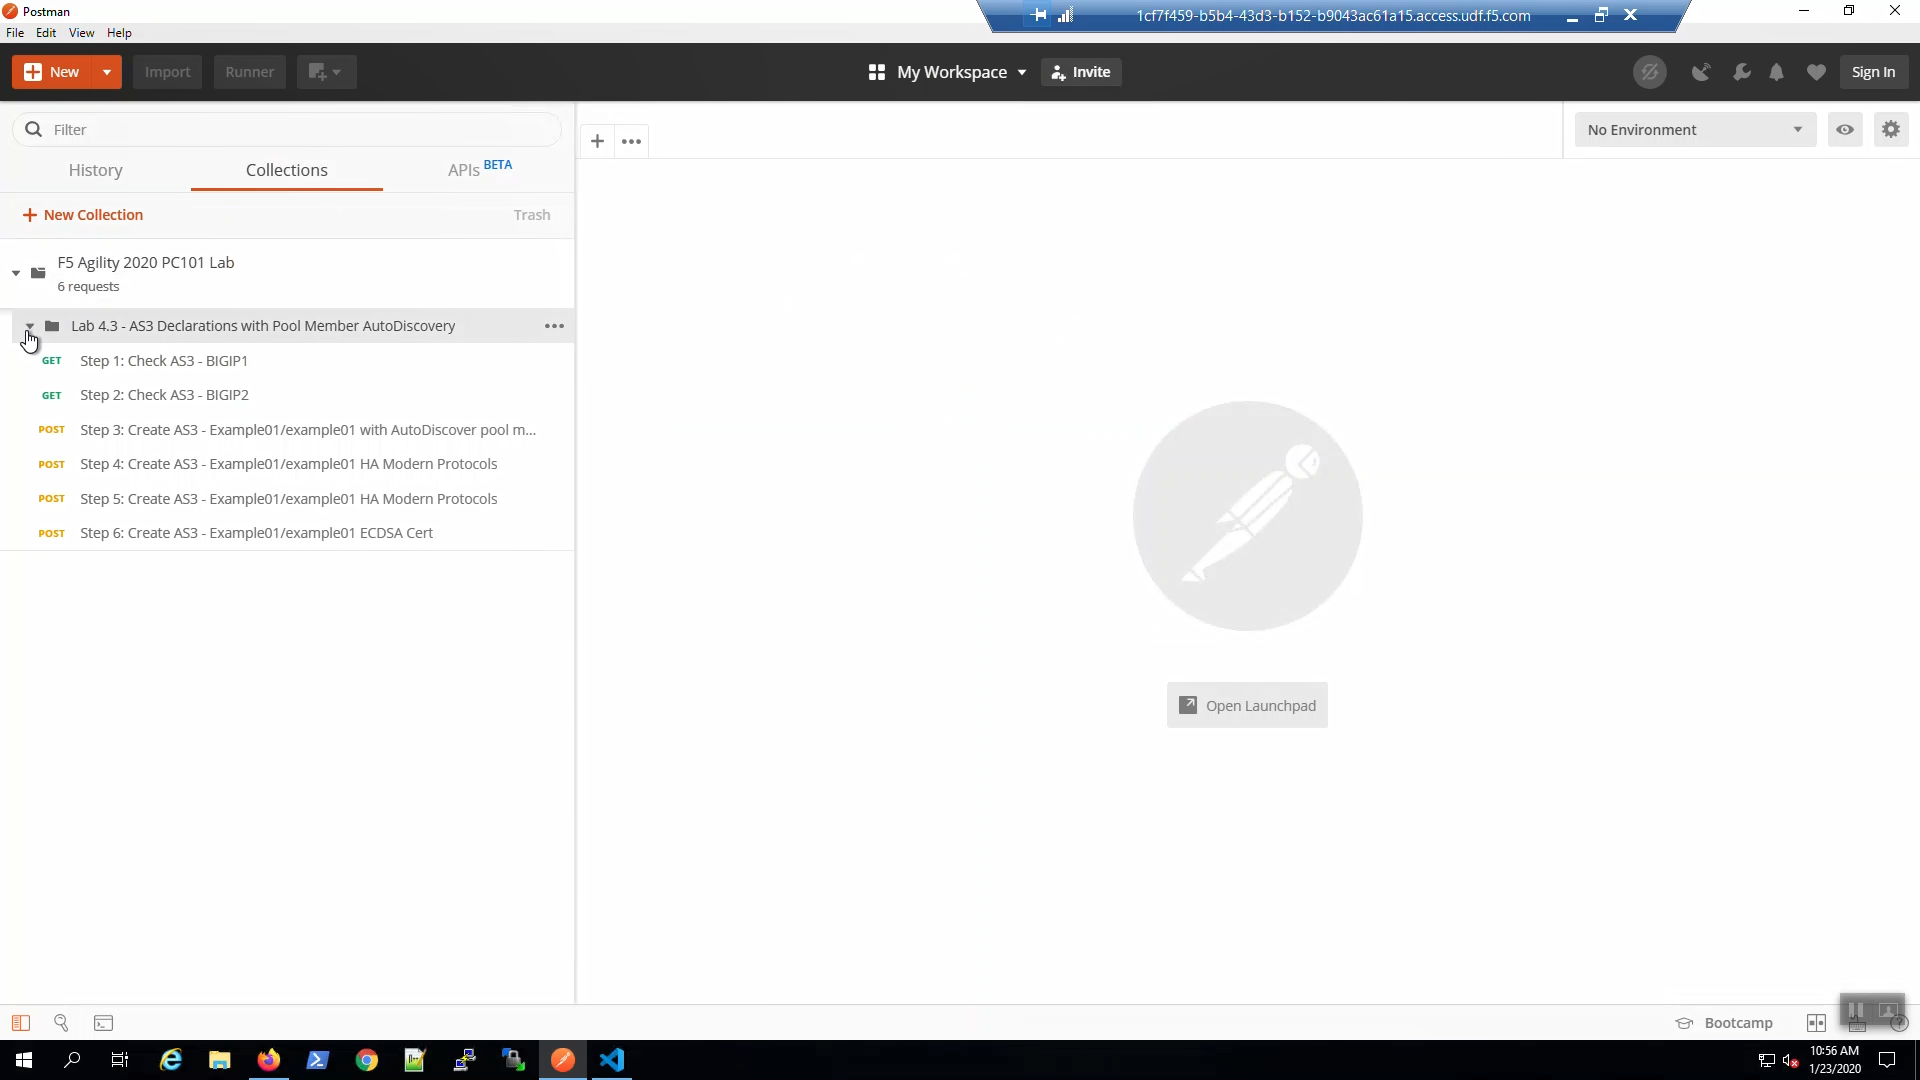
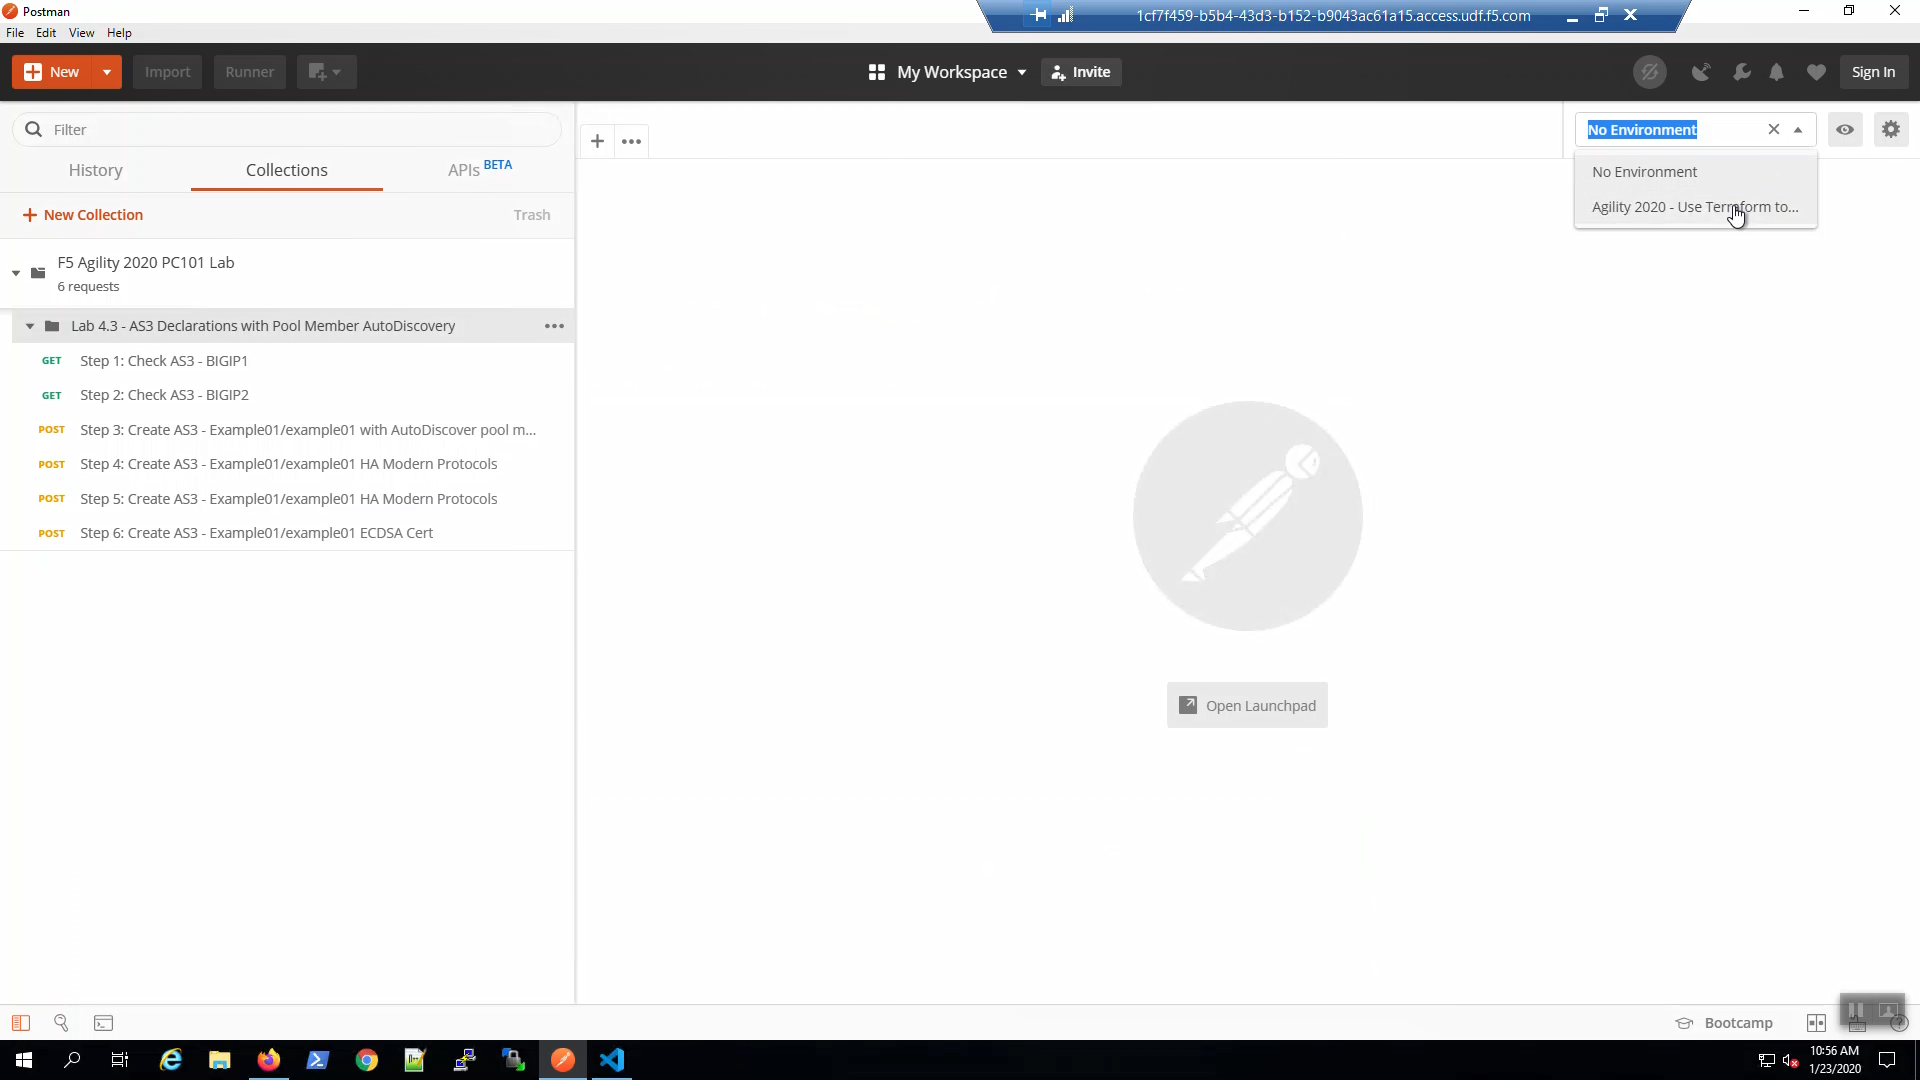
Confirm the F5 Agility 2020 PC101 Lab Collection has been imported.
In the upper-right-hand corner. To the far right of the “No Environment” drop-down menu. Click the gear icon and “Import from File”. Navigate to \This PC\Desktop\postman_rendered.json => [Open].
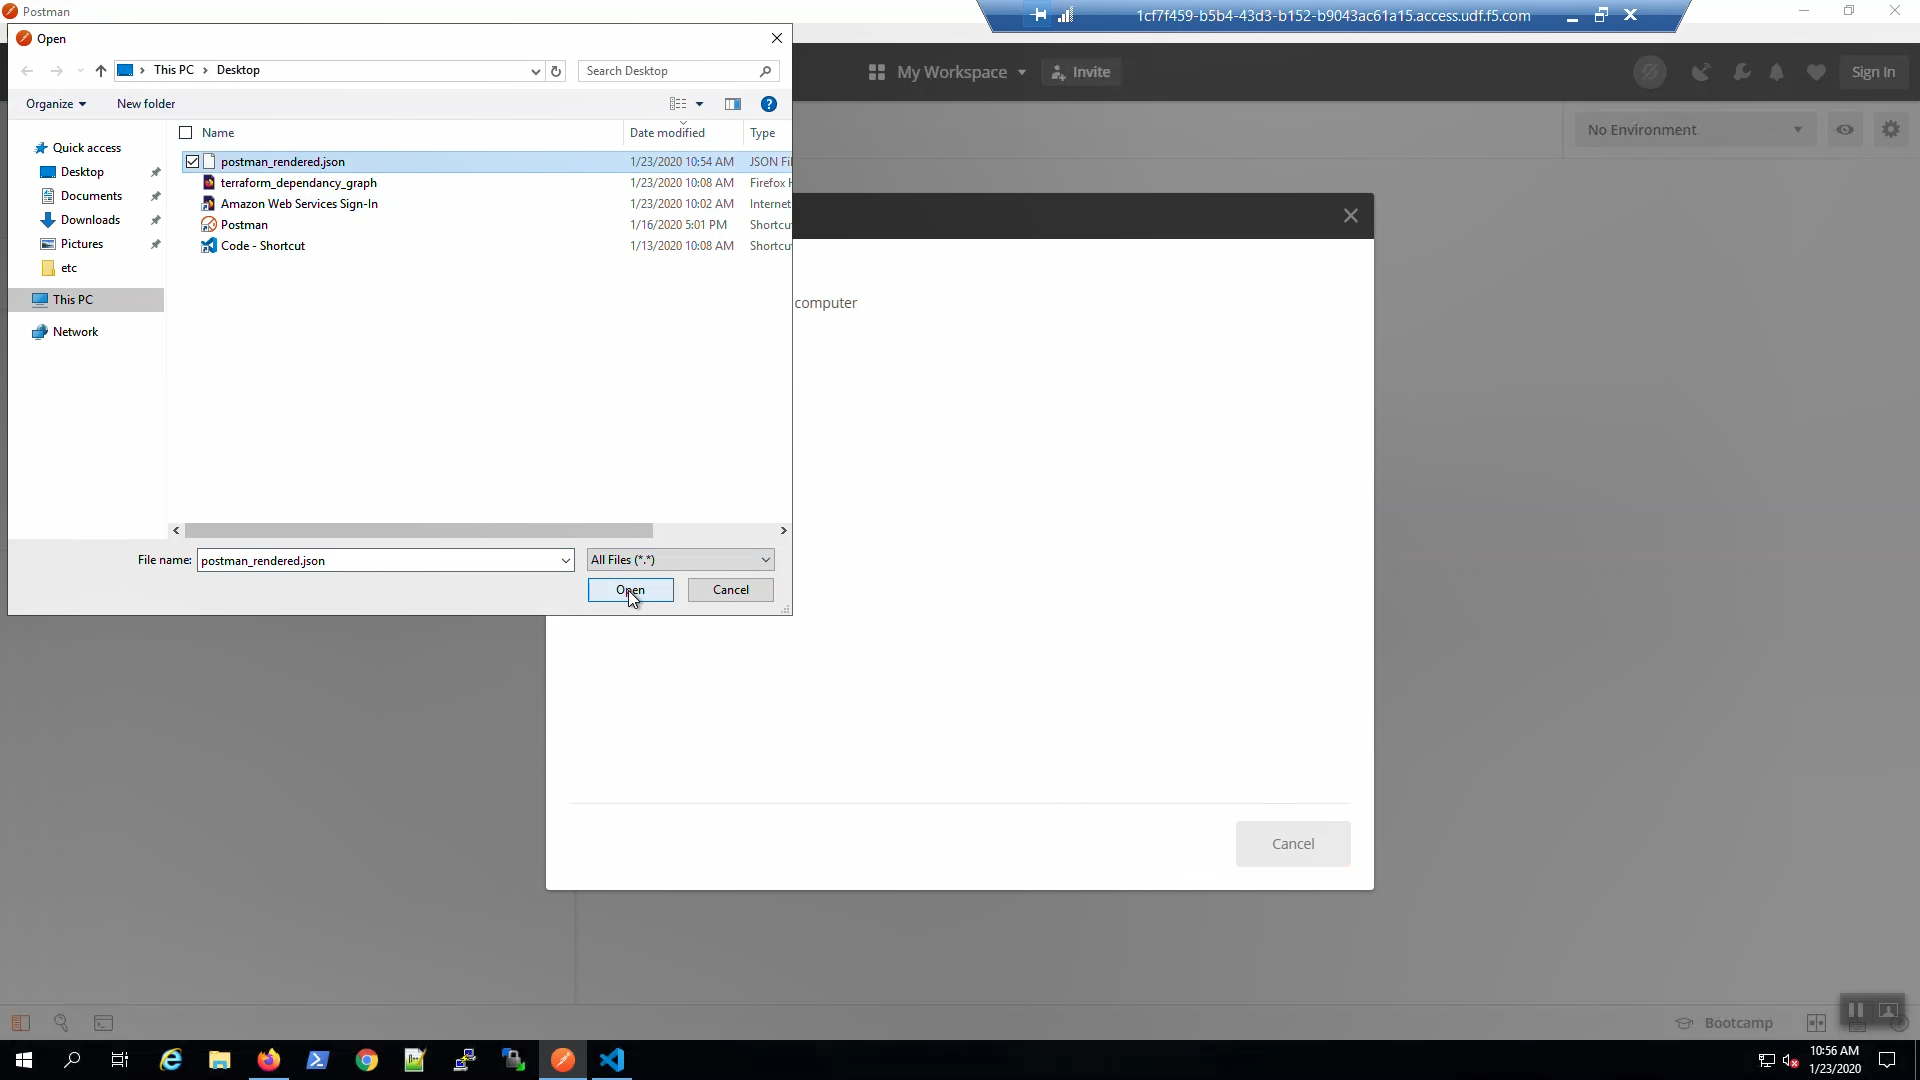
Confirm the environment was successfully imported. Choose “Agility 2020 - Use Terraform to…” from the Environment drop-down menu in the upper-right-hand corner.
3.7.3. Install the Application Services 3 Extension
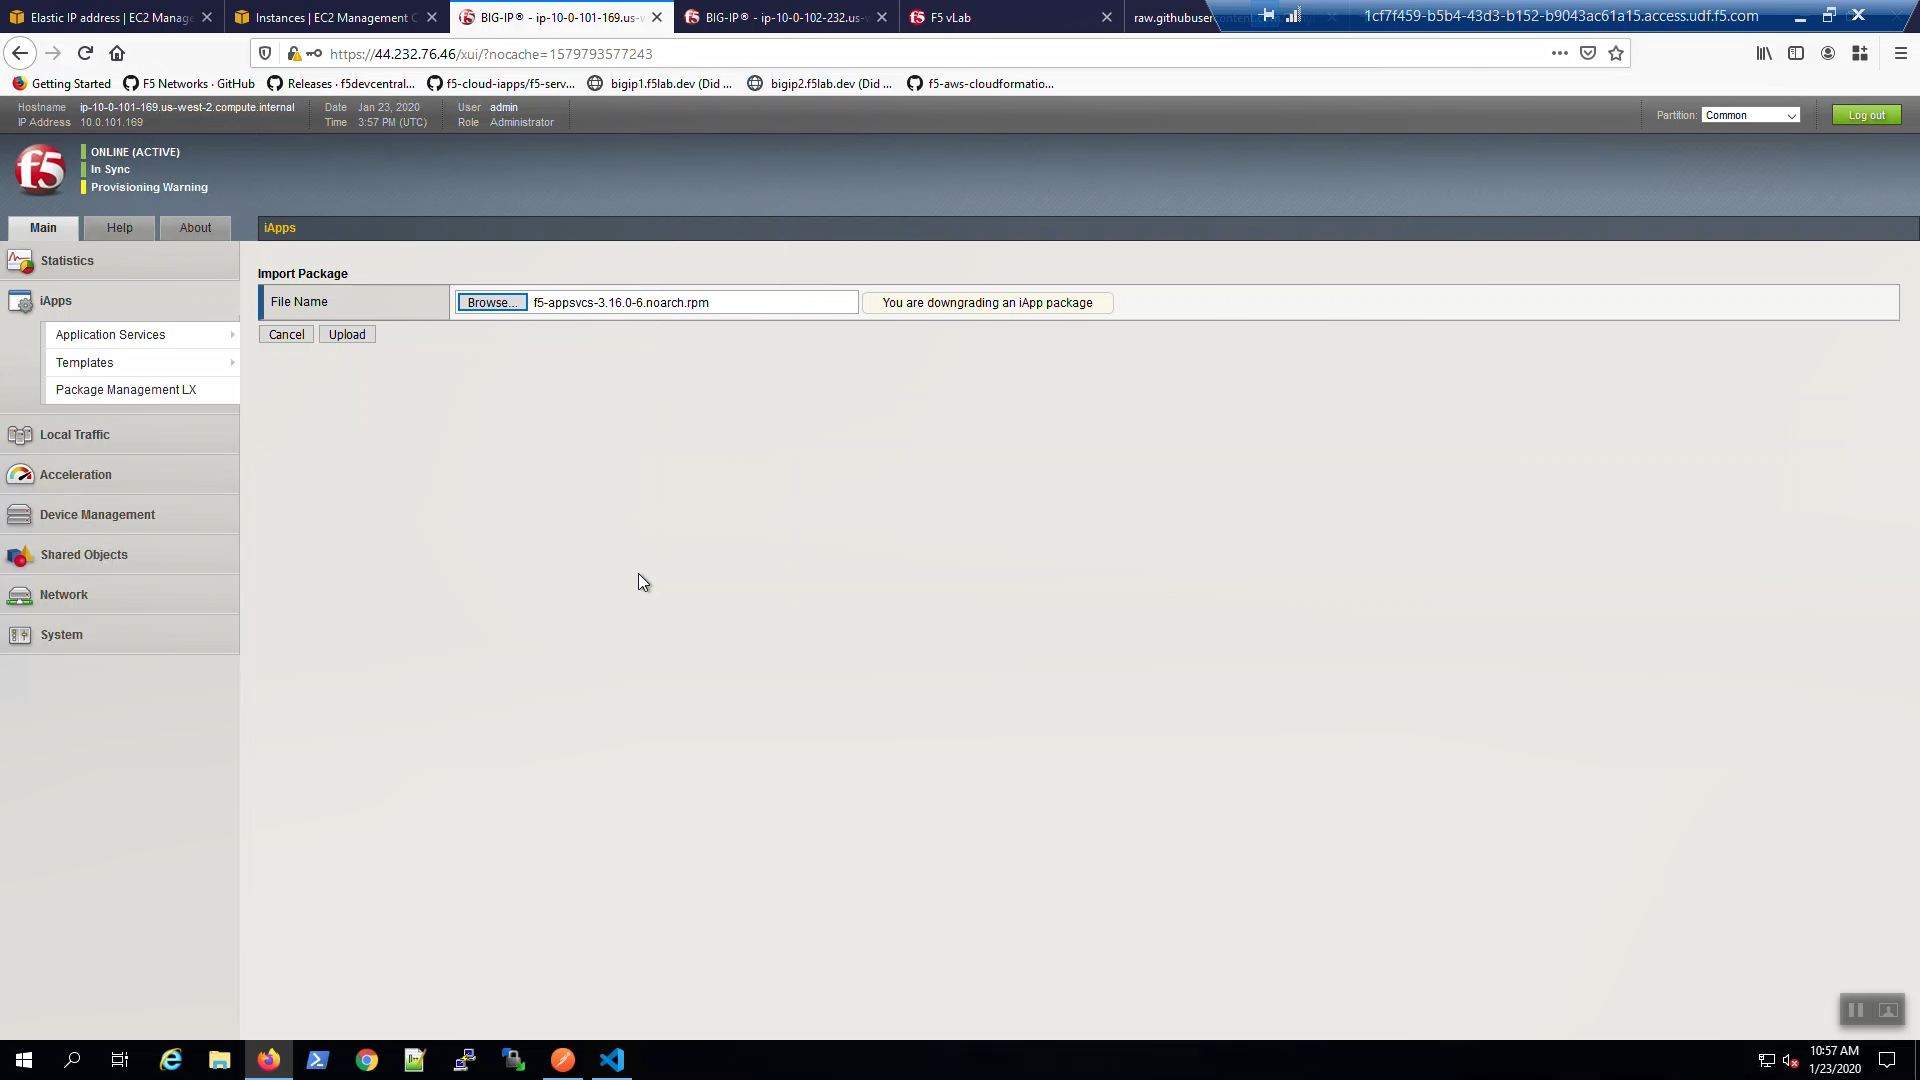
Big-IP1 => iApps => Package ManagementLX => [Browse] => This PC\Downloads\iControl_LX\f5-appsvcs… Upload the f5-appsvc… package.
Do the same for Big-IP2.
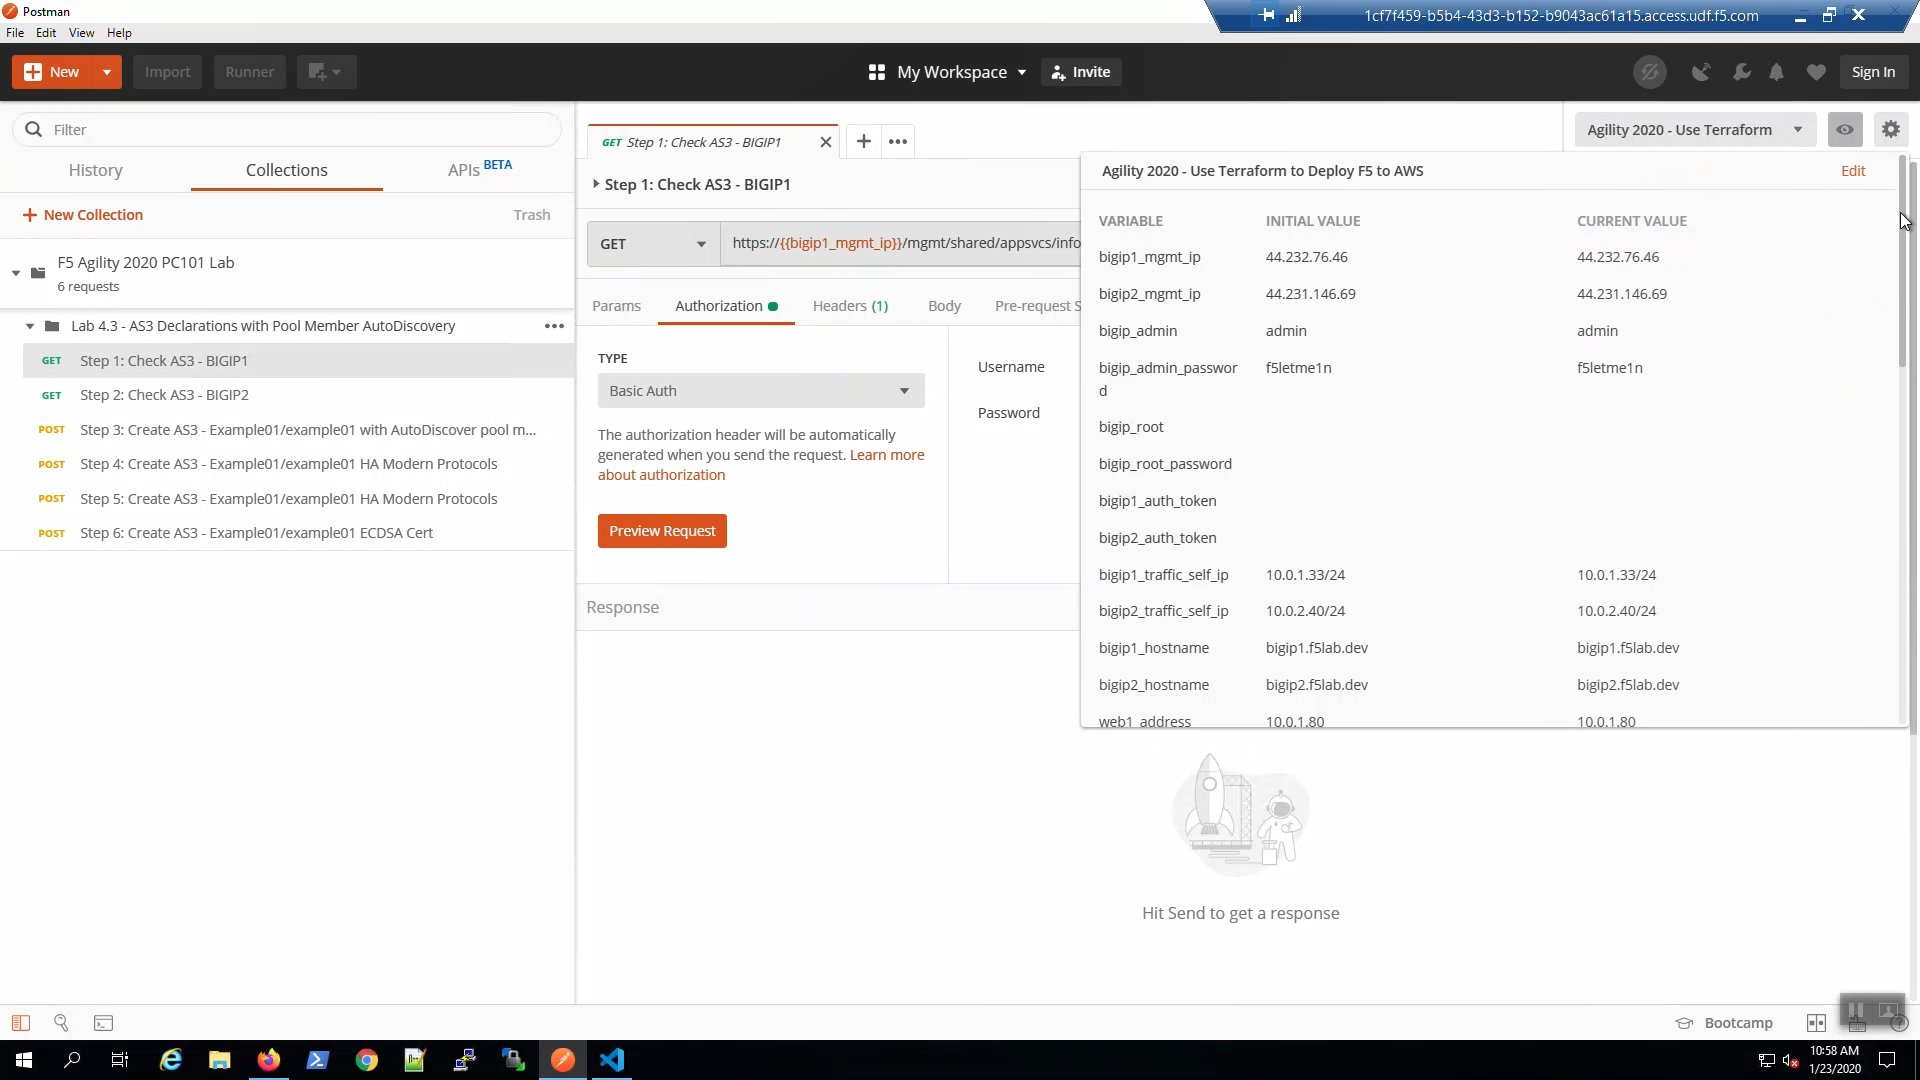
From Postman, click on the environment view icon immediately to the right of the “Agility 2020 - Use Terraform…” environment. You can see here that the environment variables have been prepared for the lab.
3.7.4. Create virtual servers and enable modern protocols such as TLS 1.3 and HTTPS/2 with AS3
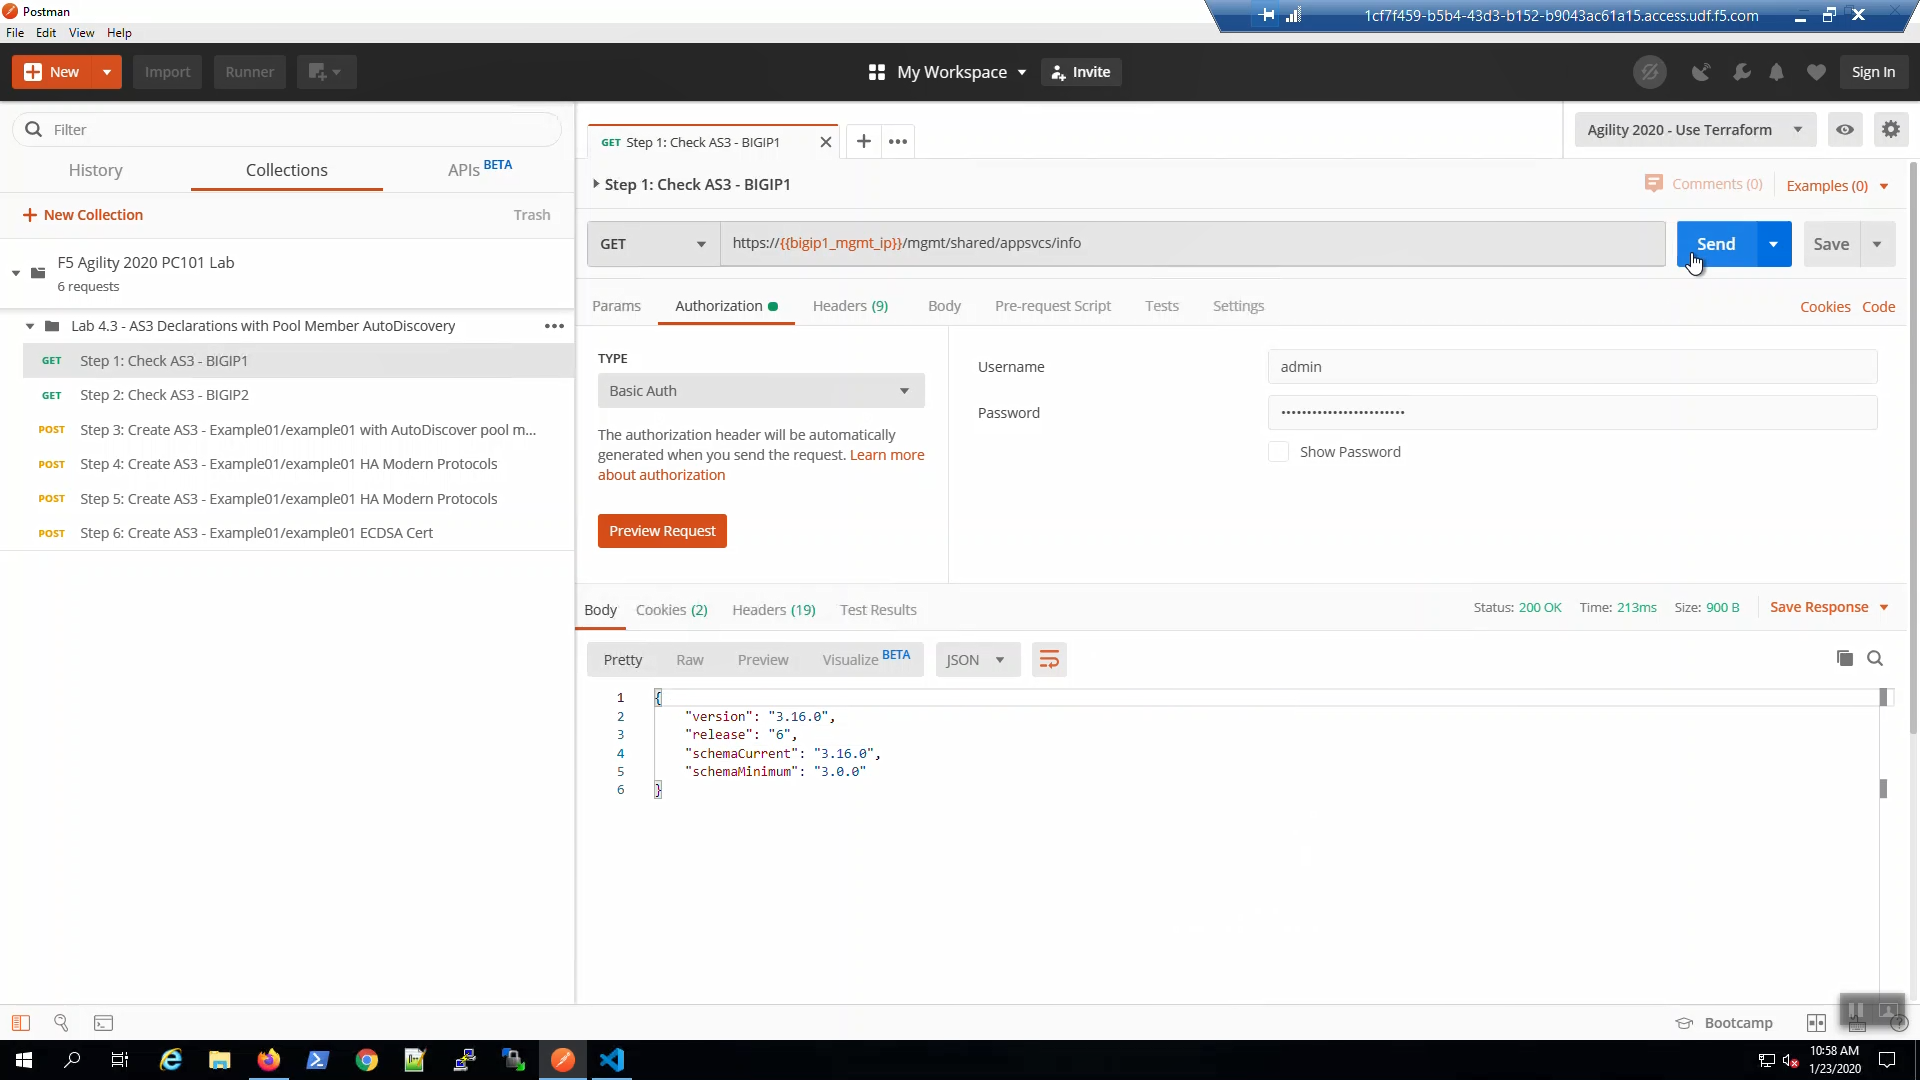
From Postman, select “Step 1: Check AS3 - BIGIP1” request. Click “Send”. The Status is 200 OK and the Body response will indicate the AS3 version.
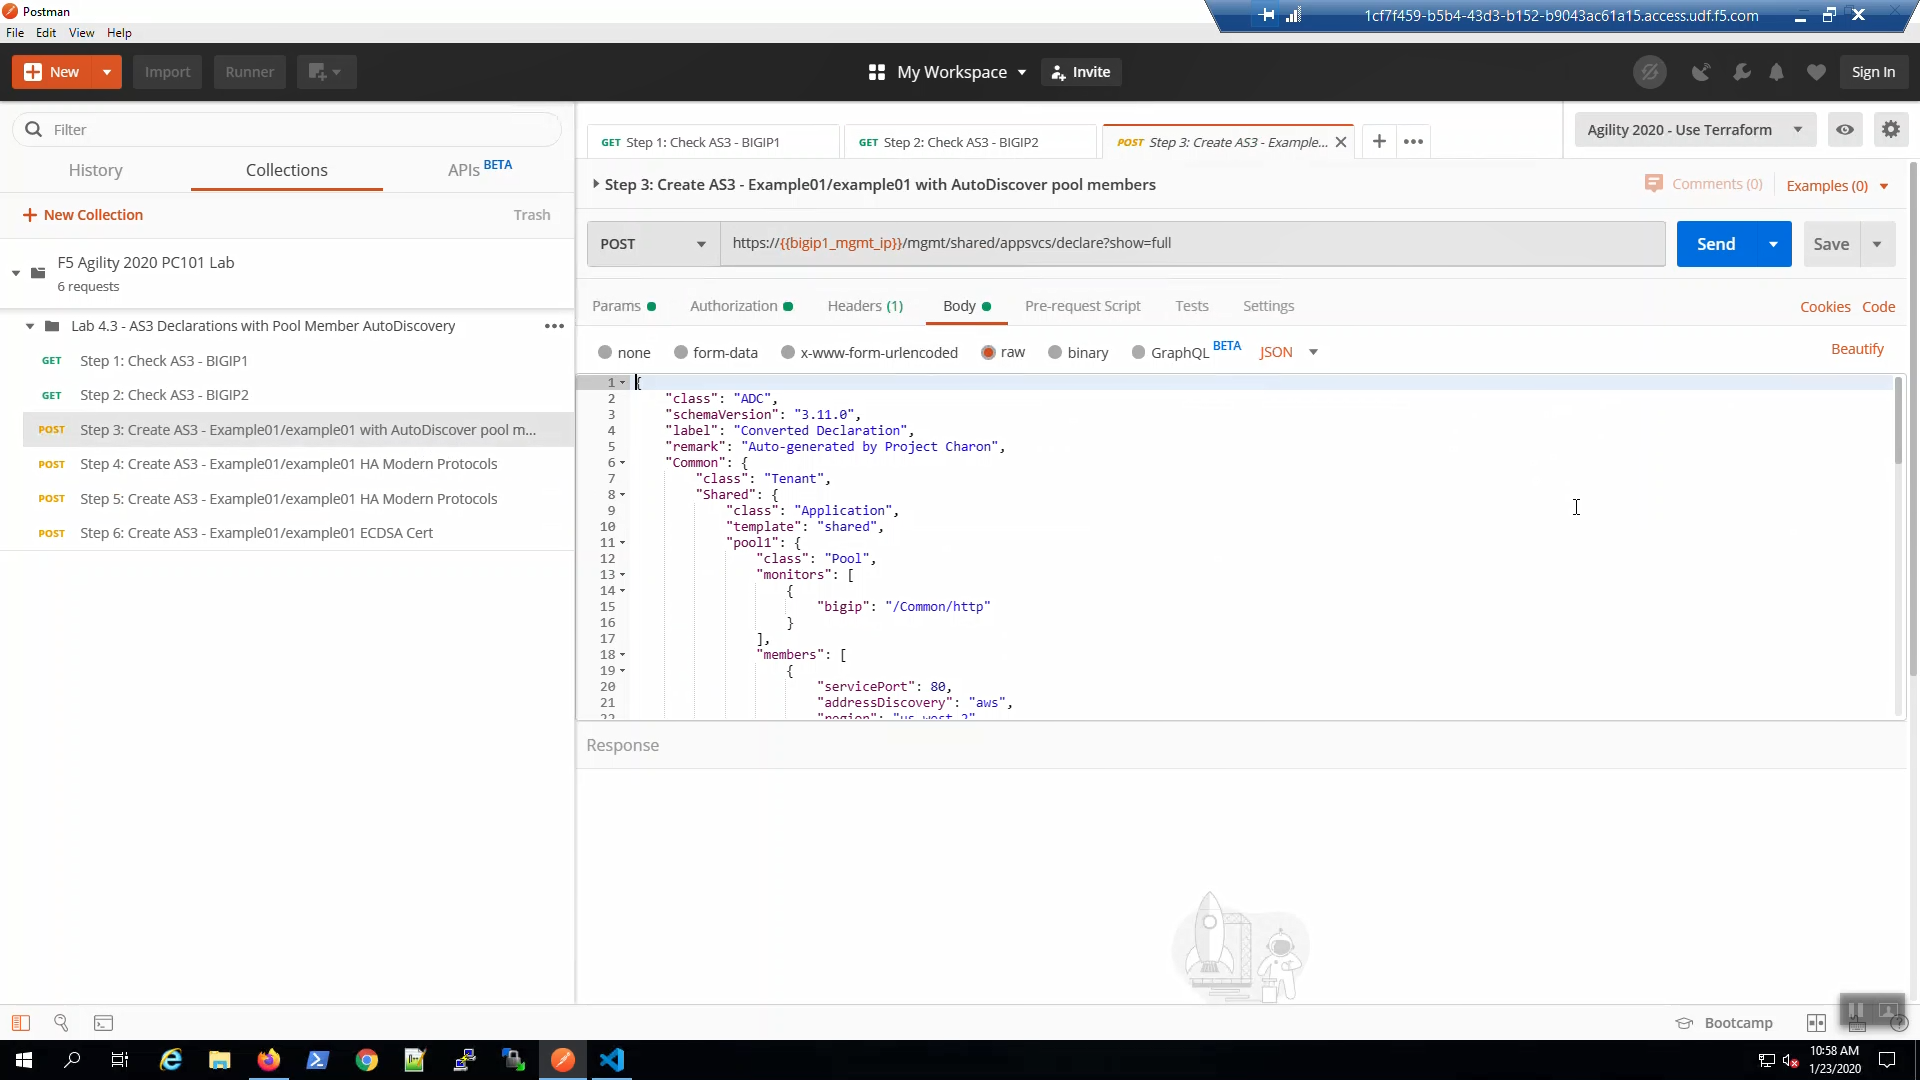
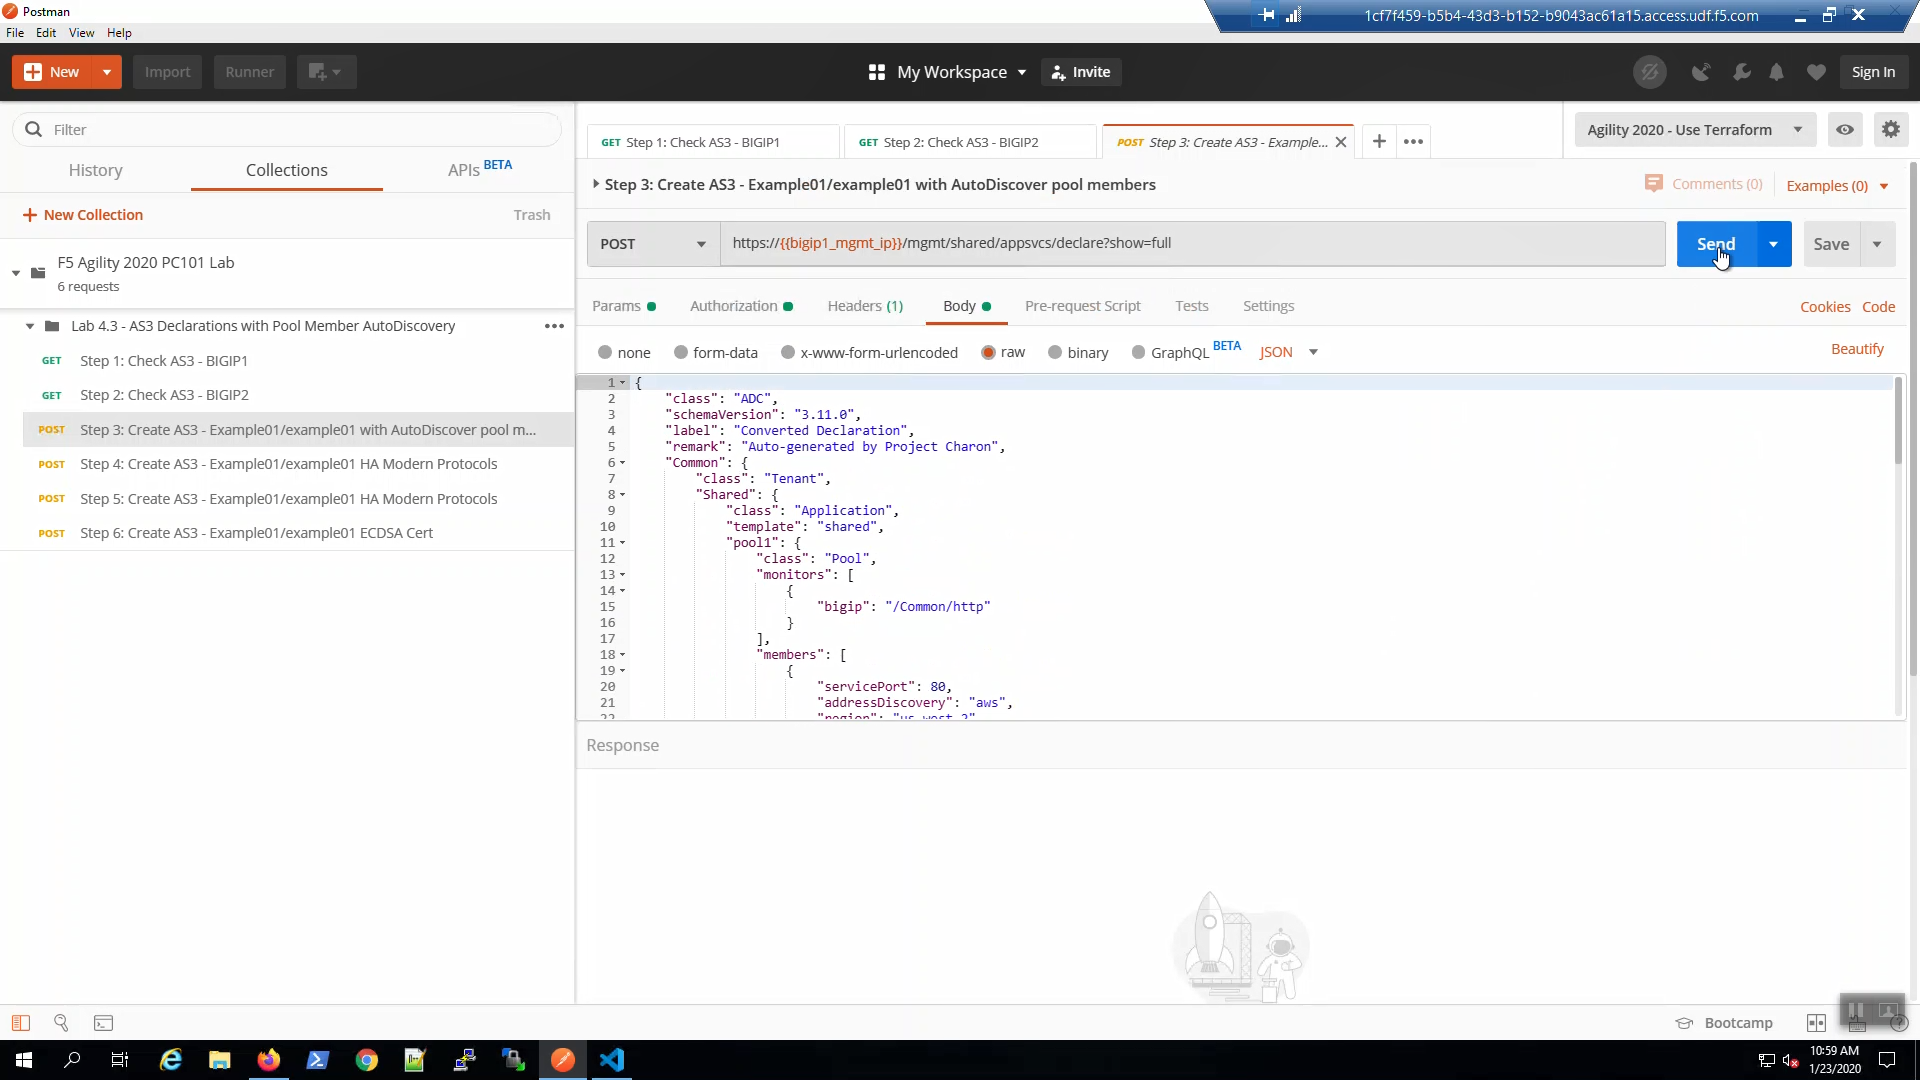
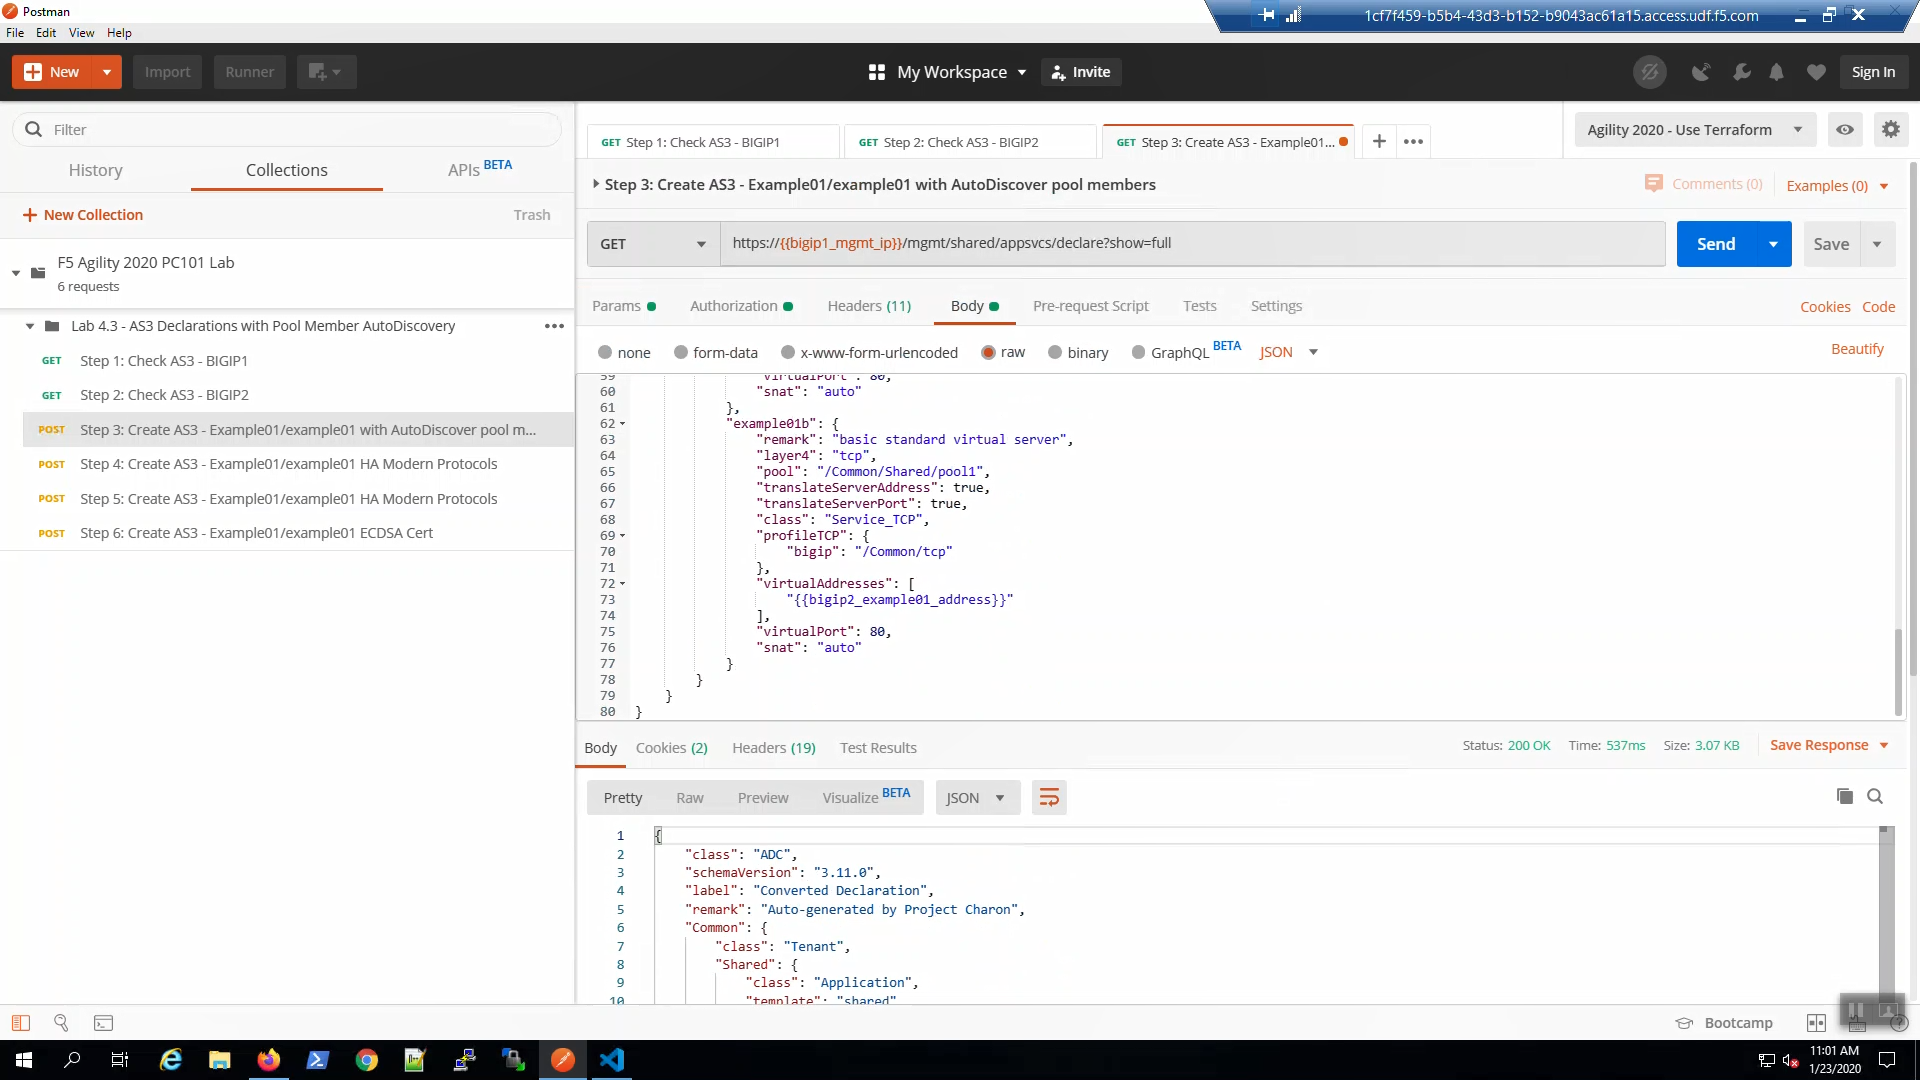
From Postman, select “Step 3: Create AS3 - Example01/example01 with AutoDiscover pool…” request. Click “Send”.
Change the HTTP method from POST to GET and click “Send”. You can do this often to track the status of the AS3 declaration in the Response. Status 202 indicates the declaration was successfully submitted and is being processed, Status 200 indicates the declaration has successfully completed.
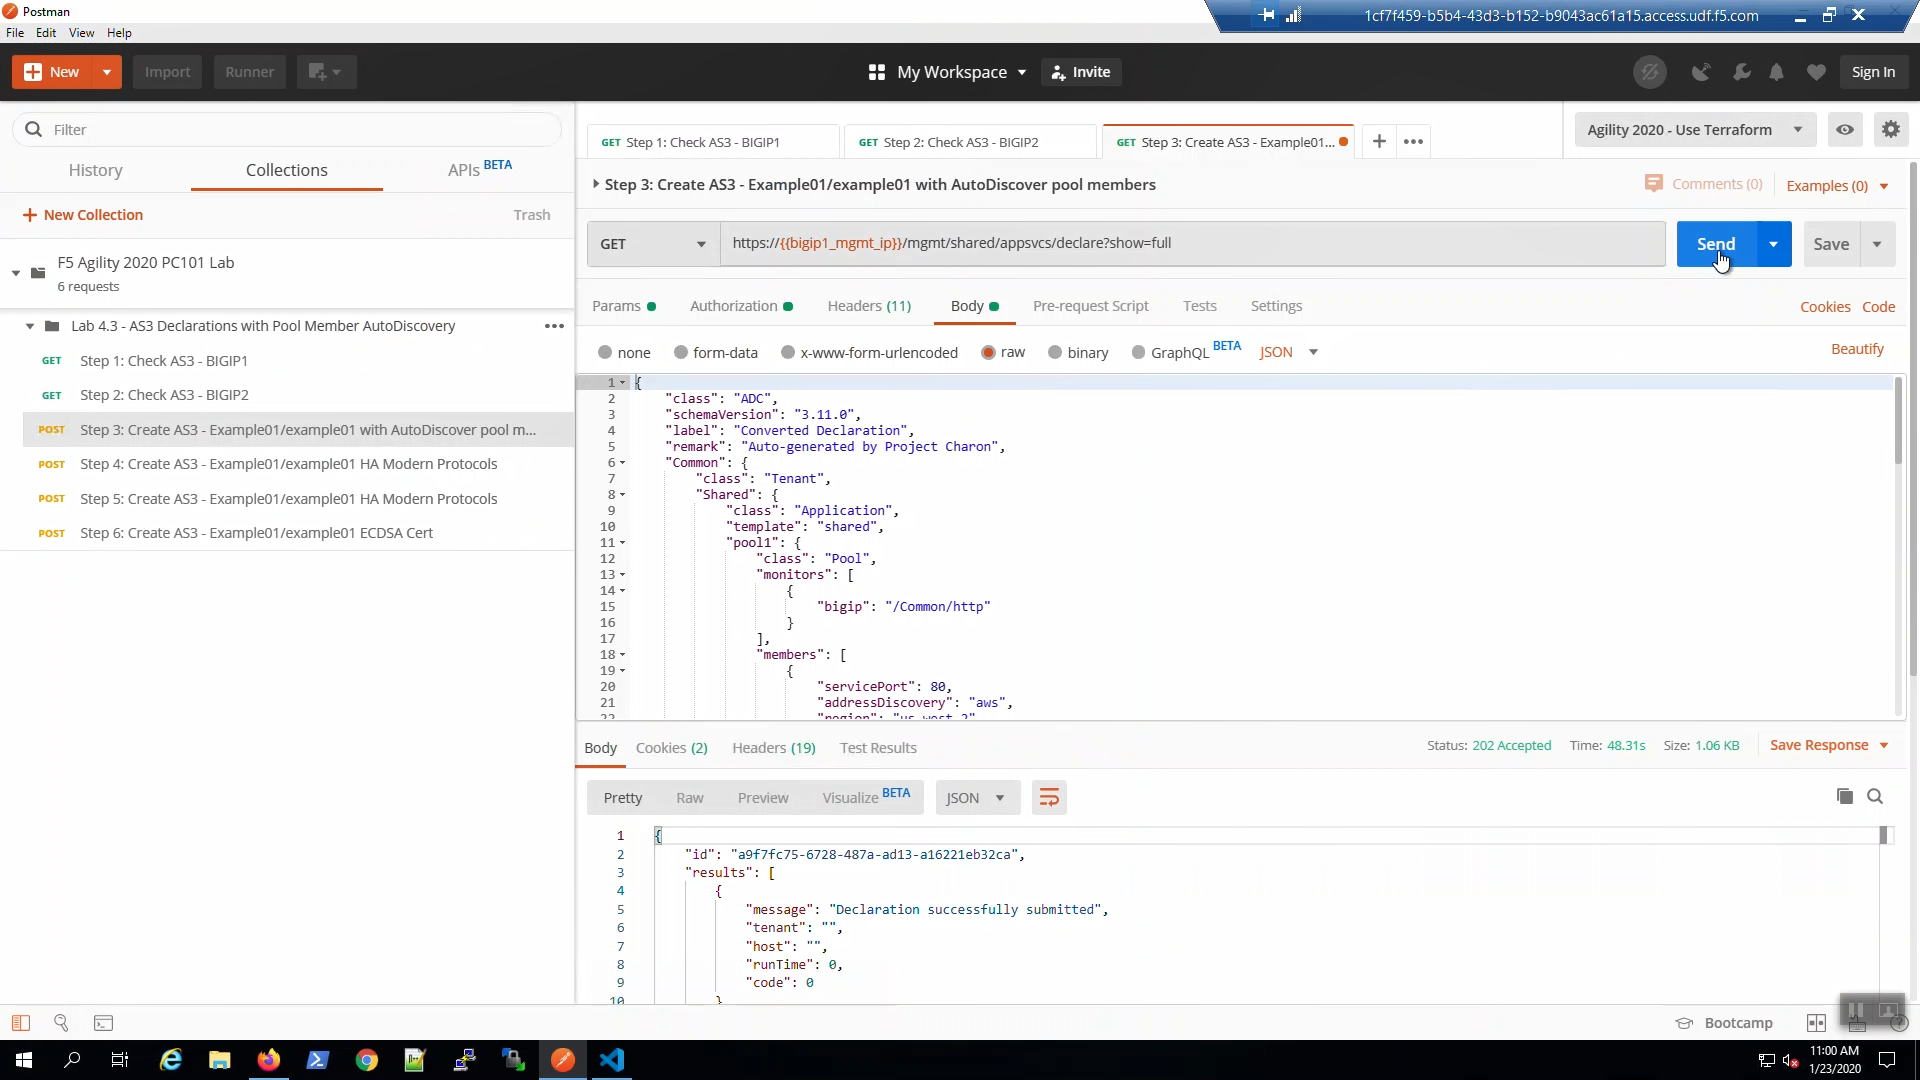
Eventually, the status will be 200 OK. Our AS3 declaration has successfully created virtual servers and services.
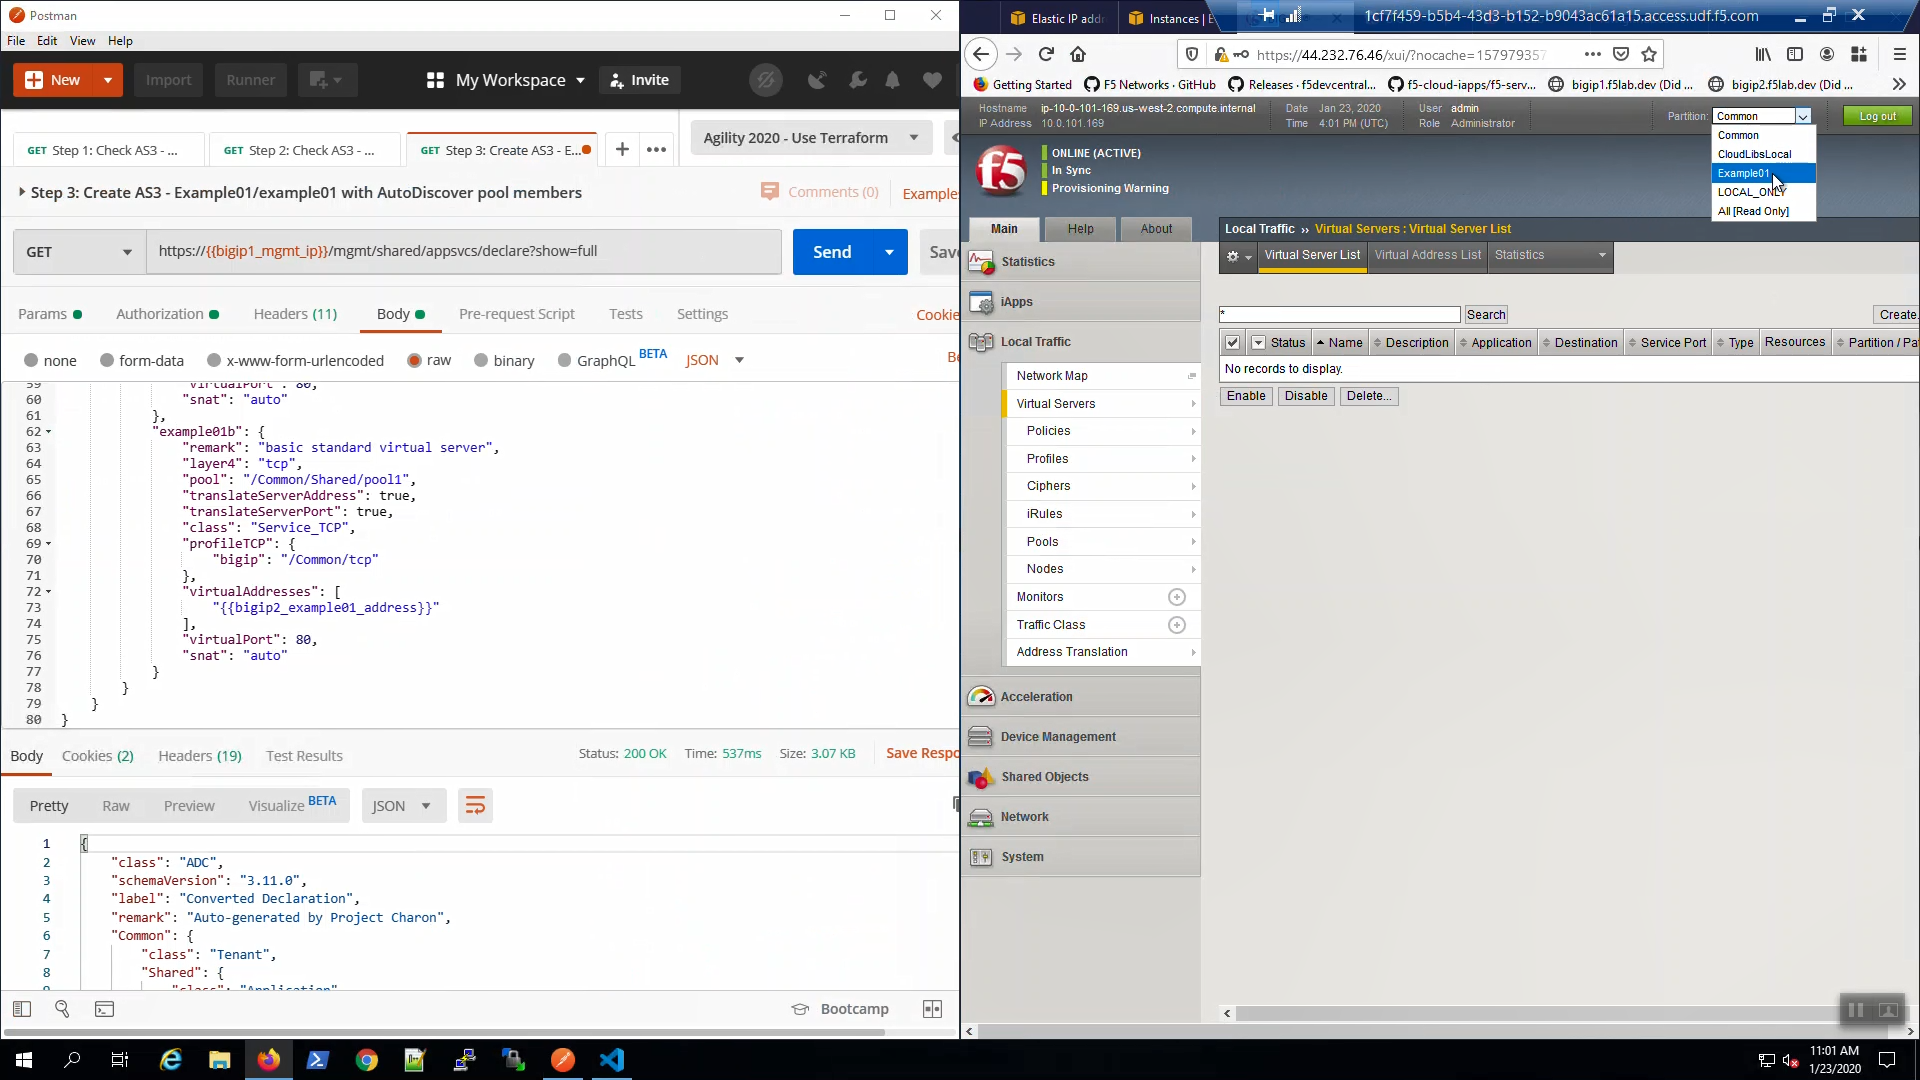
On Big-IP1, choose the new Example01 partition in the upper-right hand corner.
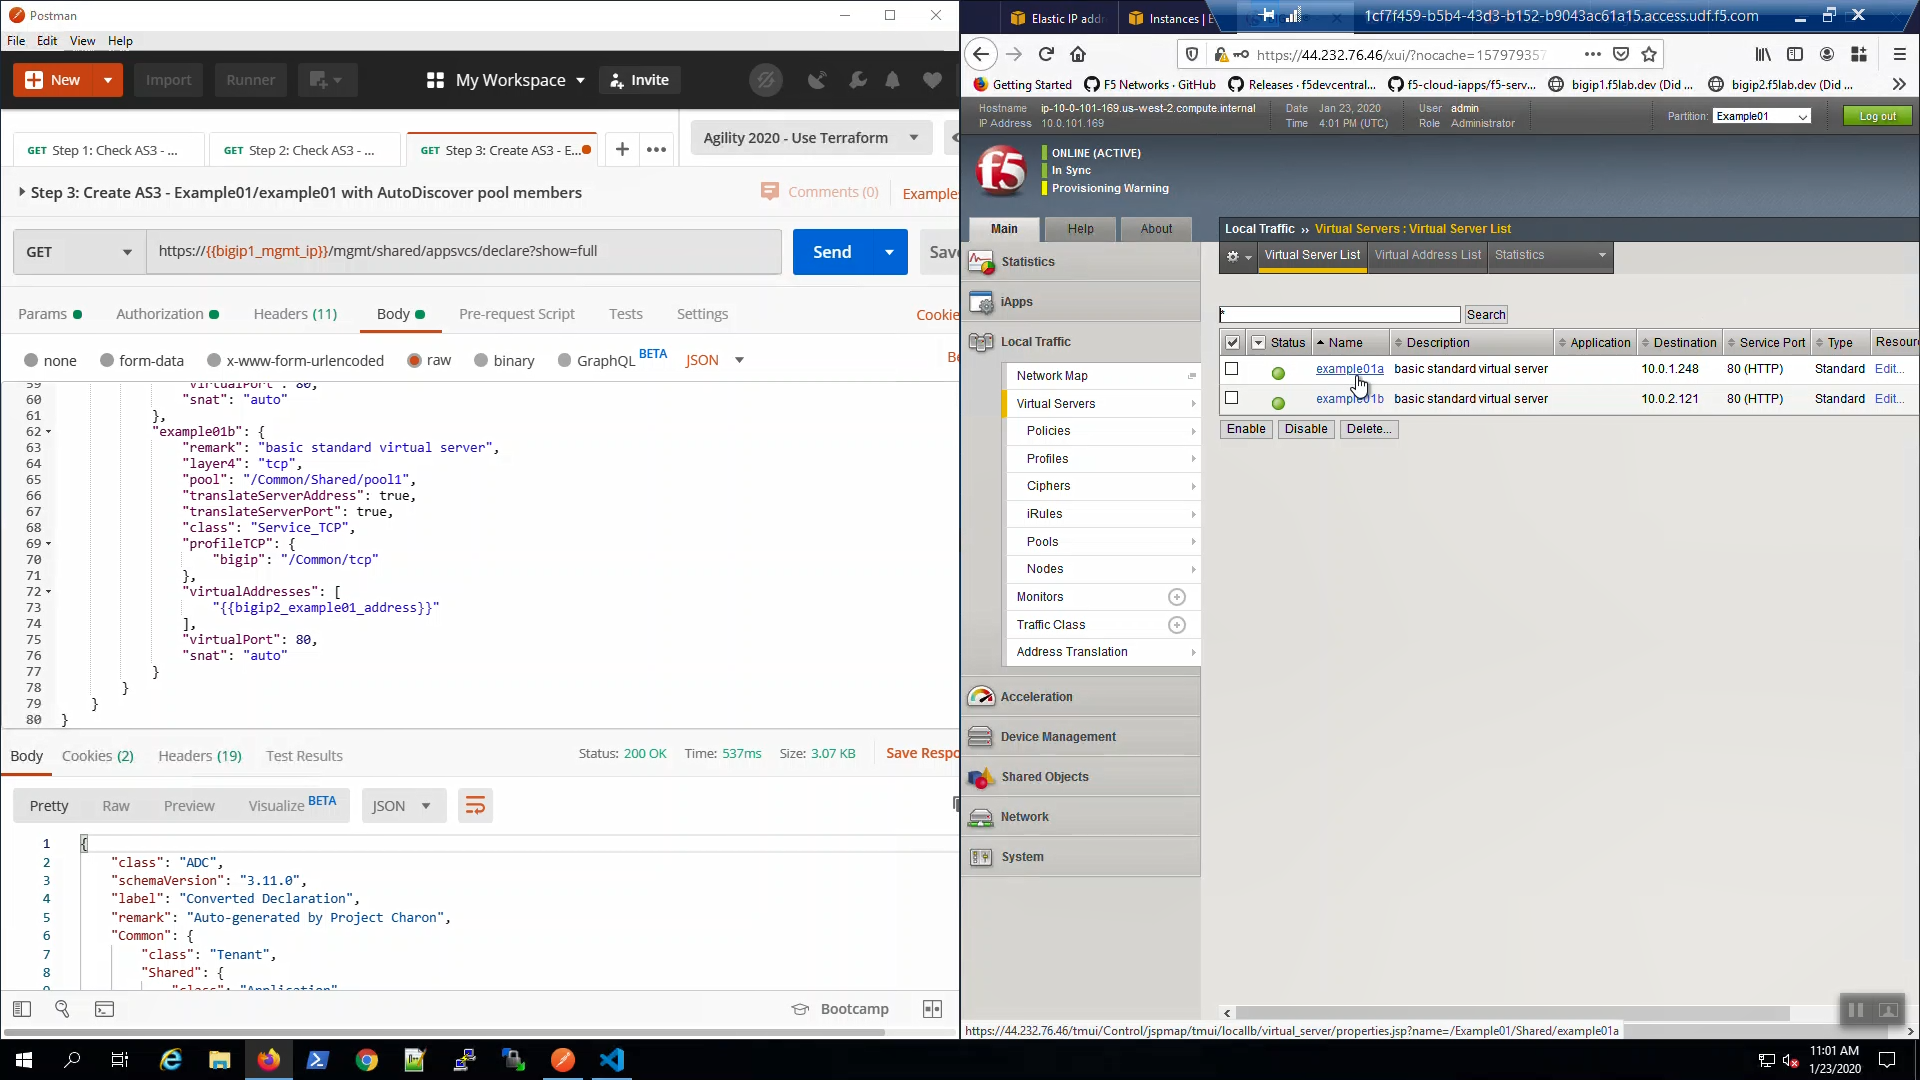
Big-IP1 => Local Traffic => Virtual Servers. Review the newly created example01a and example01b HTTP virtual servers.
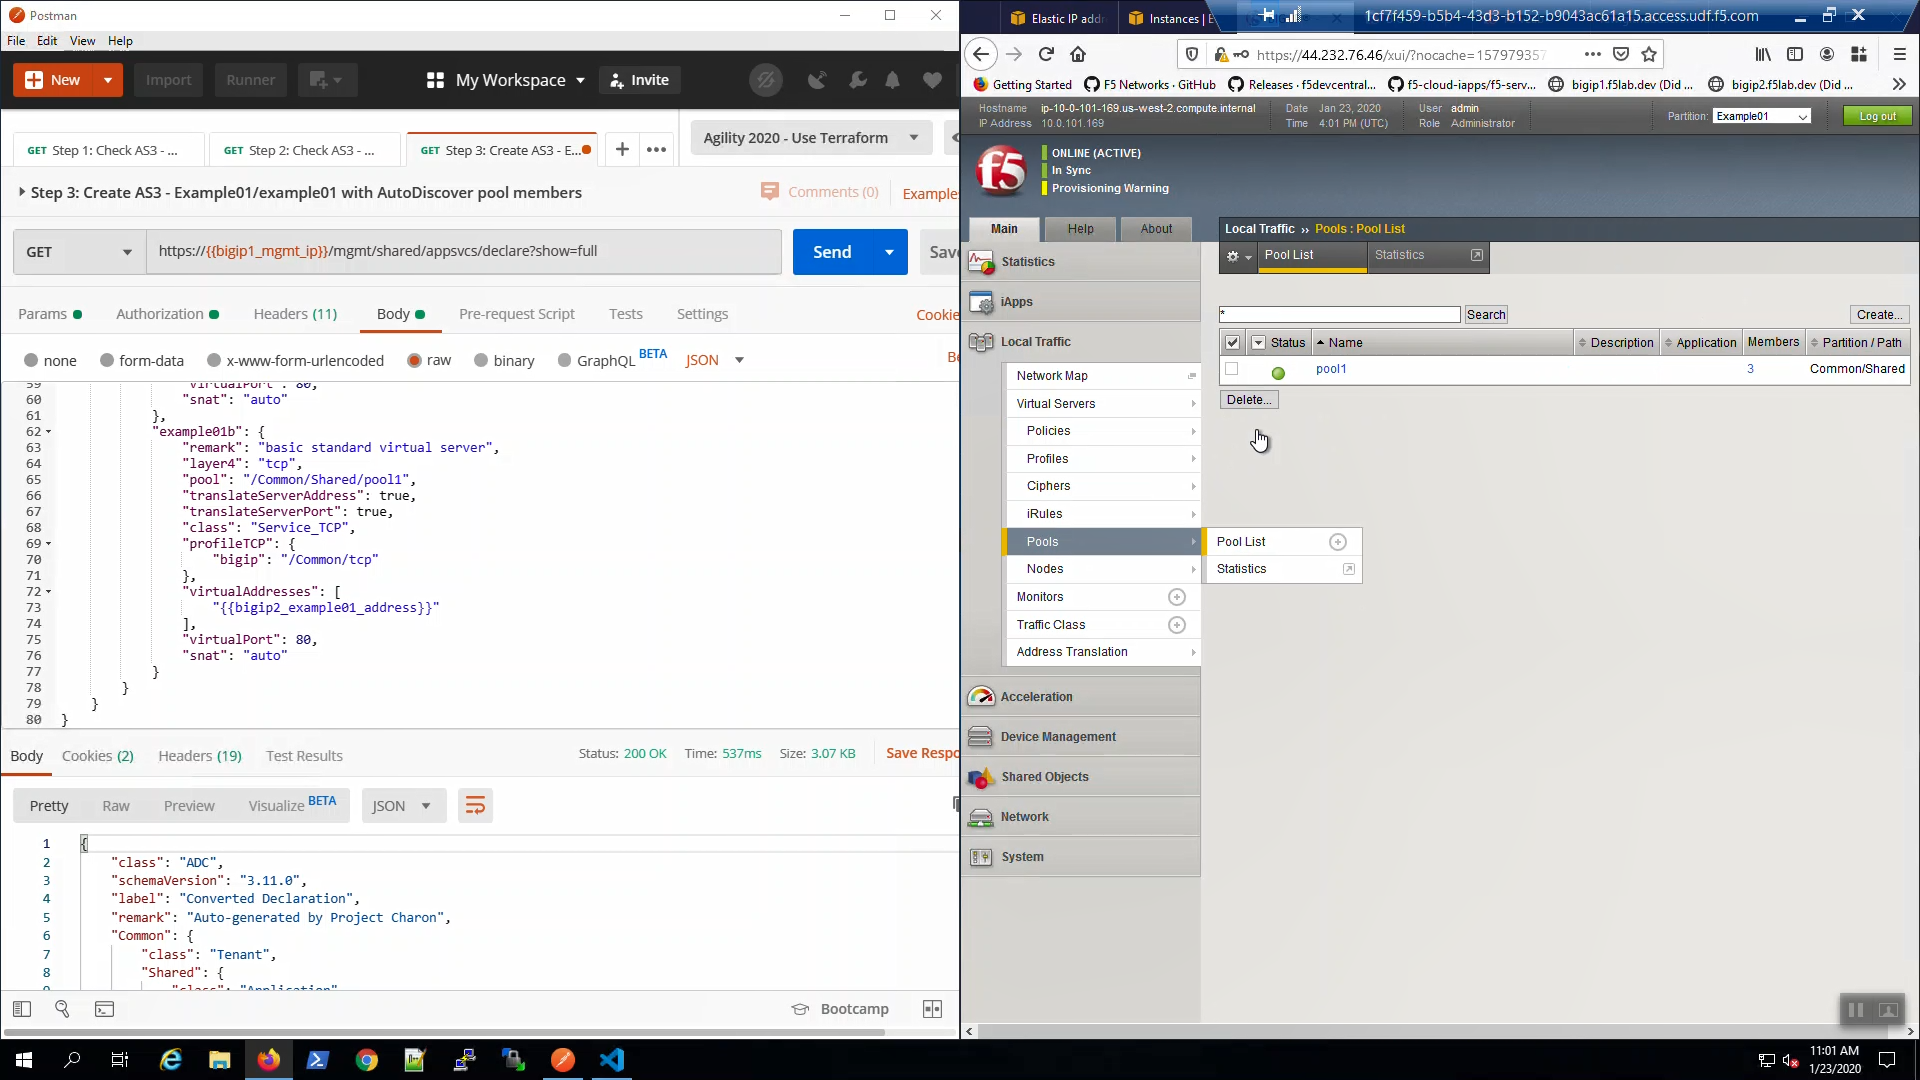
Big-IP1 => Local Traffic => Pools. Review the newly created pool1.
From the browser, connect to the example application over HTTP.
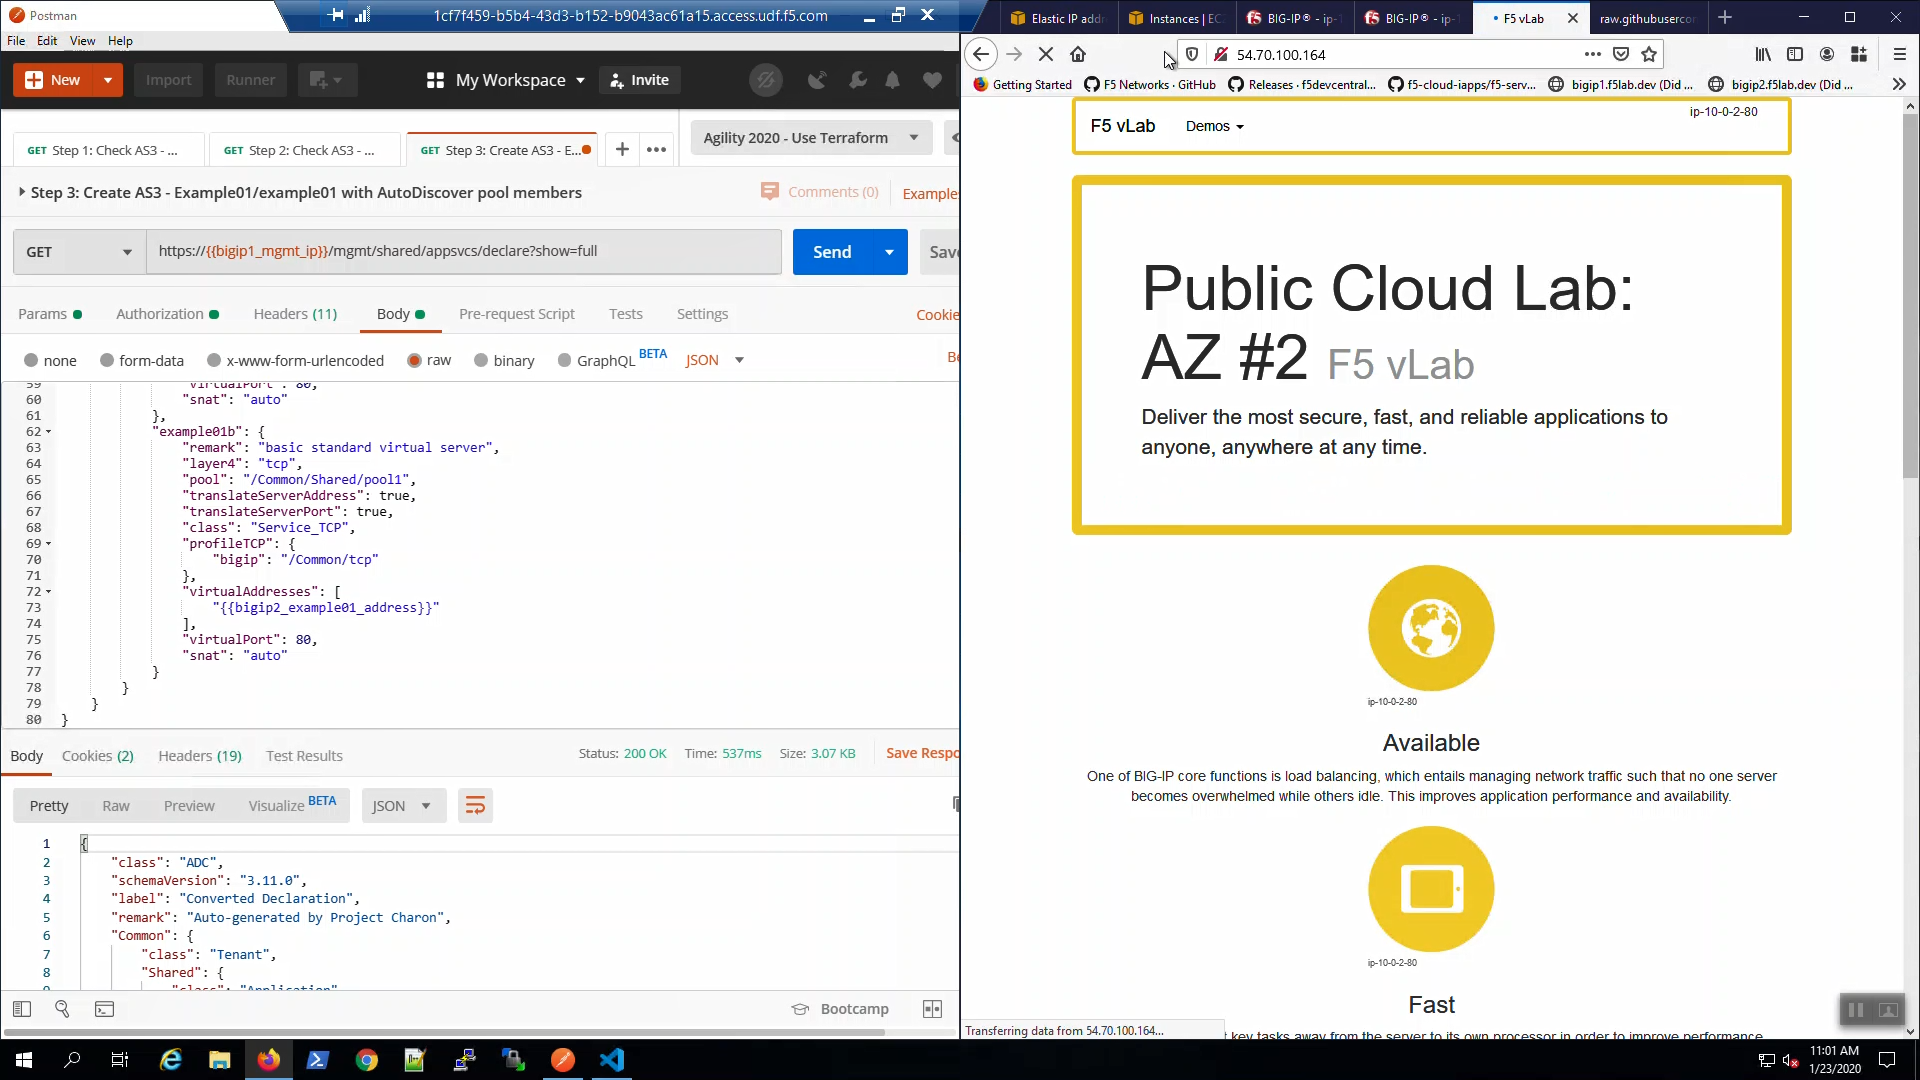
This application is running over unencrypted HTTP/1.1. Let’s turn on modern protocols TLS 1.2 (HTTPS) and HTTP/2.
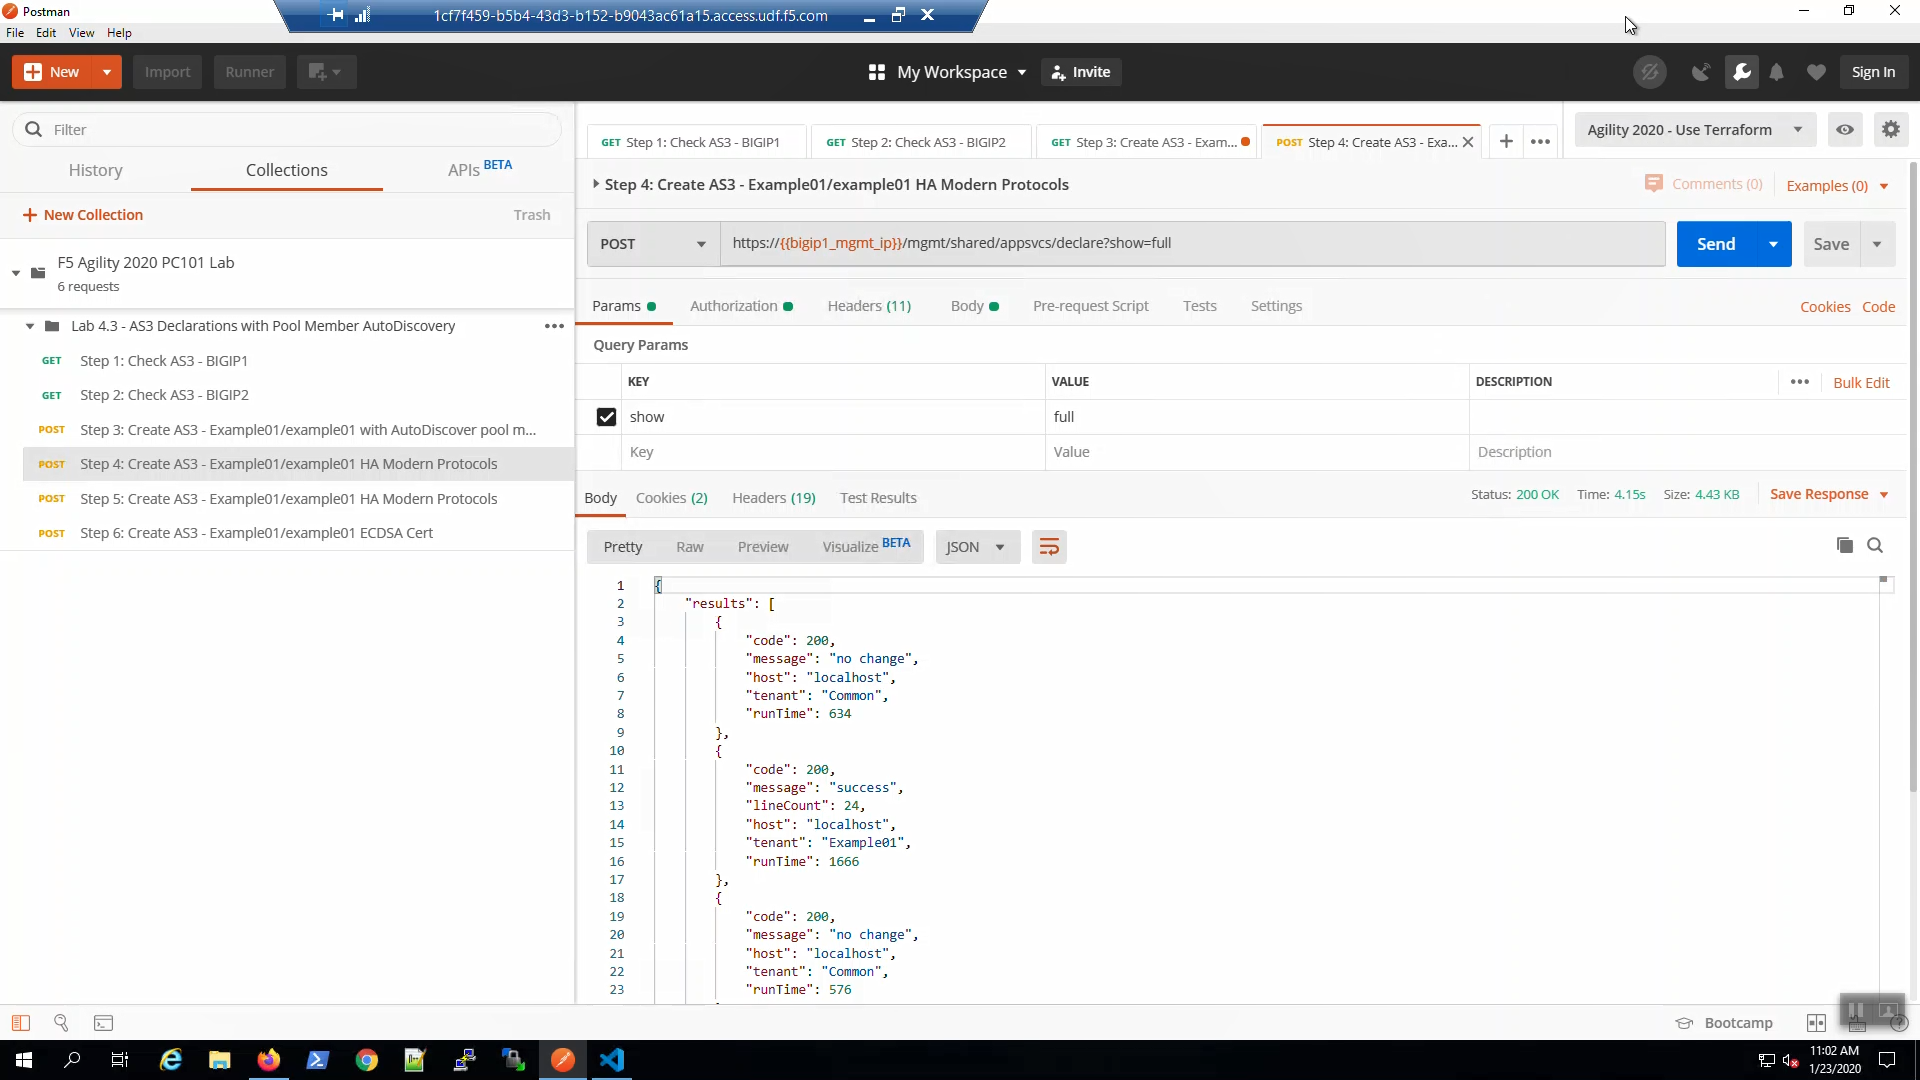
In Postman, Select the “Step 4: Create AS3 - Example01/example01 HA Modern Protocols” request. Click [Send]
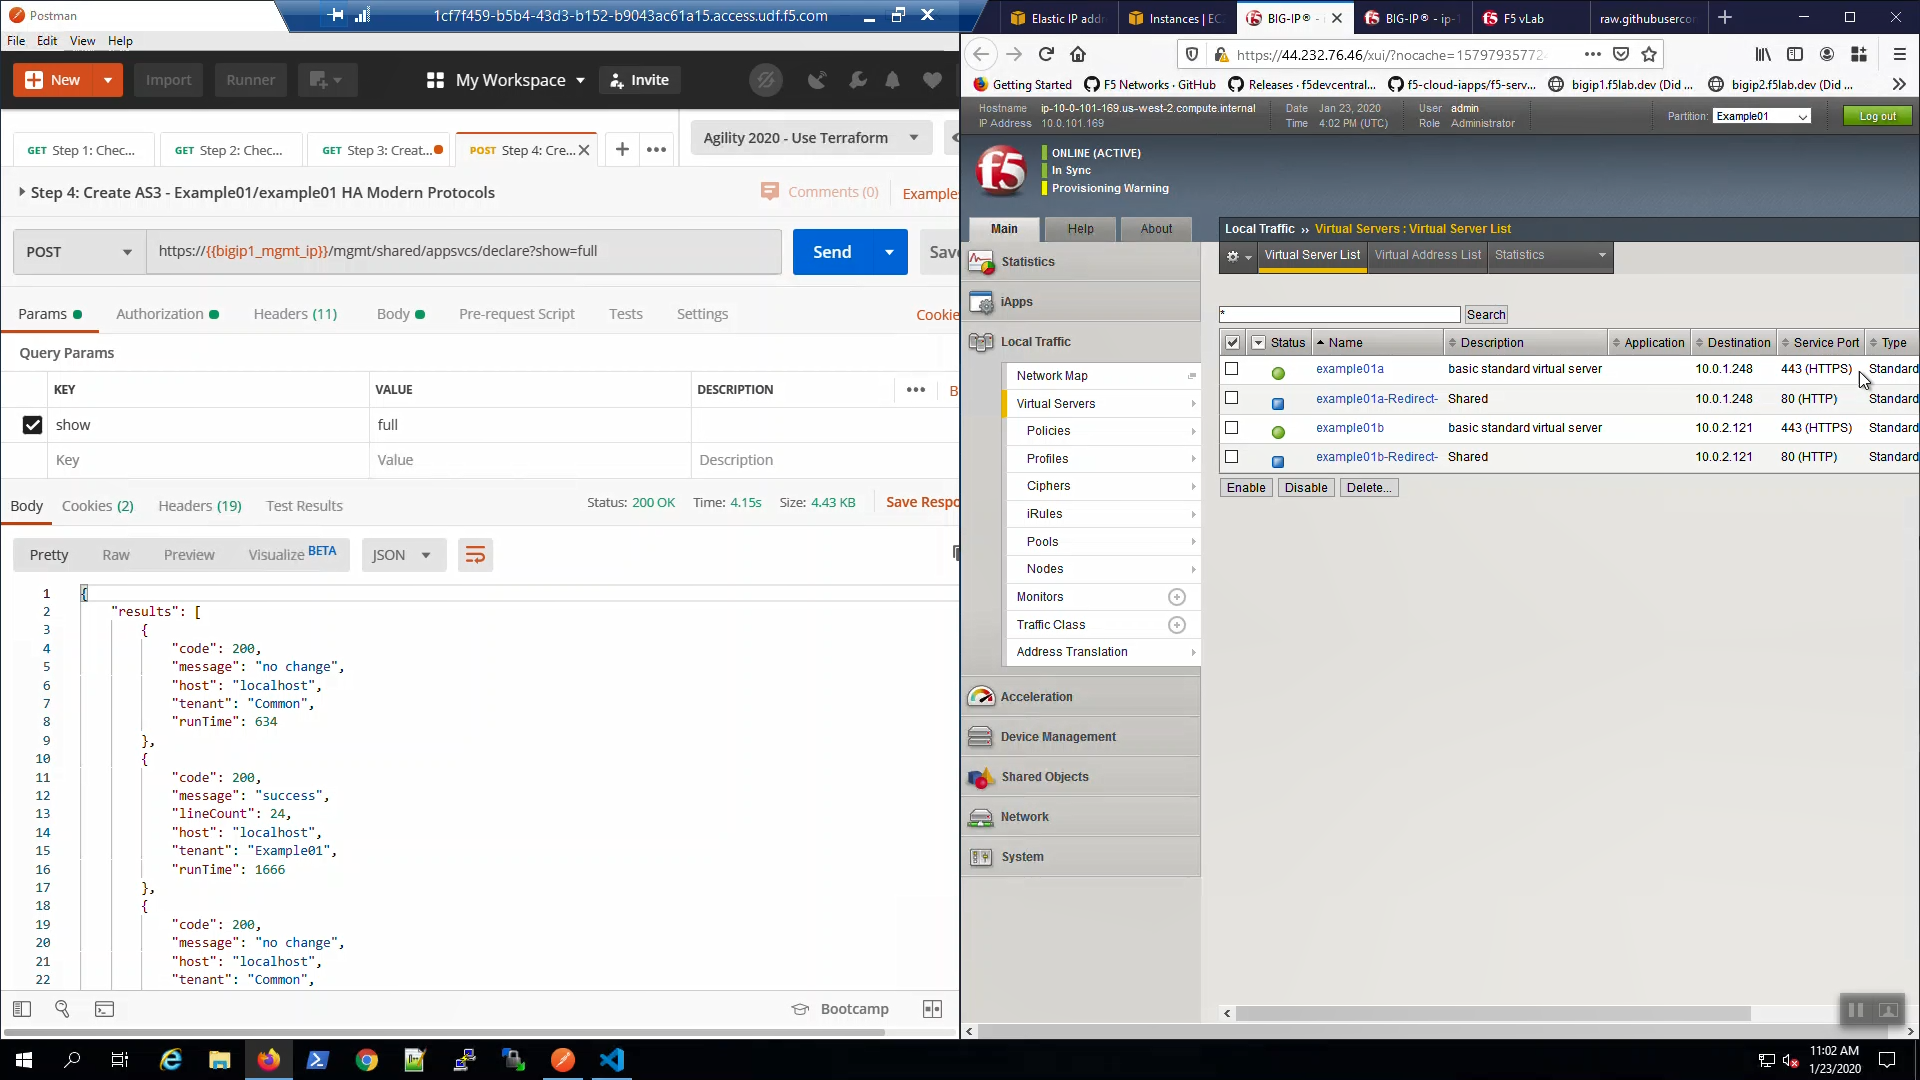
Big-IP1 Example01 Partition => Local Traffic => Virtual Servers. Review the virtual servers created.
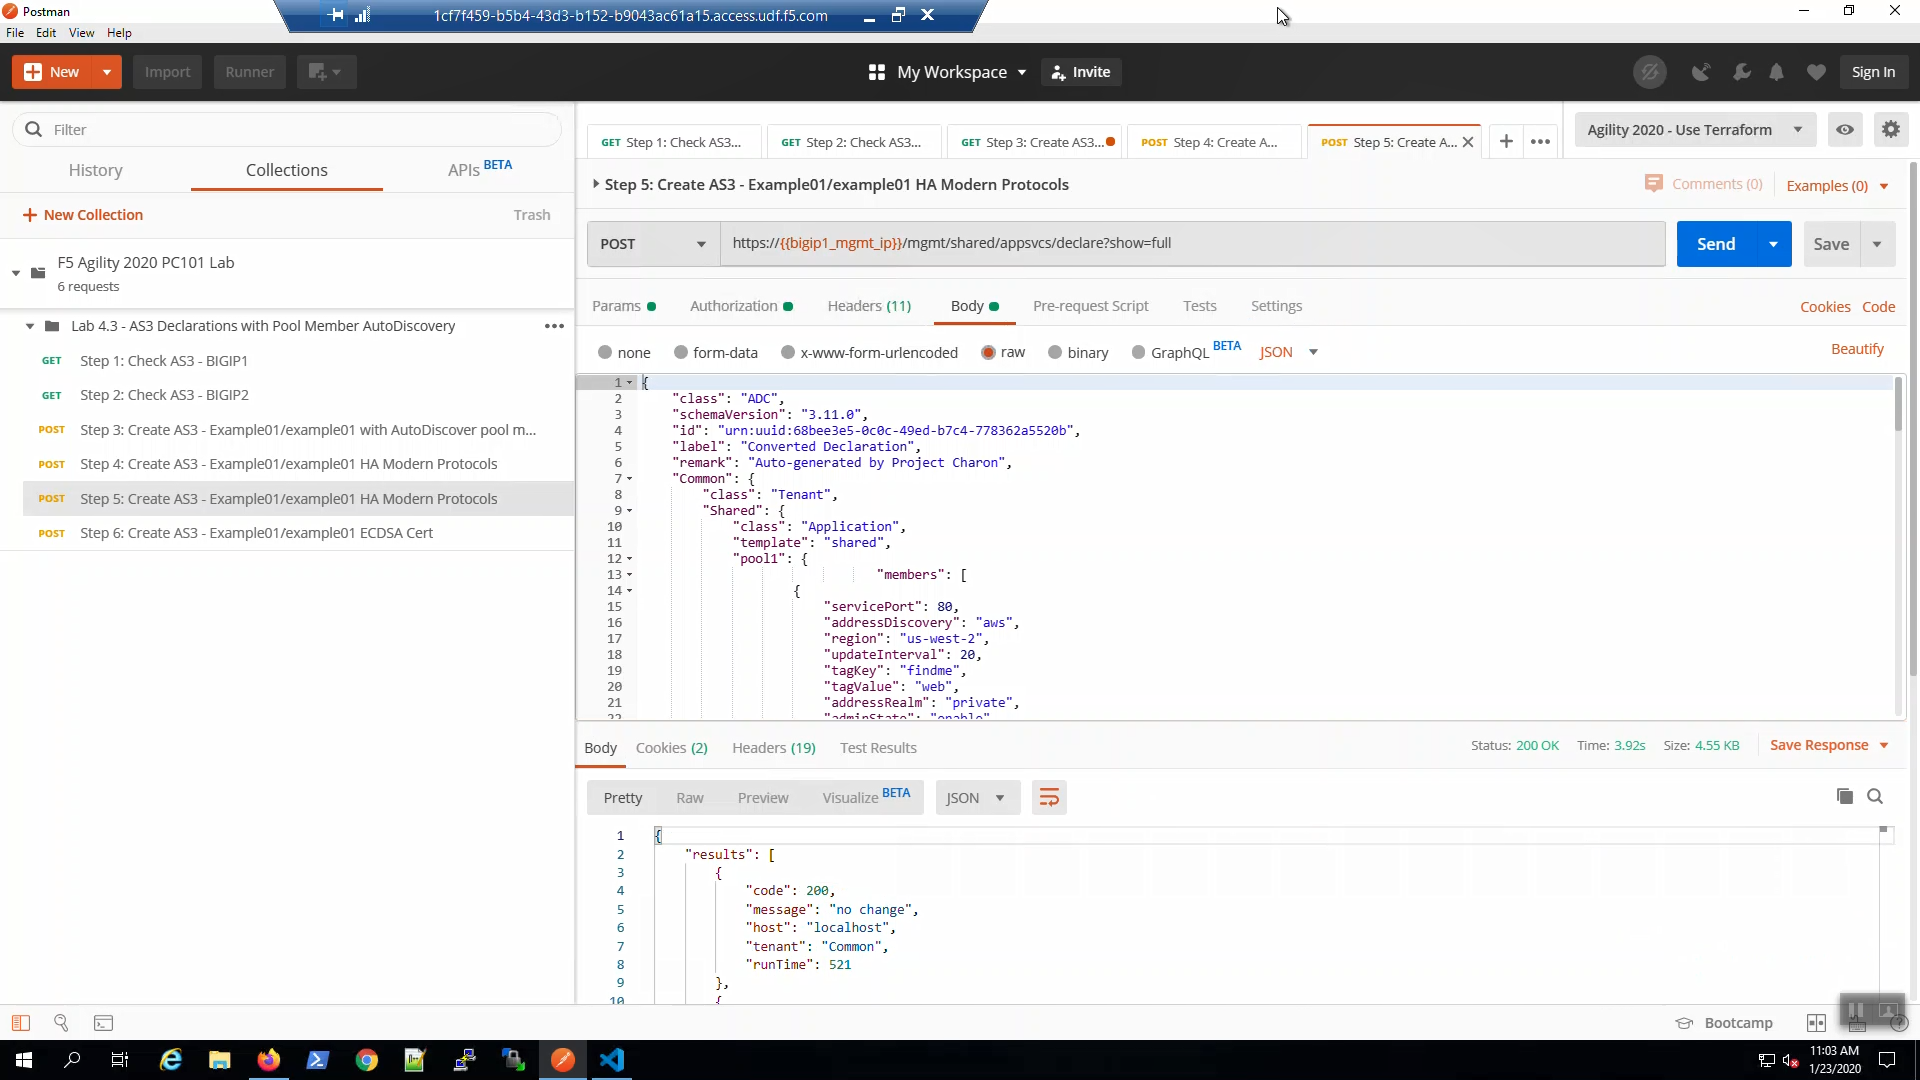
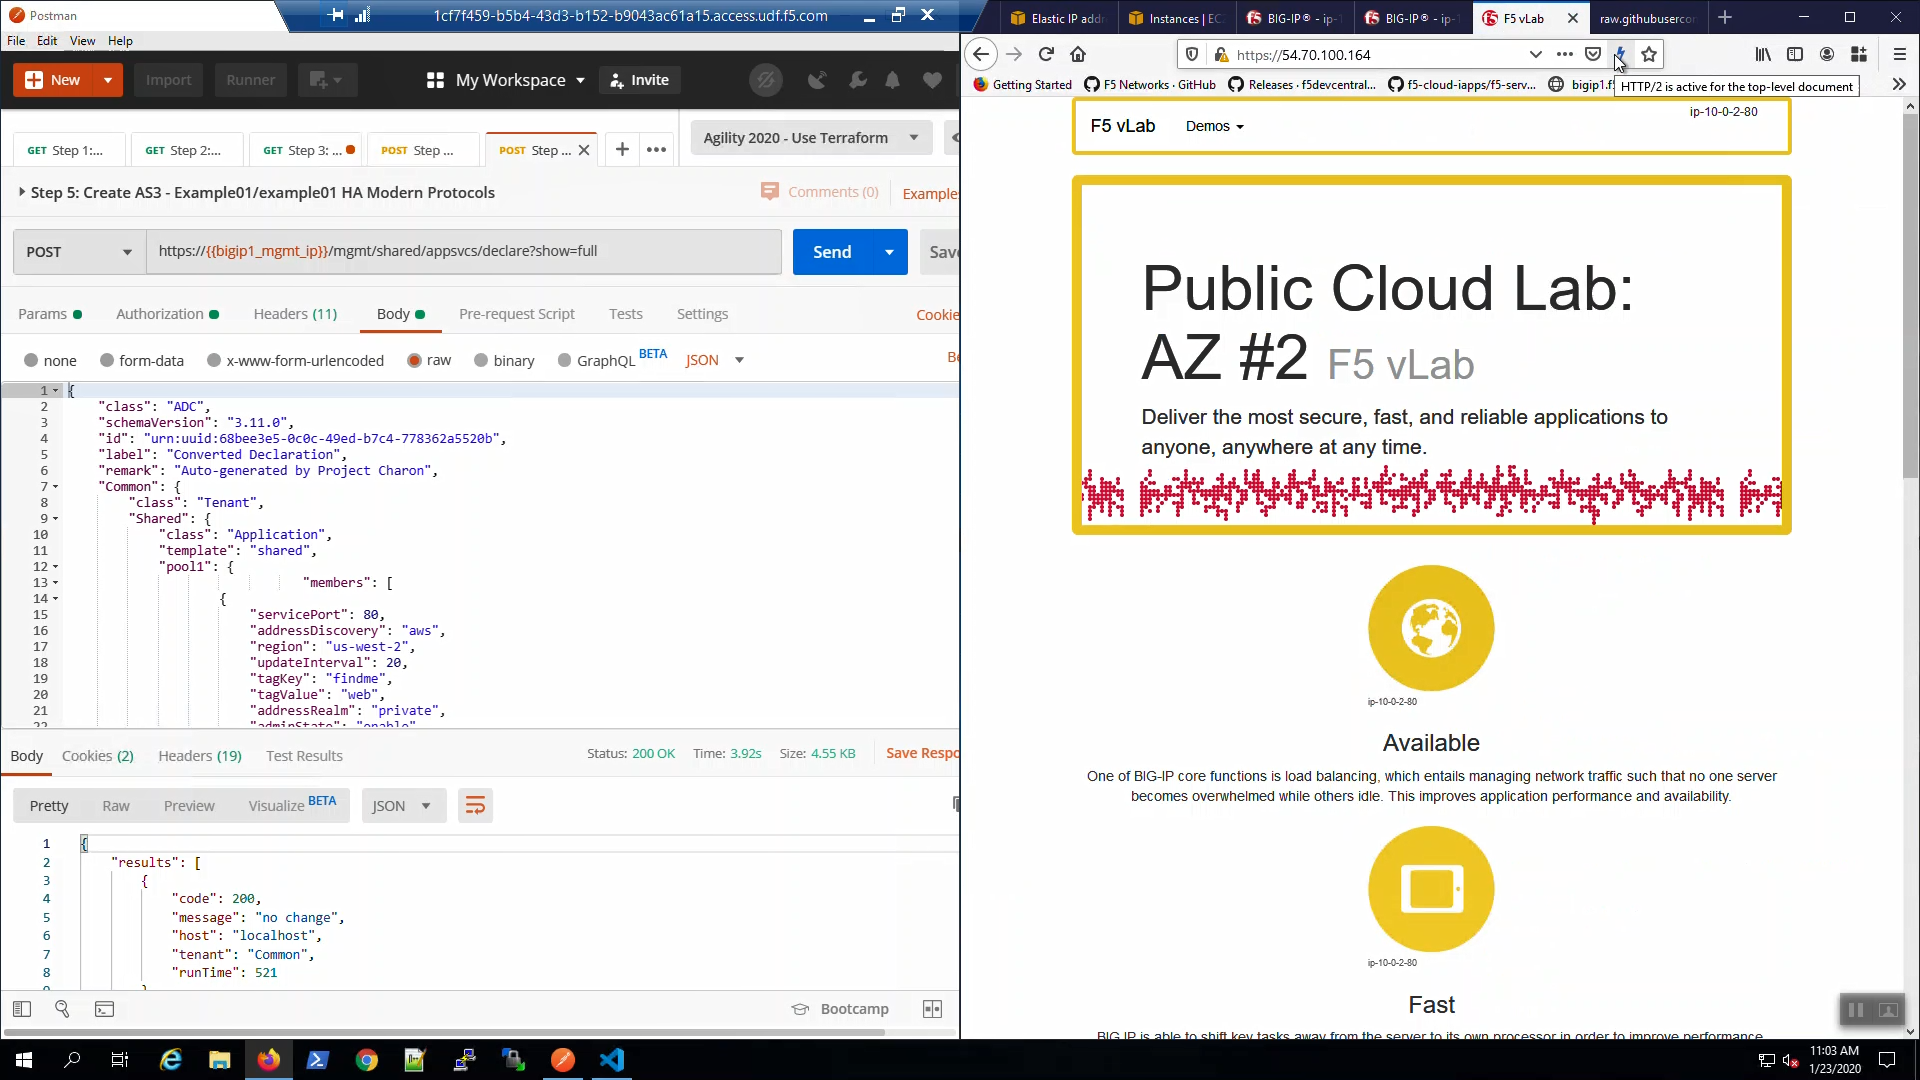
In Postman, Select the “Step 5: Create AS3 - Example01/example01 HA Modern Protocols” request. Click [Send]
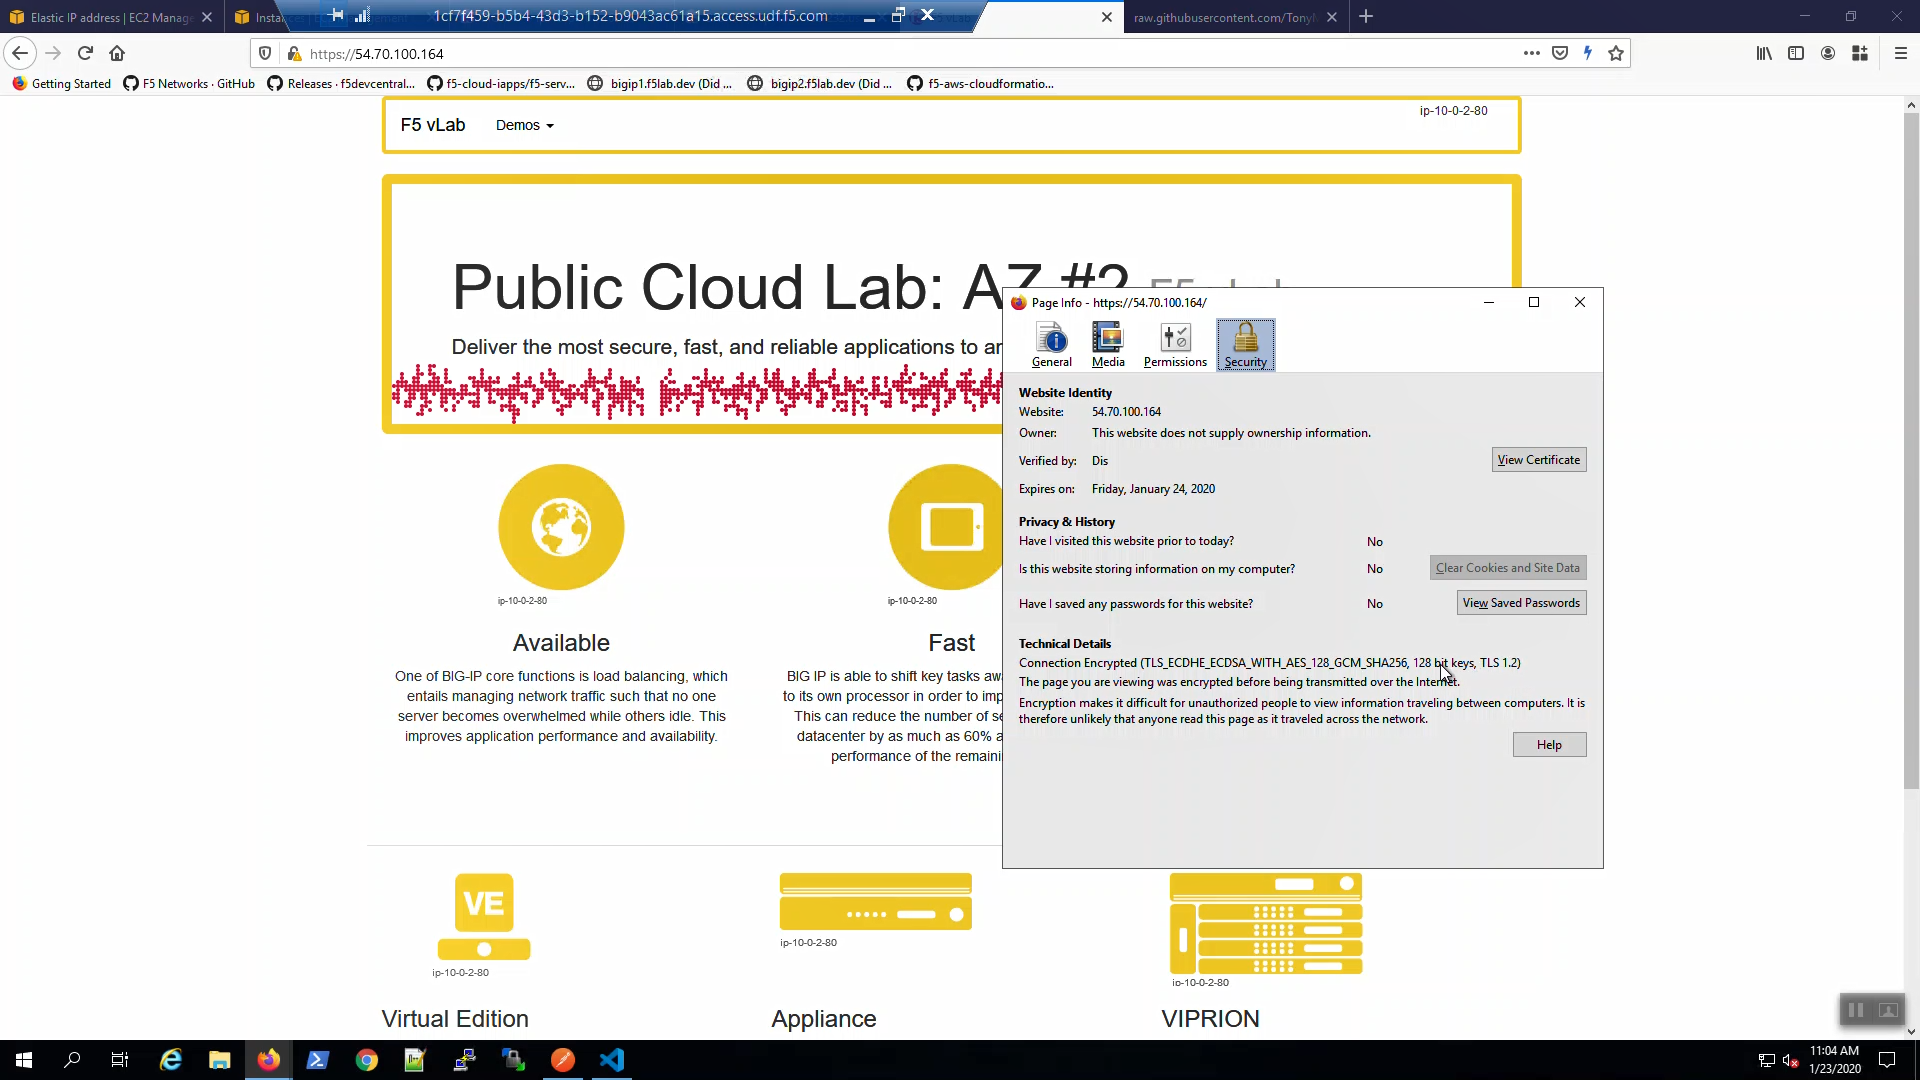
From the browser, connect to the example application over HTTPS. We are using self-signed certificates in the lab. Bypass the TLS warnings. “Accept the Risk and Continue”.
Attention
Preface the IP address with https://
Hover over the lightning bolt icon in the upper-right hand corner and note “HTTP/2 is active for the top-level document”
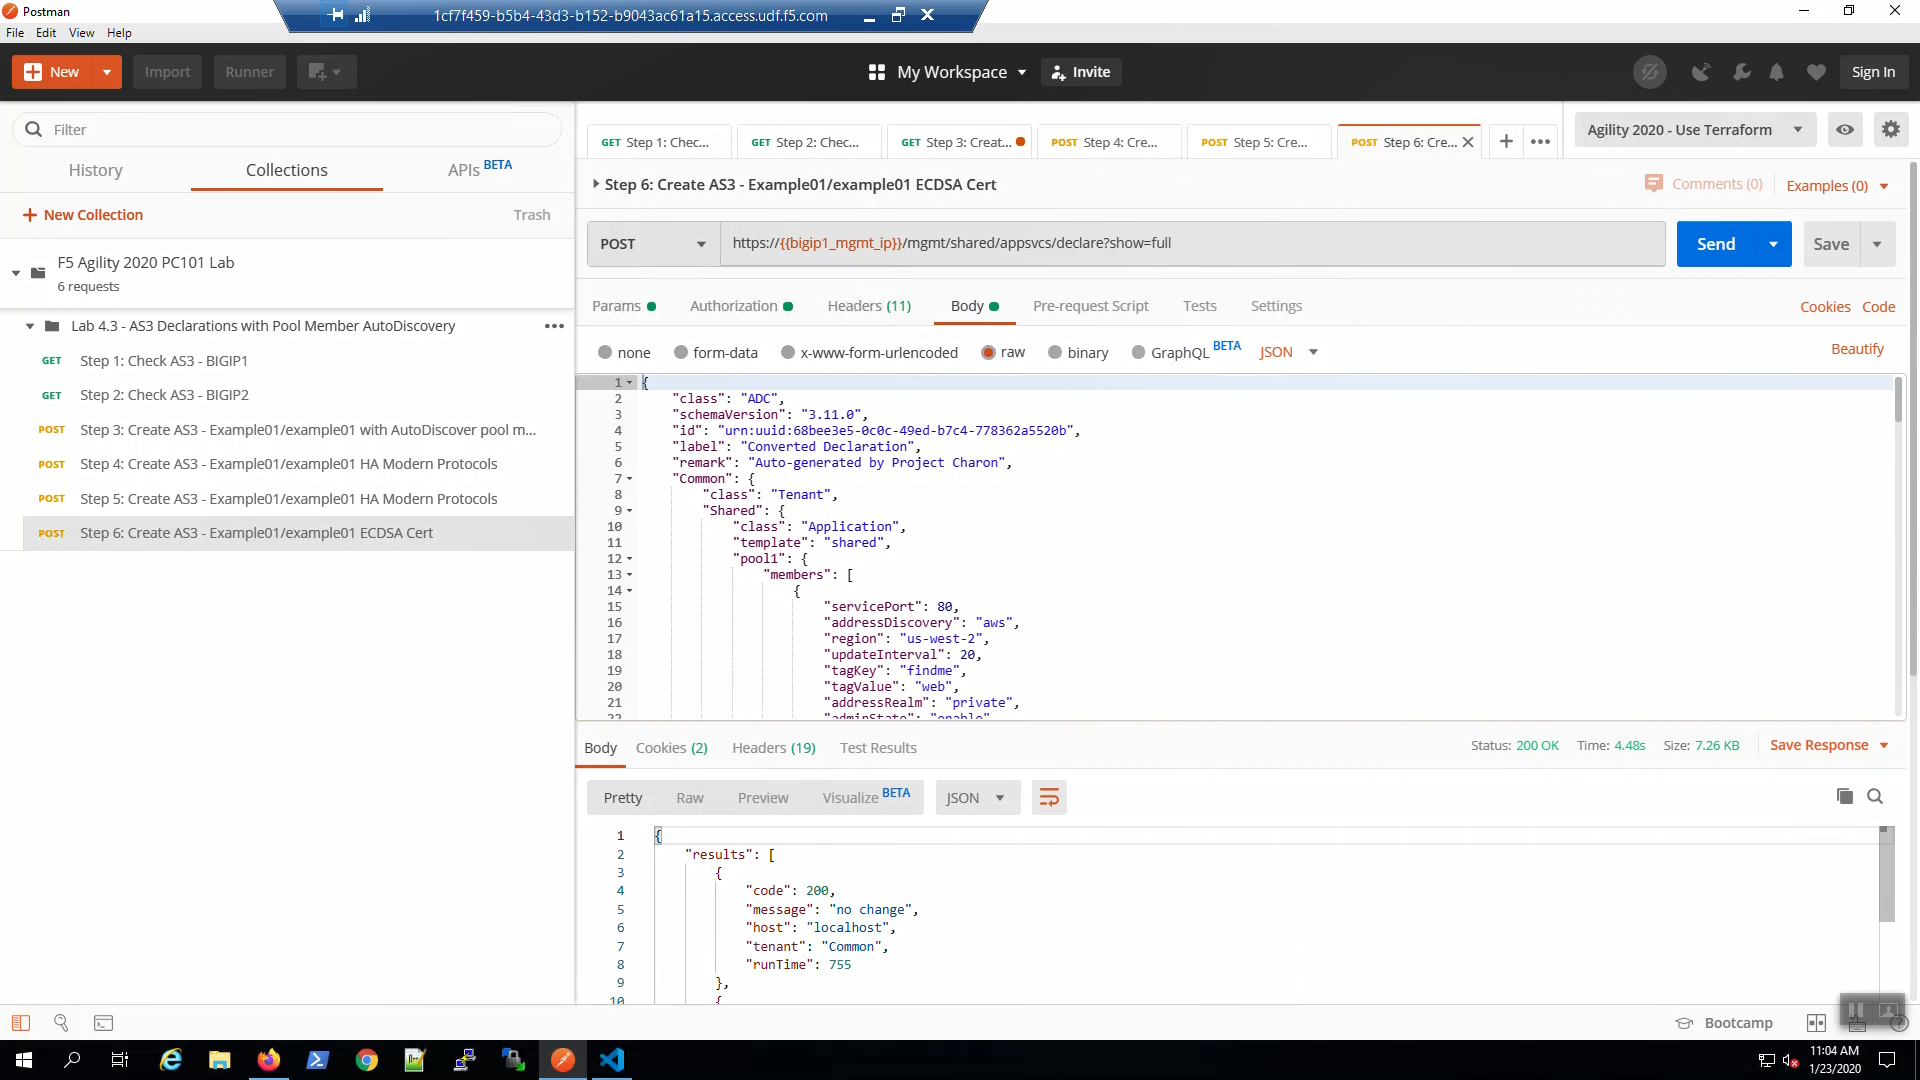
In Postman, Select the “Step 6: Create AS3 - Example01/example01 ECDSA Cert” request. Click [Send]
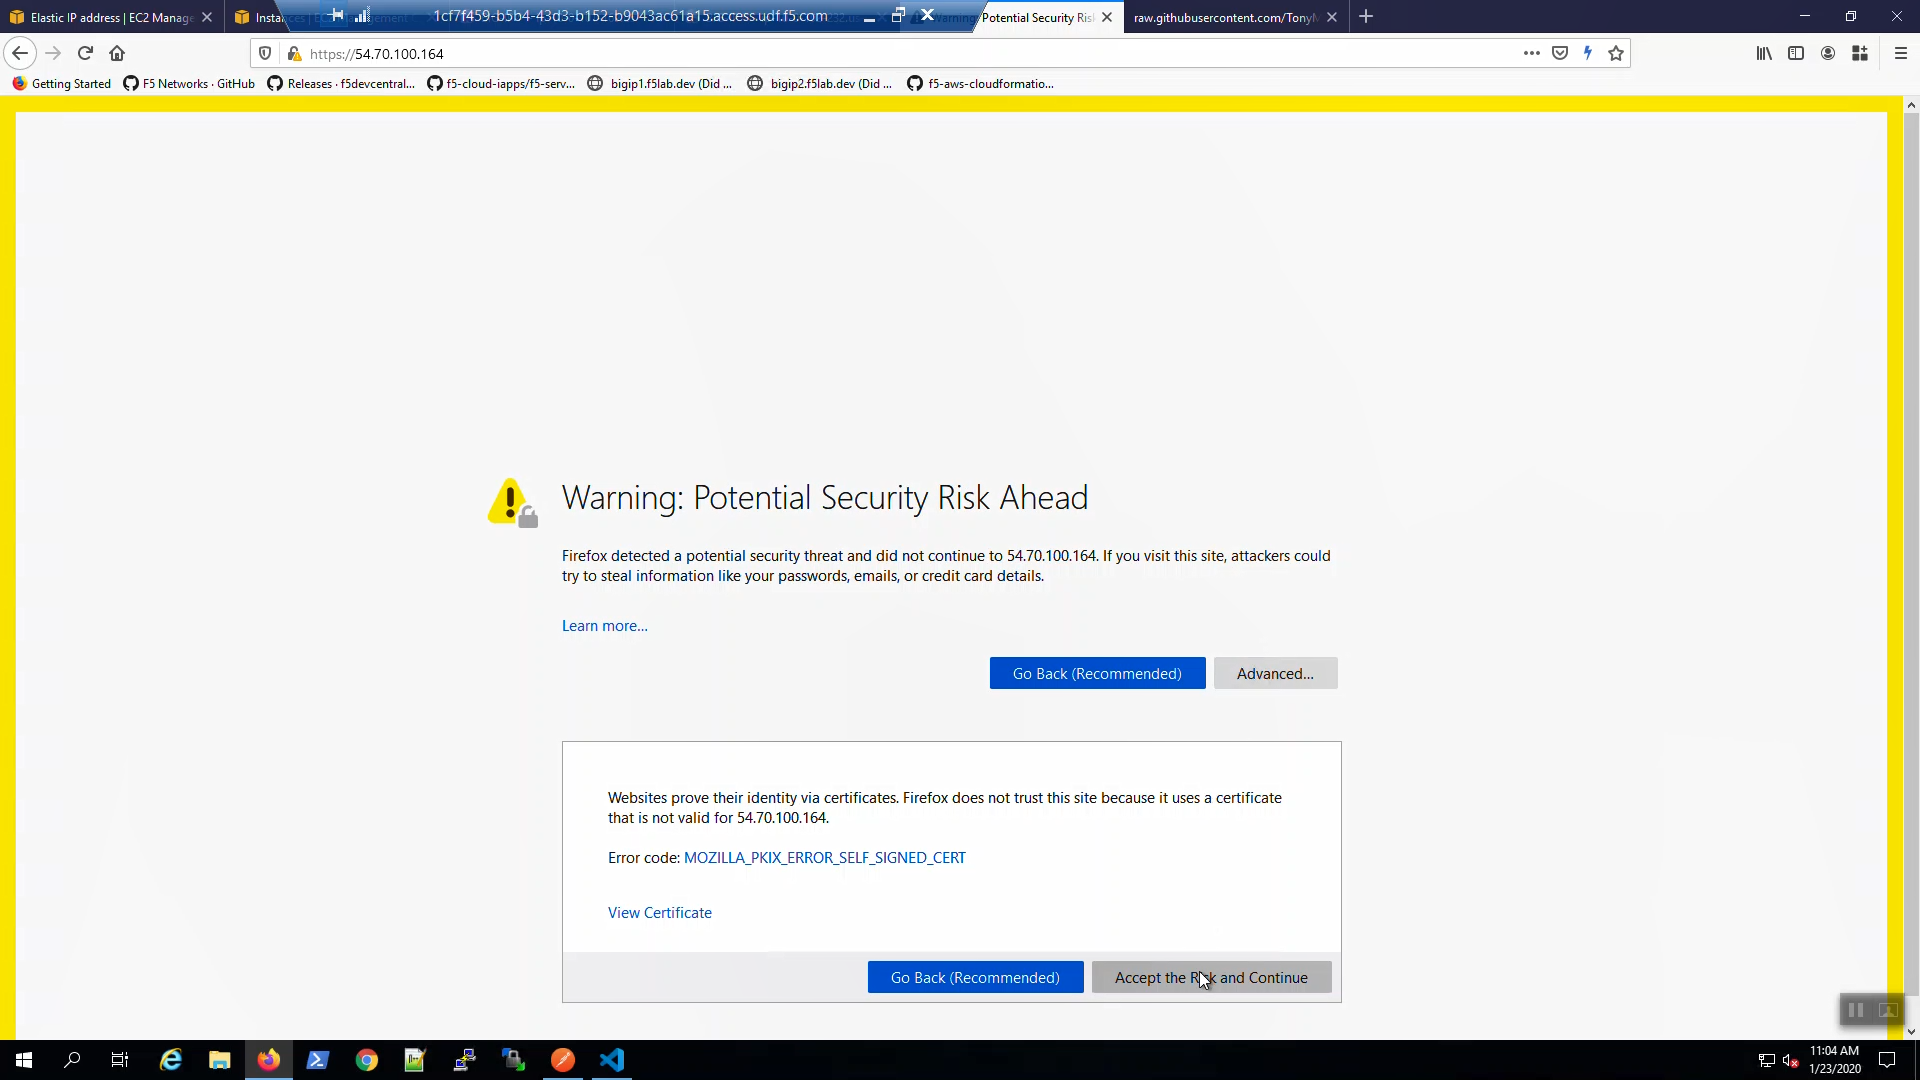
From the browser, connect to the example application over https. We are using self-signed certificates in the lab. Bypass the TLS warnings. “Accept the Risk and Continue”.
From the browser explore the ciphers used.