F5 Public Cloud Solutions > 7. Protecting Cloud Native Applications > 7.1. BIG-IP LTM Configuration Source | Edit on
7.1.2. Import the SSL Certificate and Create Client SSL Profiles
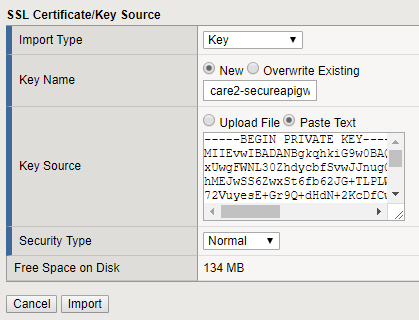
- Go to “System > Certificate Management > Traffic Certificate Management > SSL Certificate List” and click “Import”
- Import type: key
Note
On this lab guide, X must be replaced by your student number given at the beginning of this session.
Key Name: careX-secureapigw.acmelatamlab.f5.com
Upload the Key file (privkey1.pem) or Paste its contents. You can find the files on a folder called “Certificates” on the Desktop.
Click Import
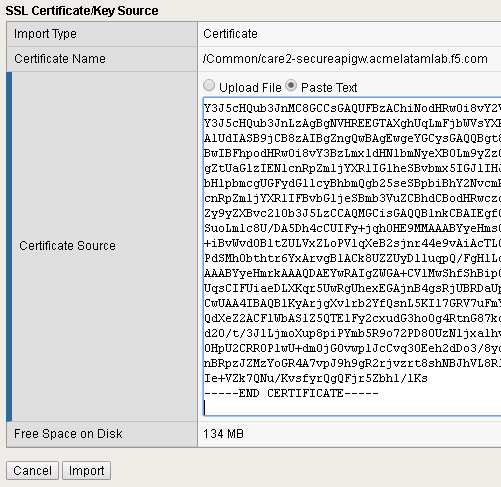
In the SSL Certificate List, click the name of the certificate you are importing
Verify you are in the Certificate tab, paste or upload cert1.pem file and click Import
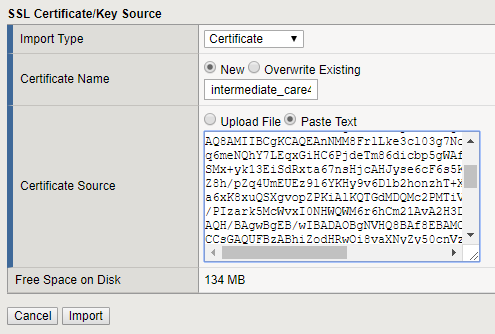
We need to import the Intermediate Certificate (Chain). Make sure you are on “System > Certificate Management > Traffic Certificate Management > SSL Certificate List” and click “Import”
Import Type: Certificate
Certificate Name: intermediate_careX
Upload chain1.pem or paste its contents. Click Import.
- Go to “Local Traffic > Profiles > SSL > Client” and click Create.
- Name: careX-secureapigw.acmelatamlab.f5.com
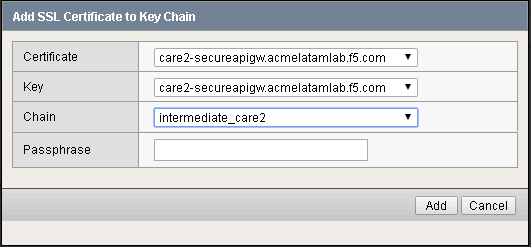
- On Certificate Key Chain, select Custom check box and then Add.
- Certificate: careX-secureapigw.acmelatamlab.f5.com
Key: careX-secureapigw.acmelatamlab.f5.com
Chain: intermediate_careX
Click Add
- Click Finished