F5 Public Cloud Solutions > 7. Protecting Cloud Native Applications > 7.1. BIG-IP LTM Configuration Source | Edit on
7.1.4. Create Virtual Server
Go to “Local Traffic > Virtual Servers > Virtual Server List” and click Create
Name: vs_careX-secureapigw.acmelatamlab.f5.com
Destination Address/Mask: 10.1.10.201
Service Port: 443
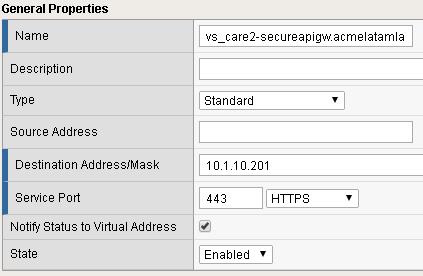
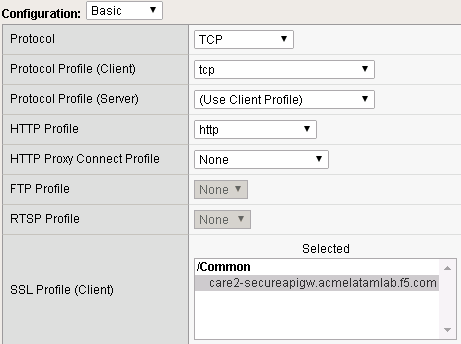
HTTP Profile: http
SSL Profile (Client): careX-secureapigw.acmelatamlab.f5.com
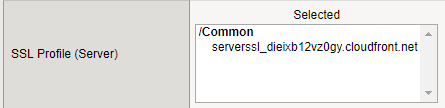
SSL Profile (Server):
serverssl_YOUR-CLOUDFRONT-TARGET-DOMAIN.
E.g.: serverssl_dieixb12vz0gy.cloudfront.net
Source Address Translation: Auto Map
Default Pool: pool_secureapigw
Click Finished
You may ask how this Virtual Server is exposed to internet. In this lab (based in Ravello), every time we start we get a Public IP Address that has a NAT to 10.1.10.201. In real world that will be an Elastic IP (EIP) from AWS.